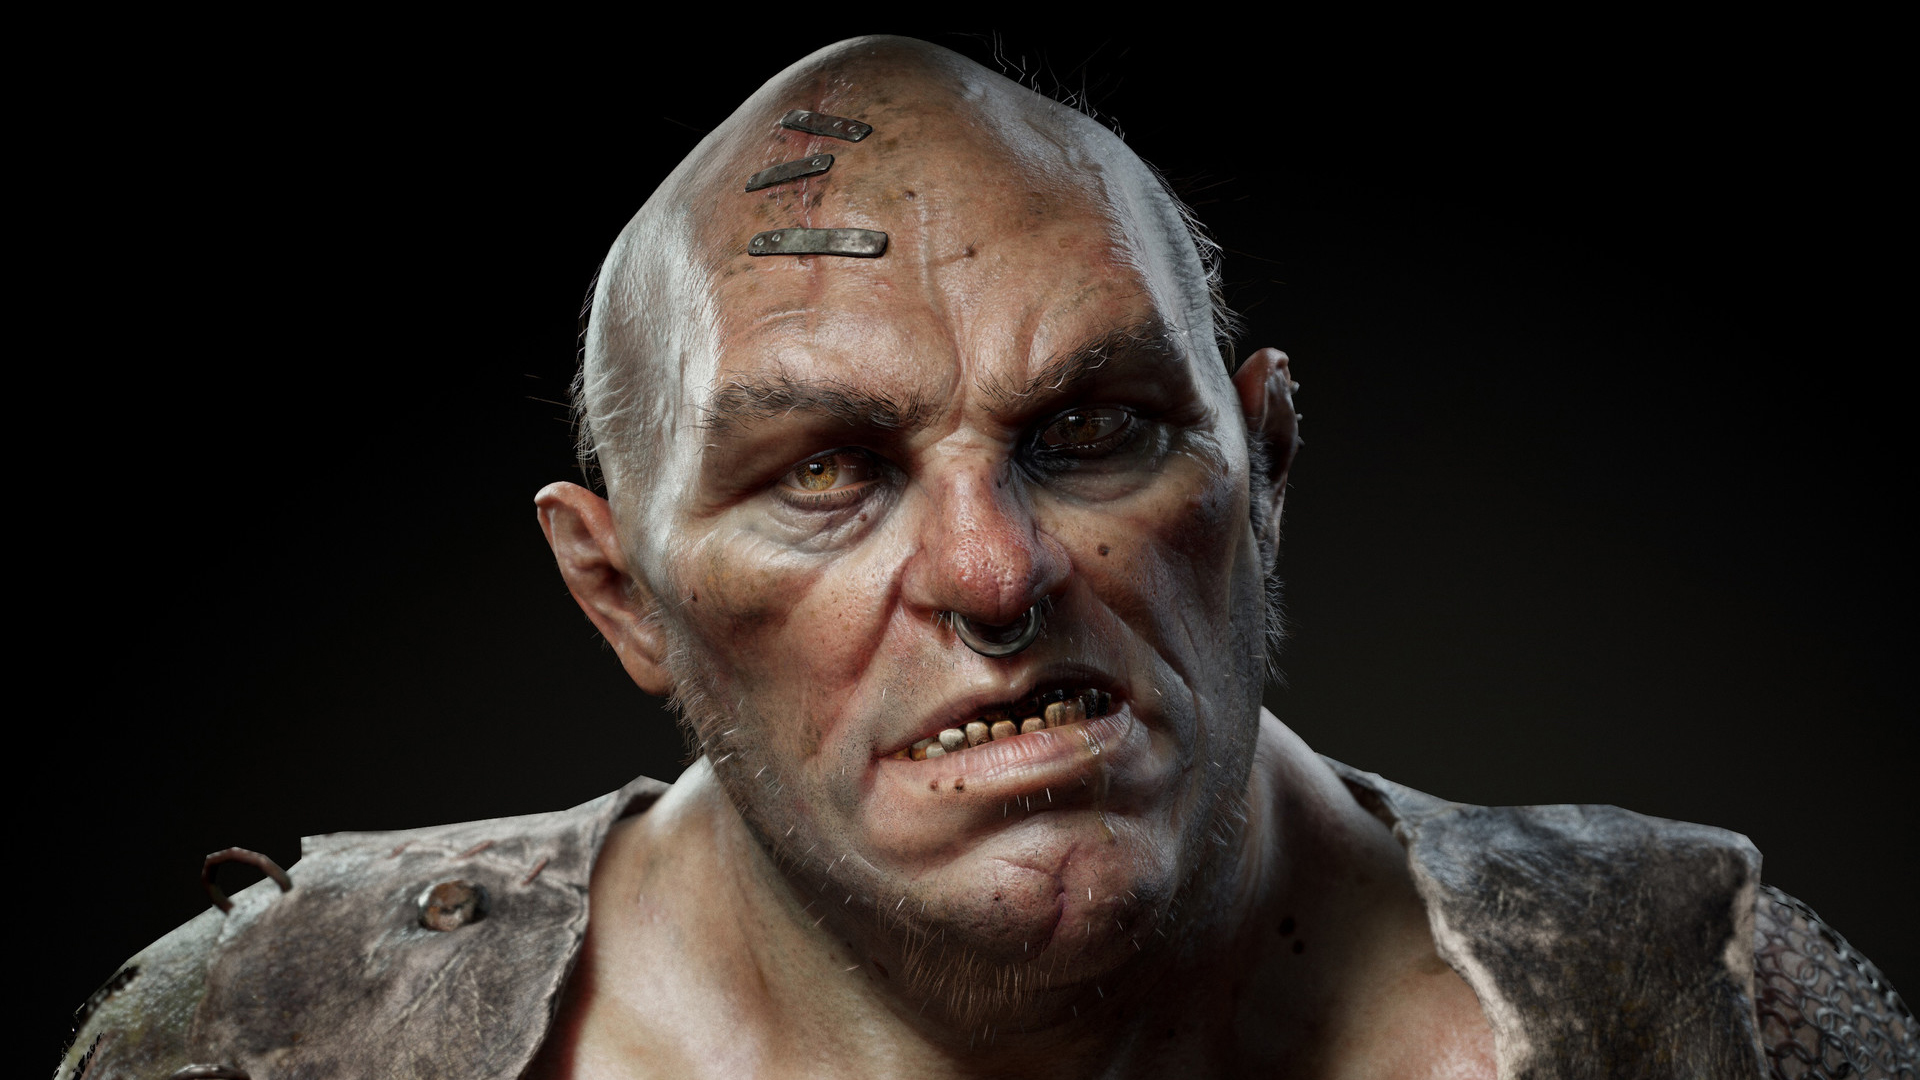
art by Bartek Kuczyński, concept by Maxime Fortineau.
Let’s Go Pro
Are you a 3D art student looking to put together a killer portfolio to help launch your career?
Marmoset Toolbag 4 gives you the tools to create stellar pro-level renders with ease. Our industry-standard physically-based rendering software offers a seamless baking, texturing, and rendering pipeline. Read on for helpful Toolbag tips, tutorials, and resources to help you assemble your professional portfolio.
Ready, Set, Scene
Starting with a blank canvas (in our case, an empty scene) can be pretty intimidating. It comes down to baby steps! Importing meshes and setting up your workspace is a great place to start.
Now dream up the environment in which your 3D content lives – lighting is key! Is it daytime or nighttime? What mood should this artwork convey? Toolbag’s Library has hundreds of HDRI skies available for free to get you started. Choosing your base environment light will establish the broad strokes.
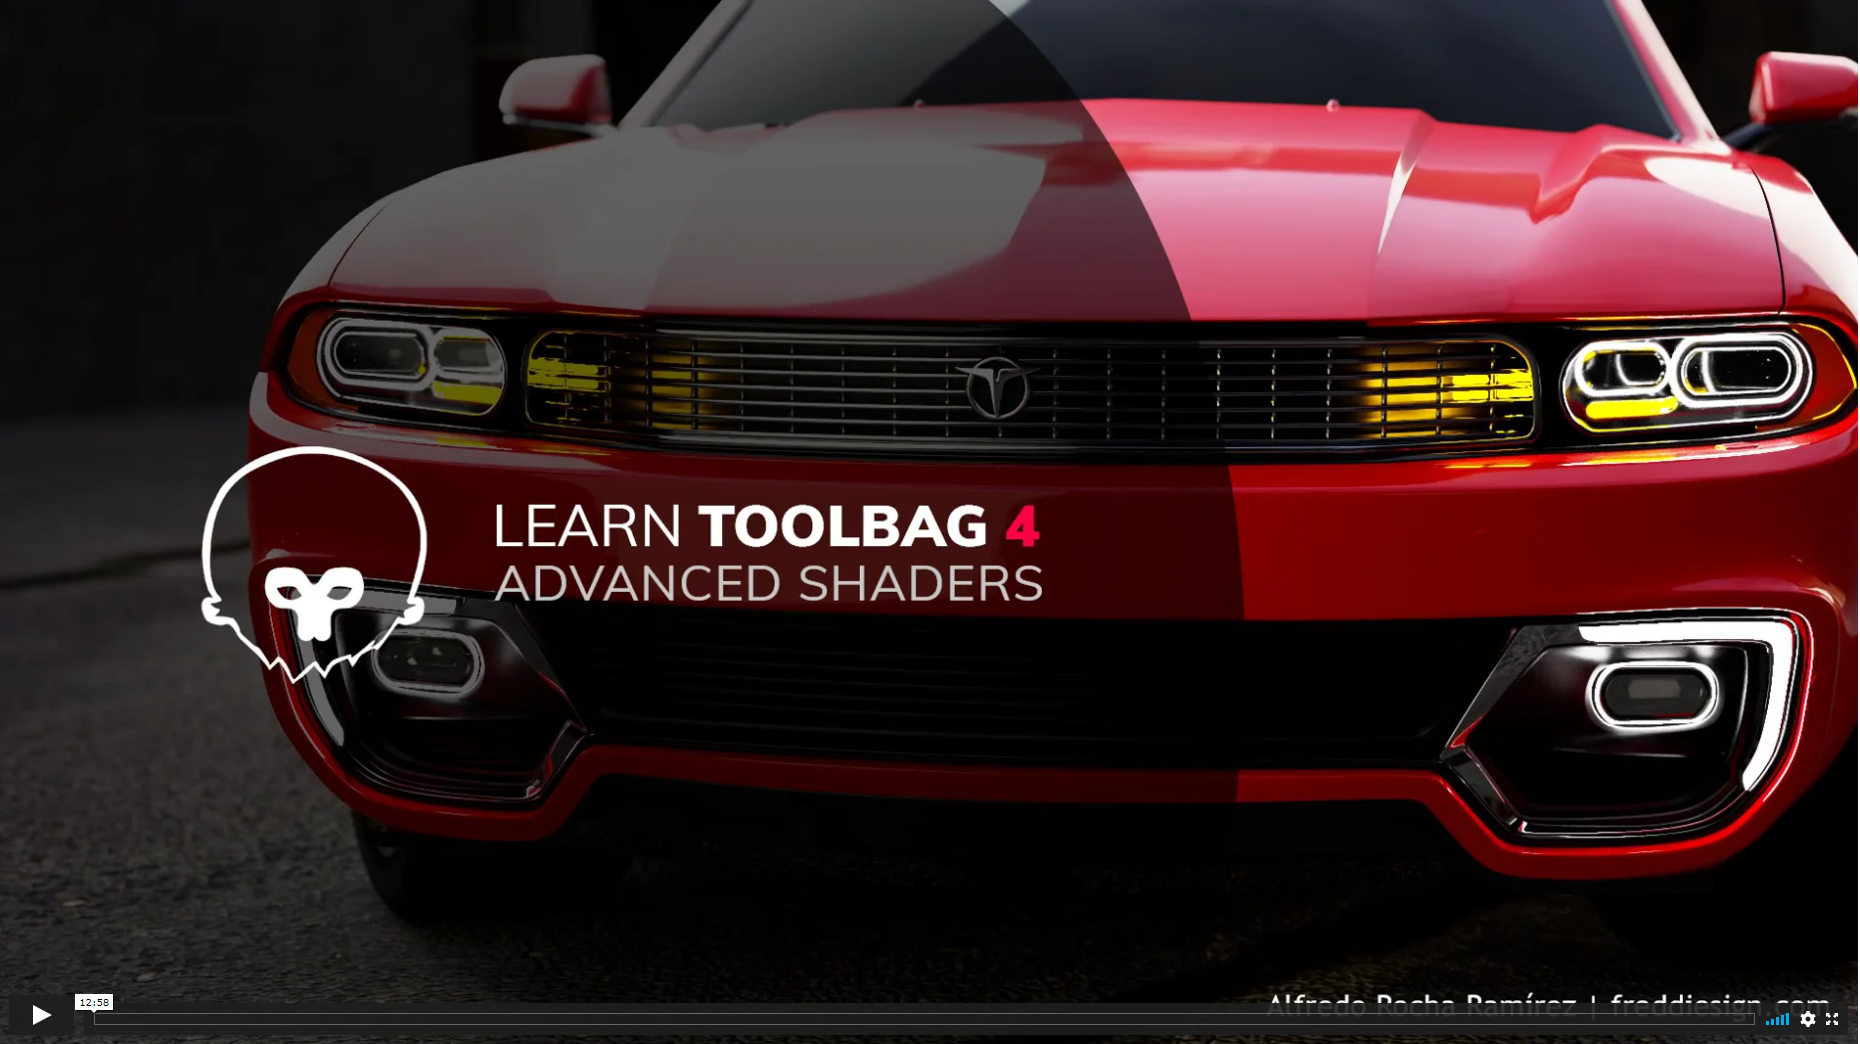
The following articles written by community members shed light on the process of setting up your scene for success.

Compose Yourself
At this stage, you can make things easier by deciding on your composition. Will the final render be in portrait or landscape orientation? How close should the camera be to the subject? Take the time to set up your cameras and FOV, and decide on focal points.
This would also be a good time to set up materials and shaders needed for the scene. Toolbag’s free Library offers hundreds of materials to bring your scene to life quickly.
For more on scene composition and shader setup, check out these resources:

The Final Touch
It’s time to bring all your pieces together for the final render. Professional render quality with Toolbag 4 has never been easier. Enable ray tracing with a click of a button to achieve a stunning level of image quality. Use the image slider below to see a simple comparison between ray tracing off and on.


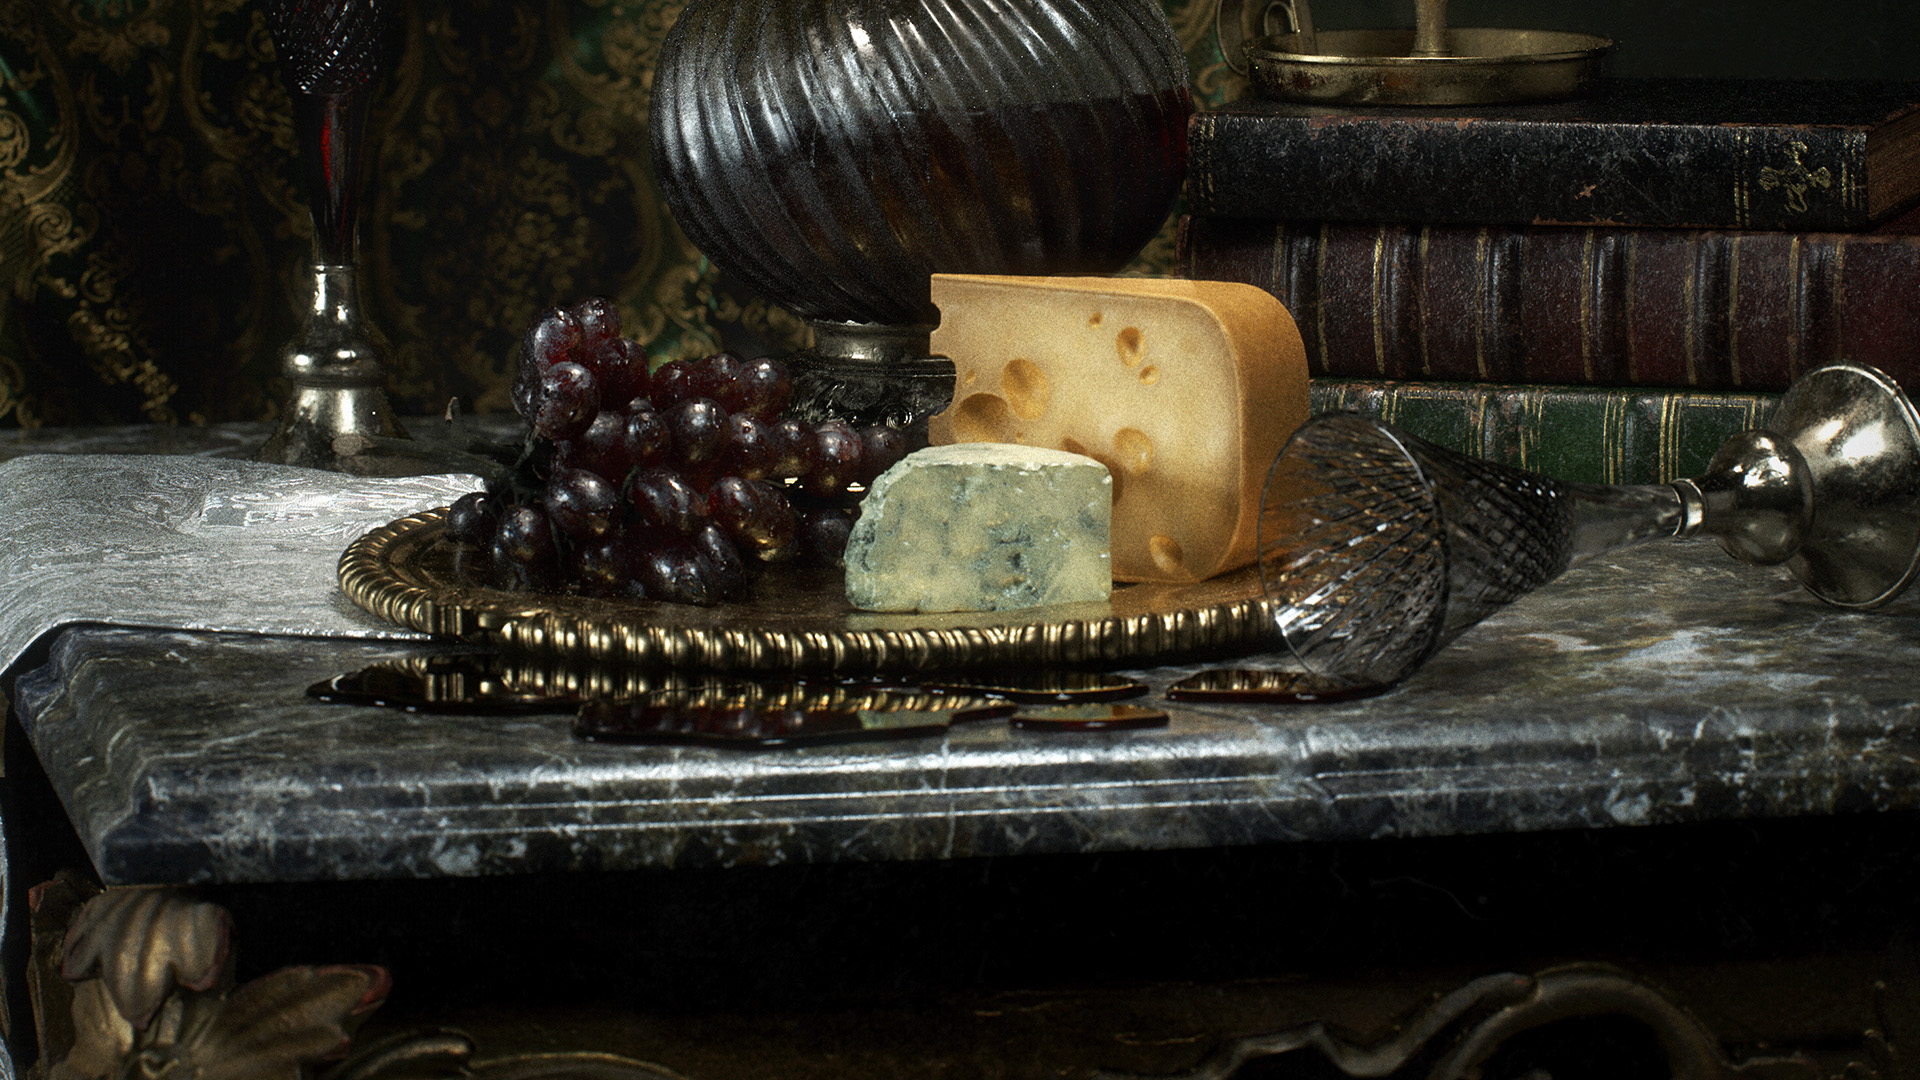
art by RYZIN ART
Adjusting your camera’s lens effects and post effects help craft your desired cinematic look. From there you have the options to render images and animated sequences alike. For more on animating lights and cameras in Toolbag, check out our Animation in Toolbag tutorial.
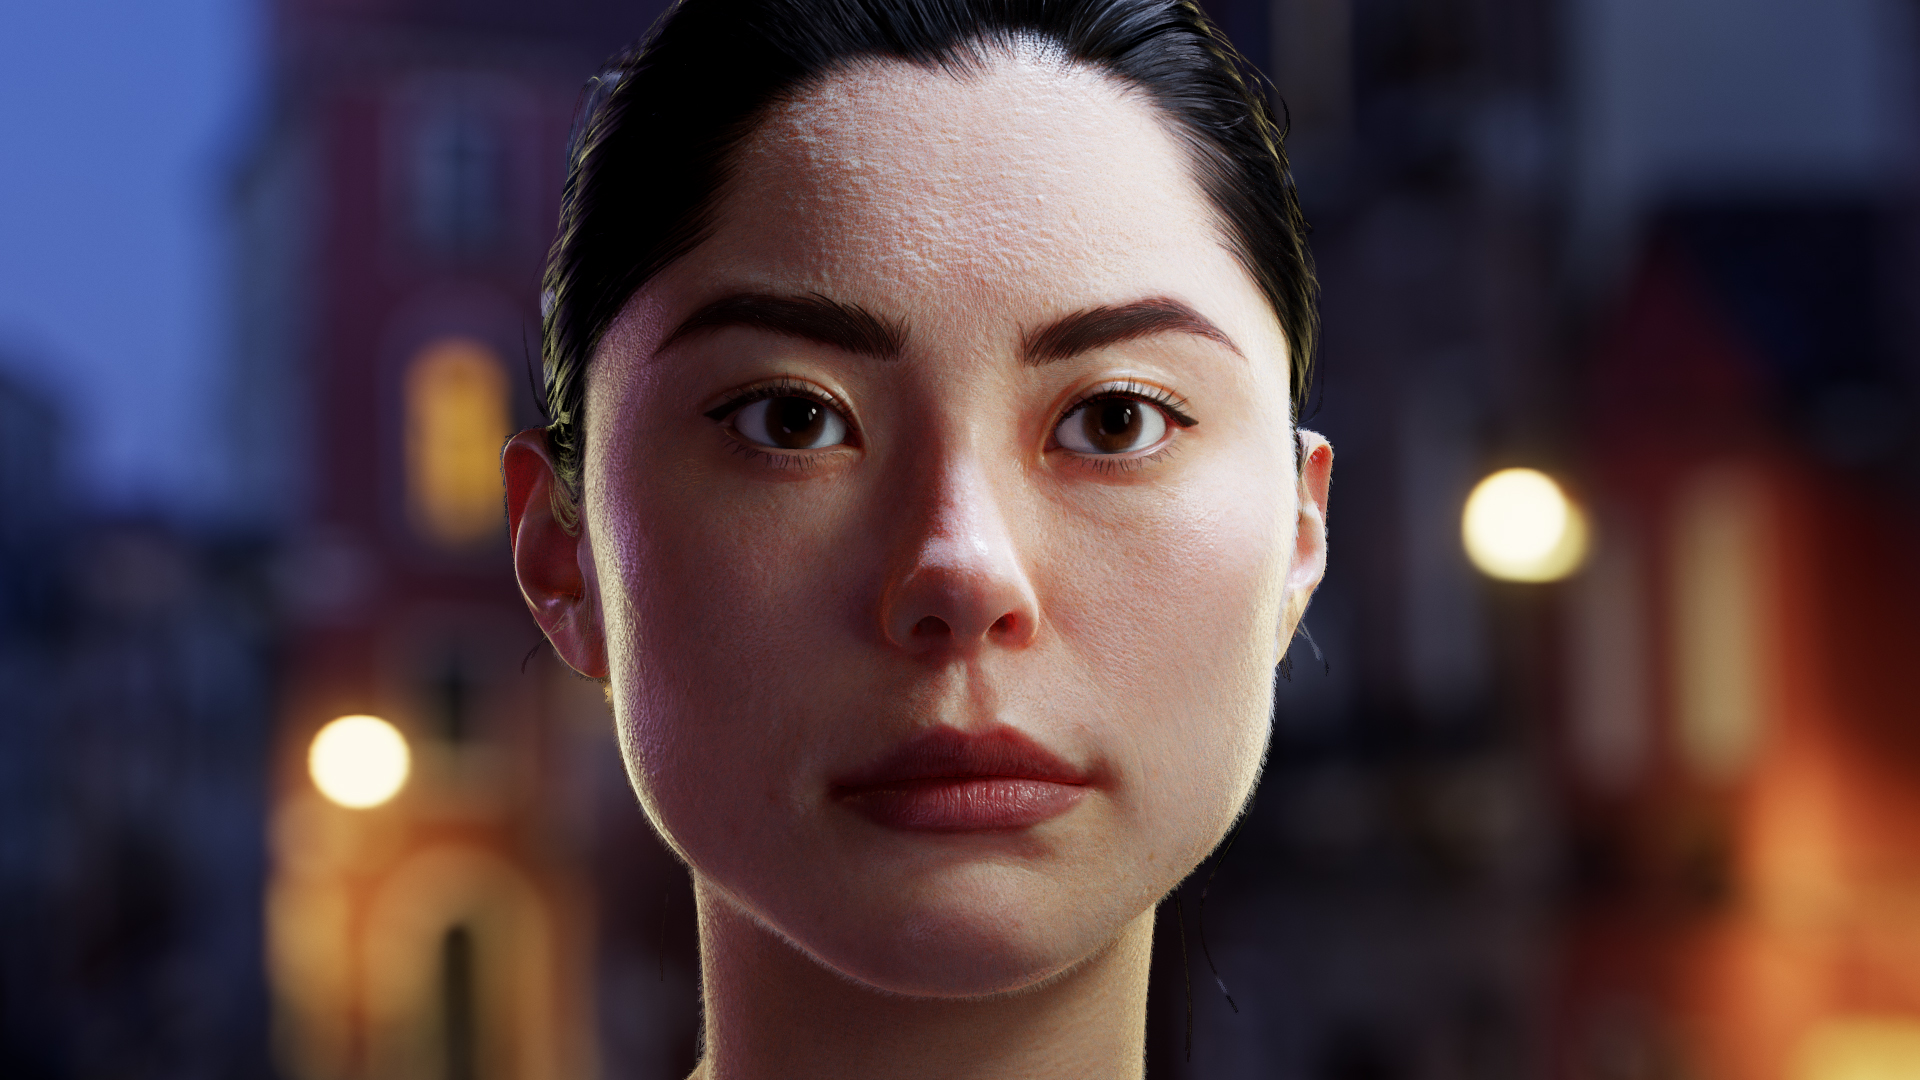
art by Blair Armitage
Are you in need of a more technical presentation? Add the Turntable object to your scene for a quick-and-easy 360° output option, and add additional render passes to peel back the layers of your artwork.
Kick it up a notch by making your portfolio interactive on the web with the Marmoset Viewer.
A Comprehensive Look
Now that your portfolio pieces are looking pretty, feel free to take a step back and check out our “Learn Toolbag 4” tutorial series to discover all that Marmoset Toolbag 4 provides for your baking, texturing, and rendering pipelines.


Toolbag in Schools