


Introduction
Hi, my name is James Busby and I’m one of the directors at Ten24/3D Scan Store. My job consists mostly of scanning people and objects for our clients and our scan store.
The aim of this breakdown was two-fold. First to test out the new ray tracing features in Toolbag 4, and second, to allow myself some time to work on something creative and interesting rather than the usual flat-lit head renders I do day-to-day. Lockdown weekends have been pretty slow of late, so I saw this as the perfect opportunity to sink my teeth into a personal project and test out some new software in the process.


First impressions are excellent, I was able to put these scenes together in a weekend using a combination of assets from our store, and a few bits and bobs I got from Megascans and CGTrader. I’ll try to detail the project as best I can below.
I’ve been watching a lot of WW2 documentaries on YouTube so I really wanted to do something on this theme, it just so happened that I also had a load of scanned WW2 costumes from a project that we did for Driven Arts’ WW2 FPS Days of War. I’m sure I’m going to get some flack from the historians among you, I’m fully aware that a man of this age would never have been in the American paratroopers, but I’m tired of seeing chiseled marine characters and I really wanted to do something with this head scan.
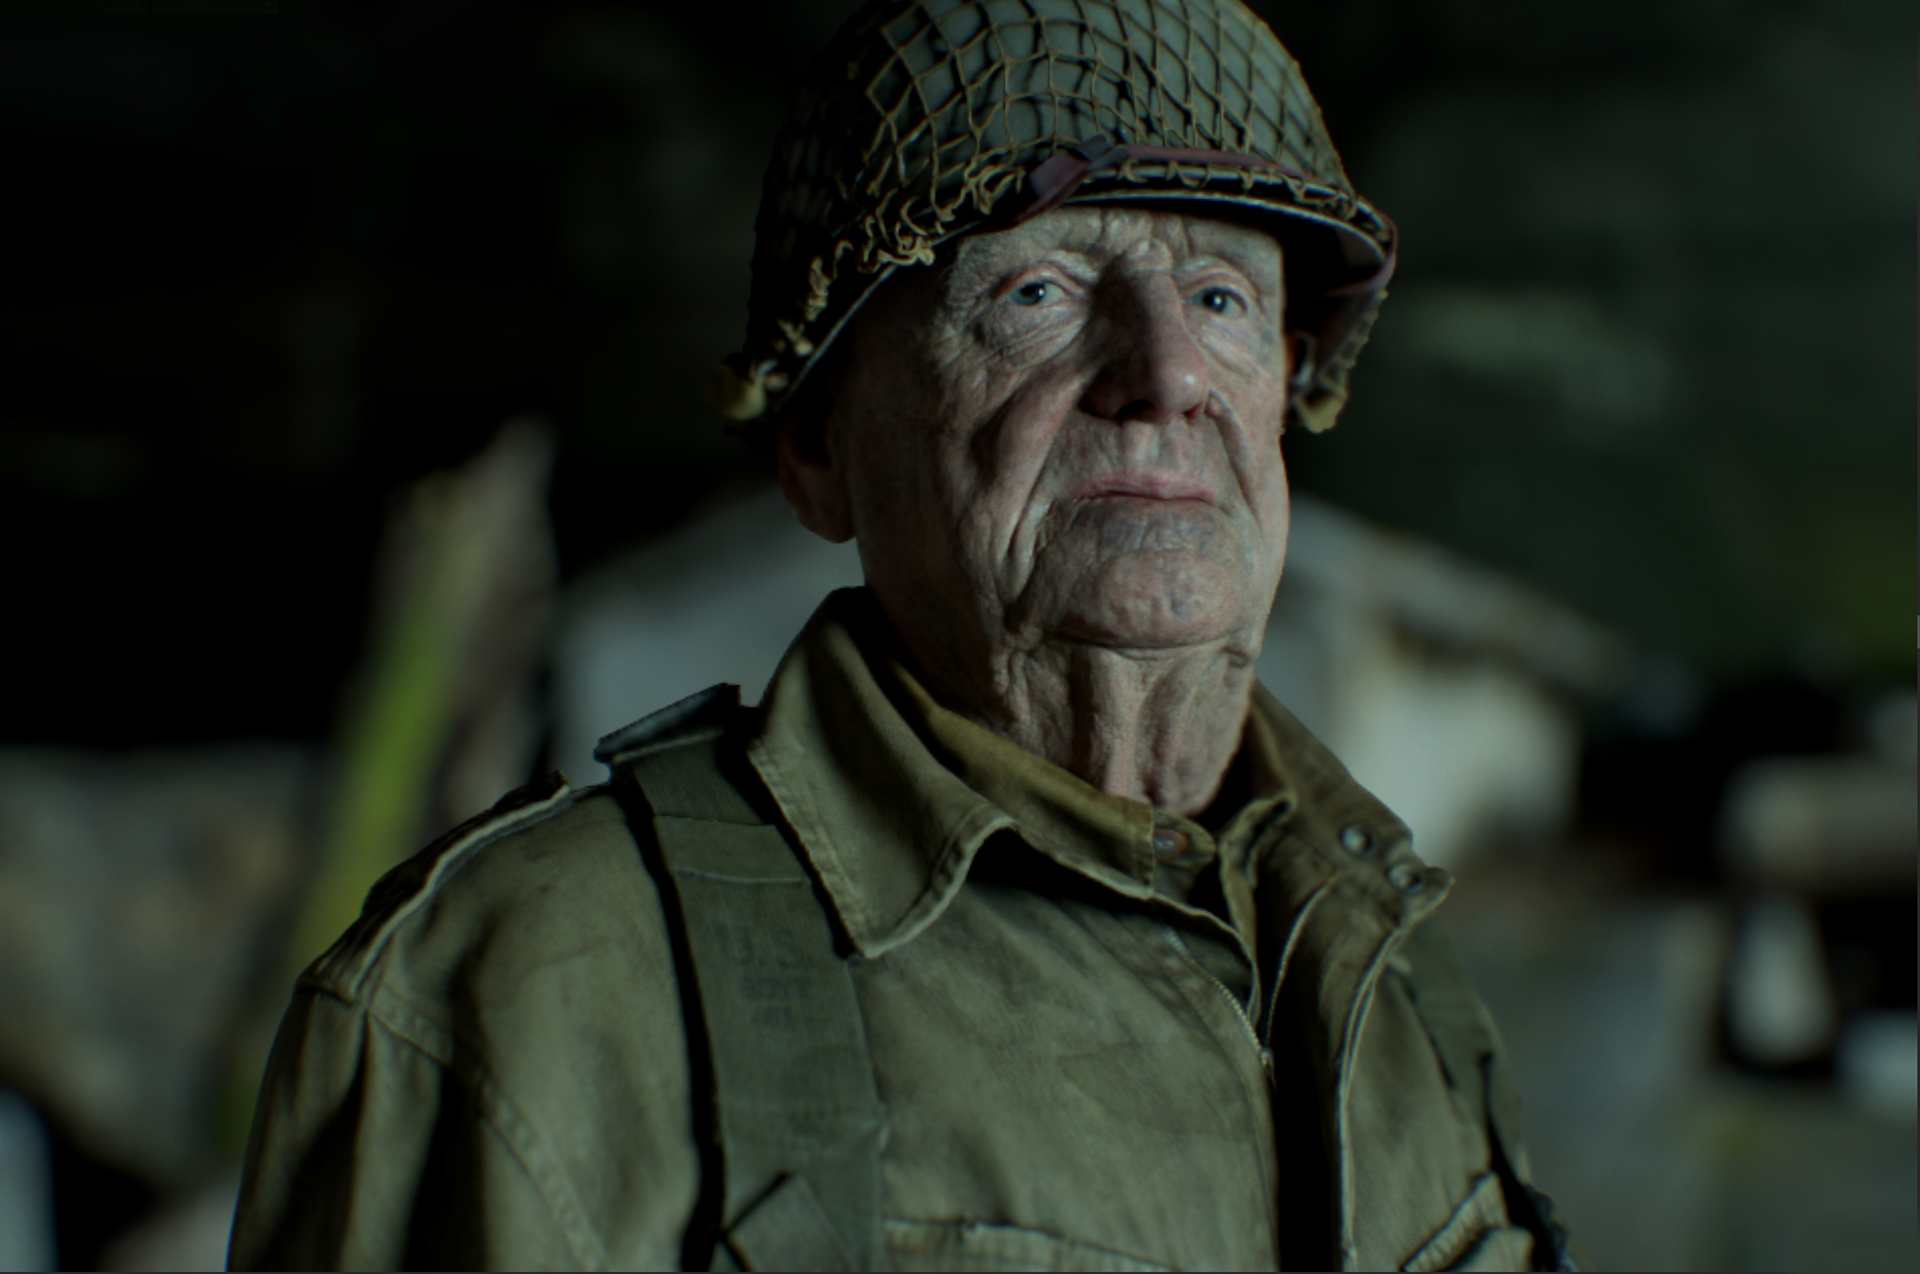
The Face
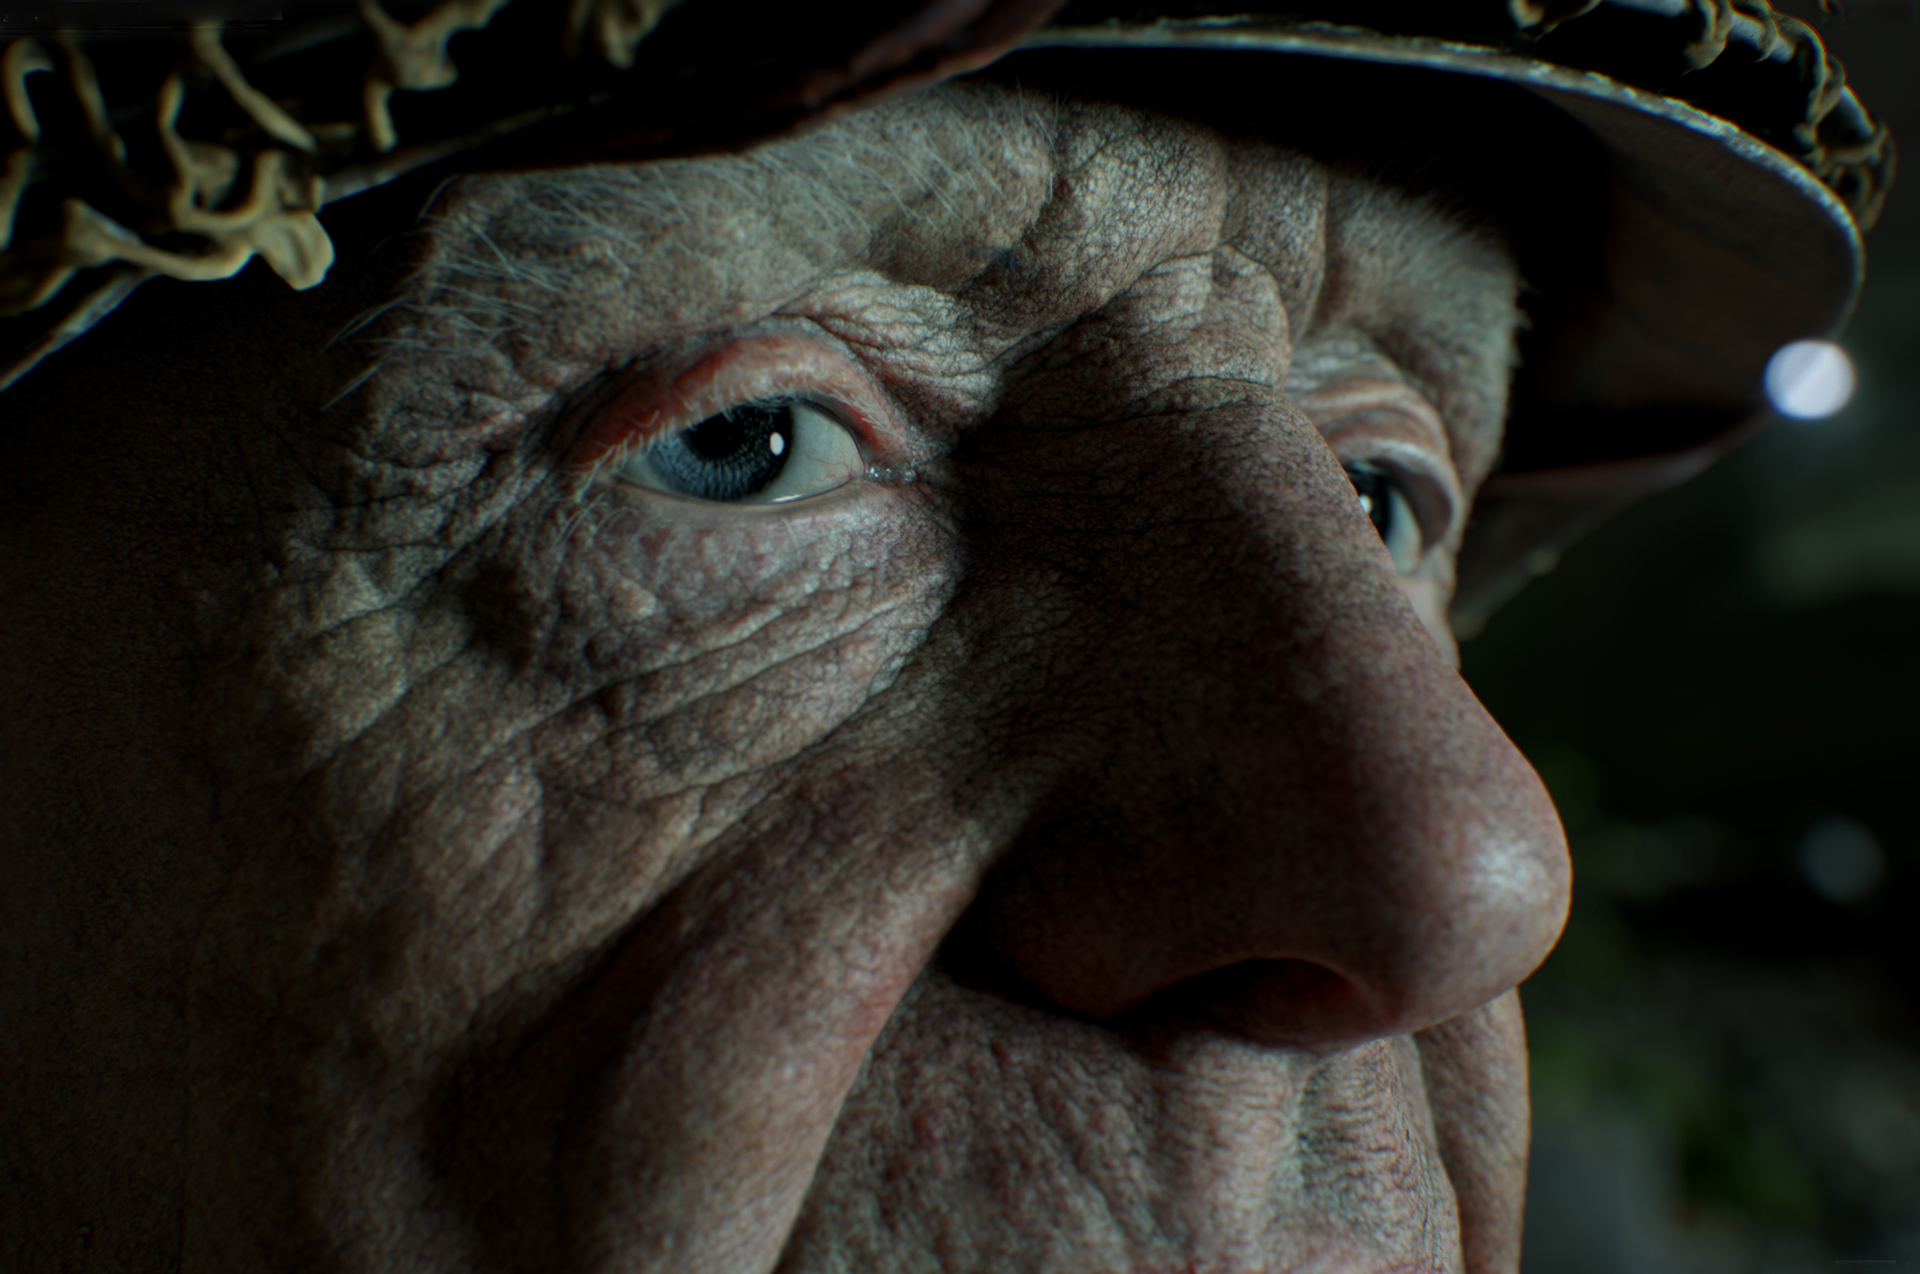
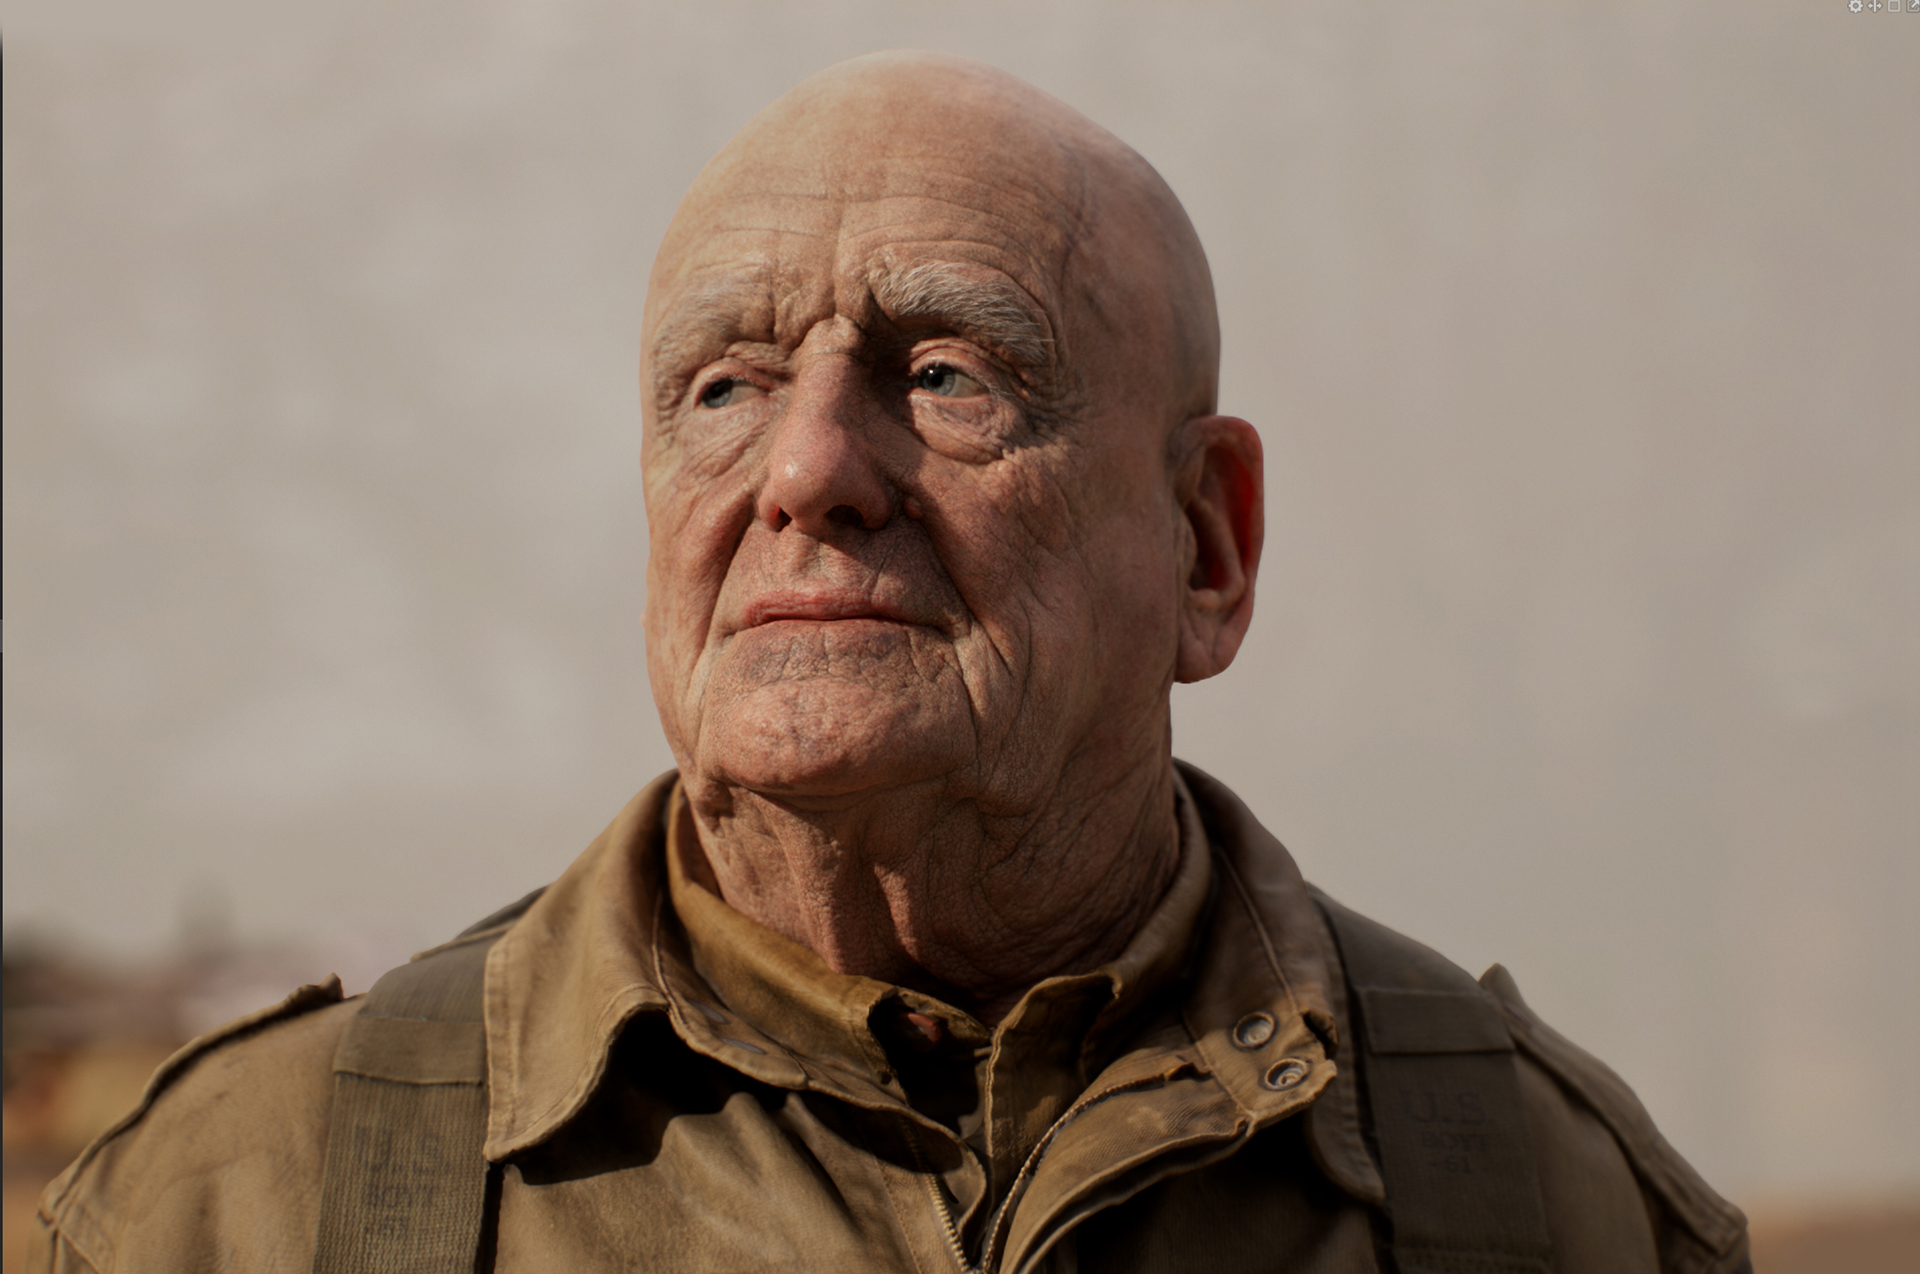
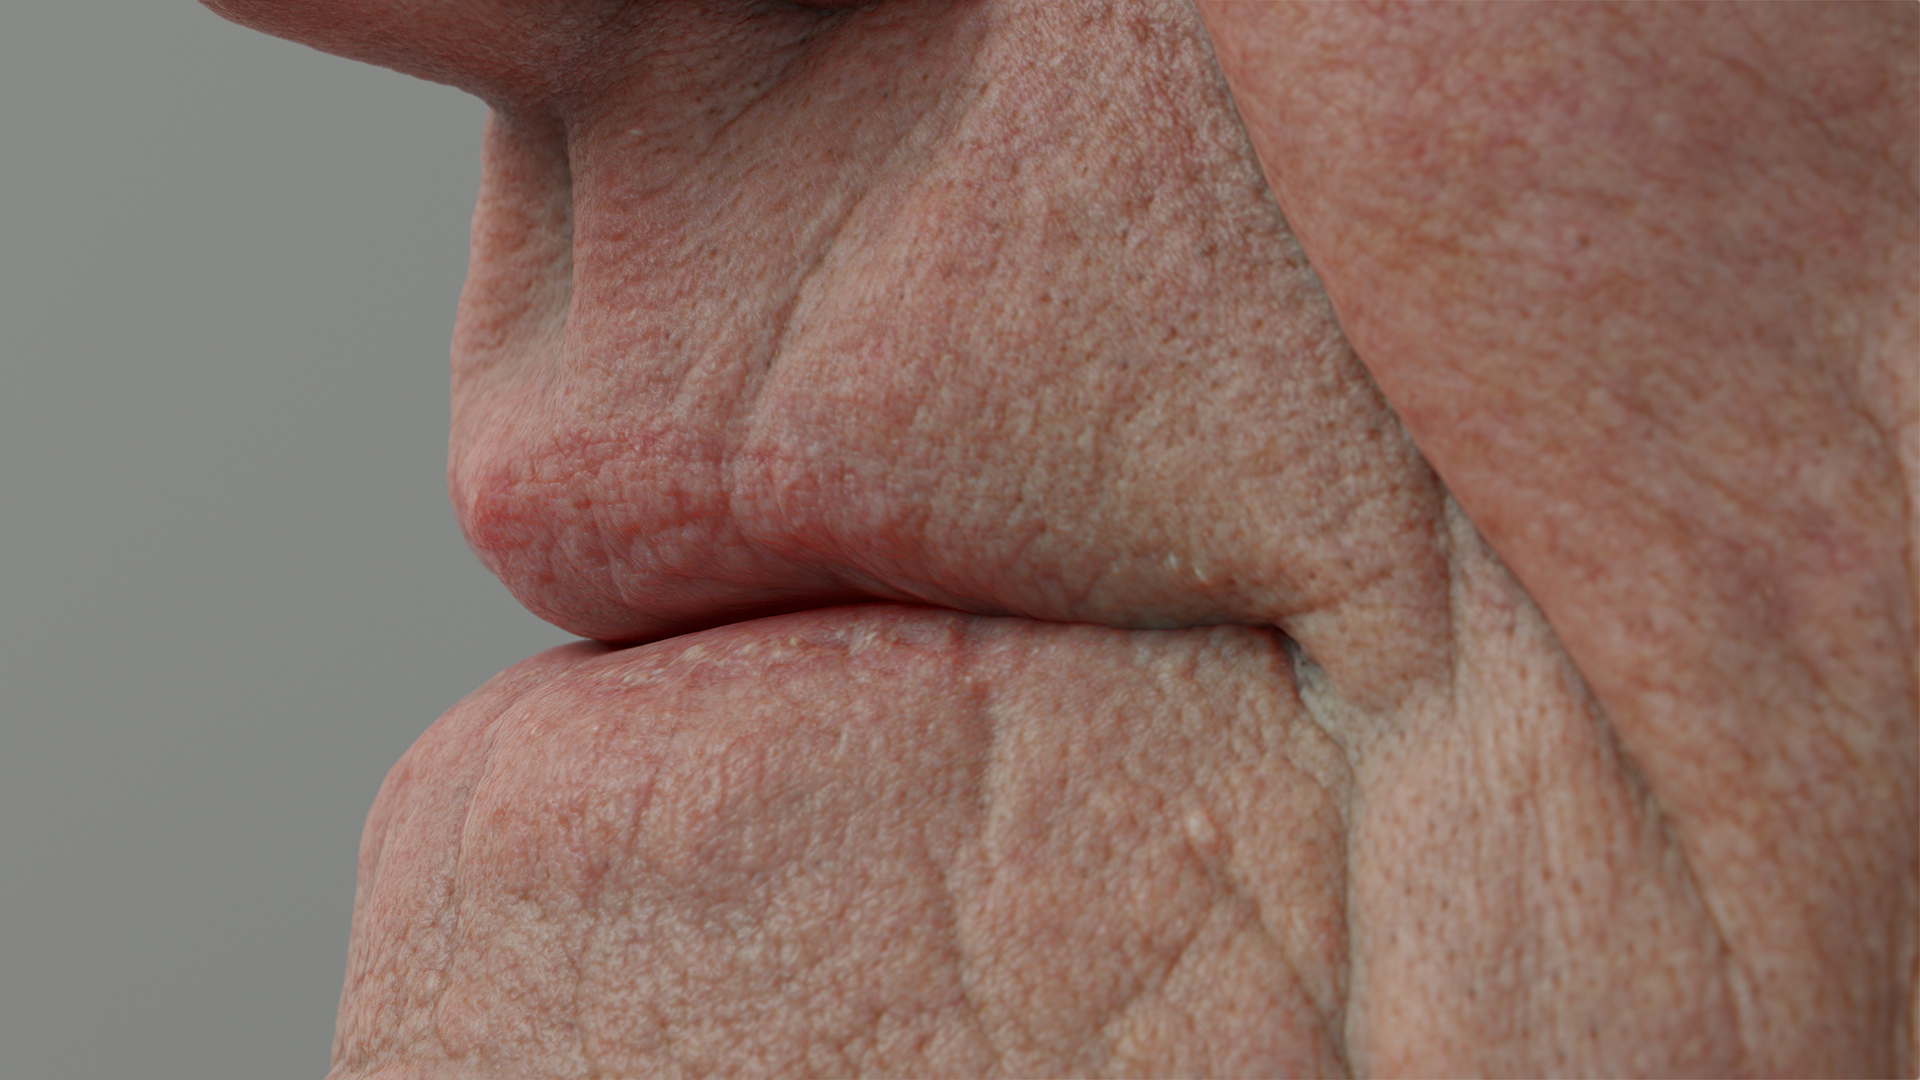
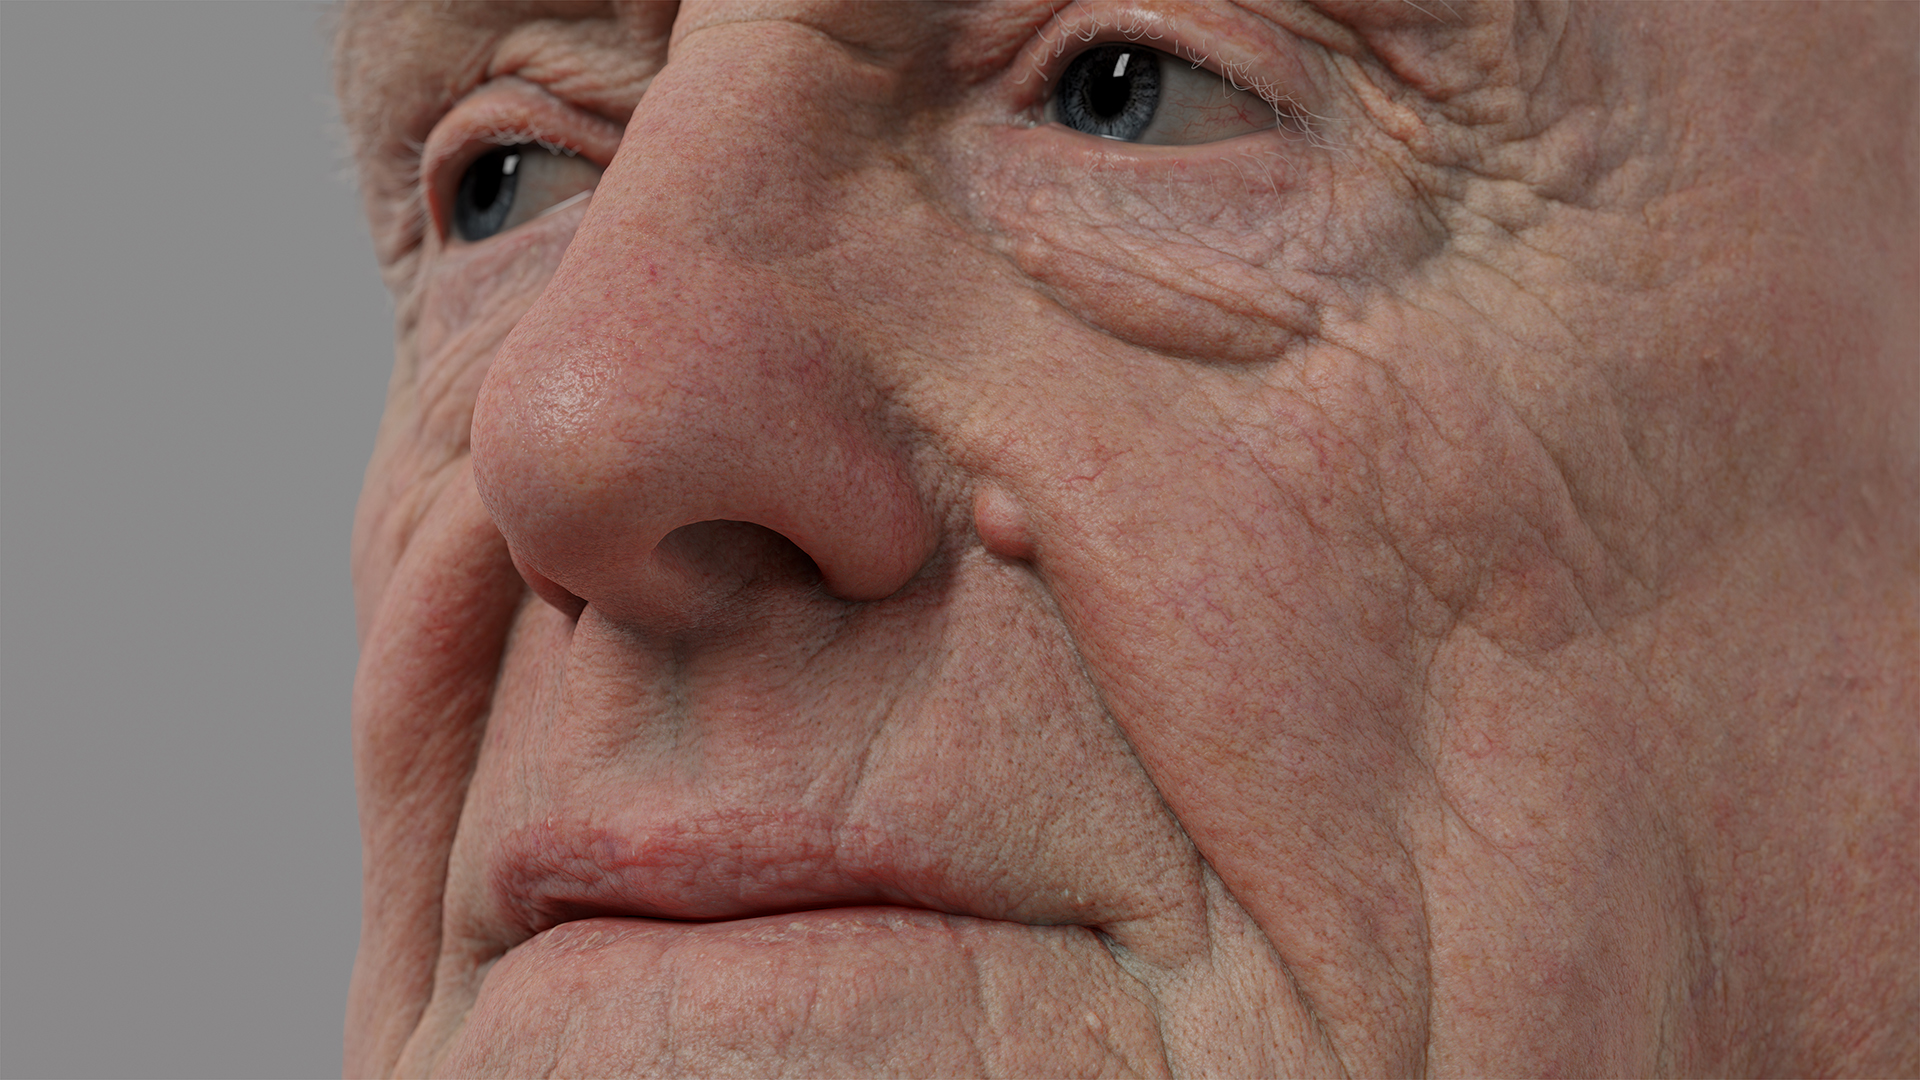
For this project I have used one of our HD head scans, Male Head Model 05 to be precise. With all the scanning, processing, and cleaning that I have to do, I rarely get a chance to make something using these scans and I really liked the features, folds, and wrinkles on this guy.
Simple Scene Setup
This setup is something anyone can do really easily. Rather than relying on pure HDR and a light, I made a simple box using Edit > Generate Primitive in Toolbag. I arranged the planes that I made into a box with no front or top and gave each wall its own surface. To provide some extra light and a few highlights, I positioned a large spotlight above and facing down into the box at about 45 degrees. You can see the settings for this in the image below. This is a great little scene for displaying head models. You can create some excellent lighting setups simply by changing the color of the room walls in the shader giving you some nice diffuse/bounce lights to play with.

Here’s a quick video showing the scene in action and how changing the color of the walls affects the lighting in the scene.
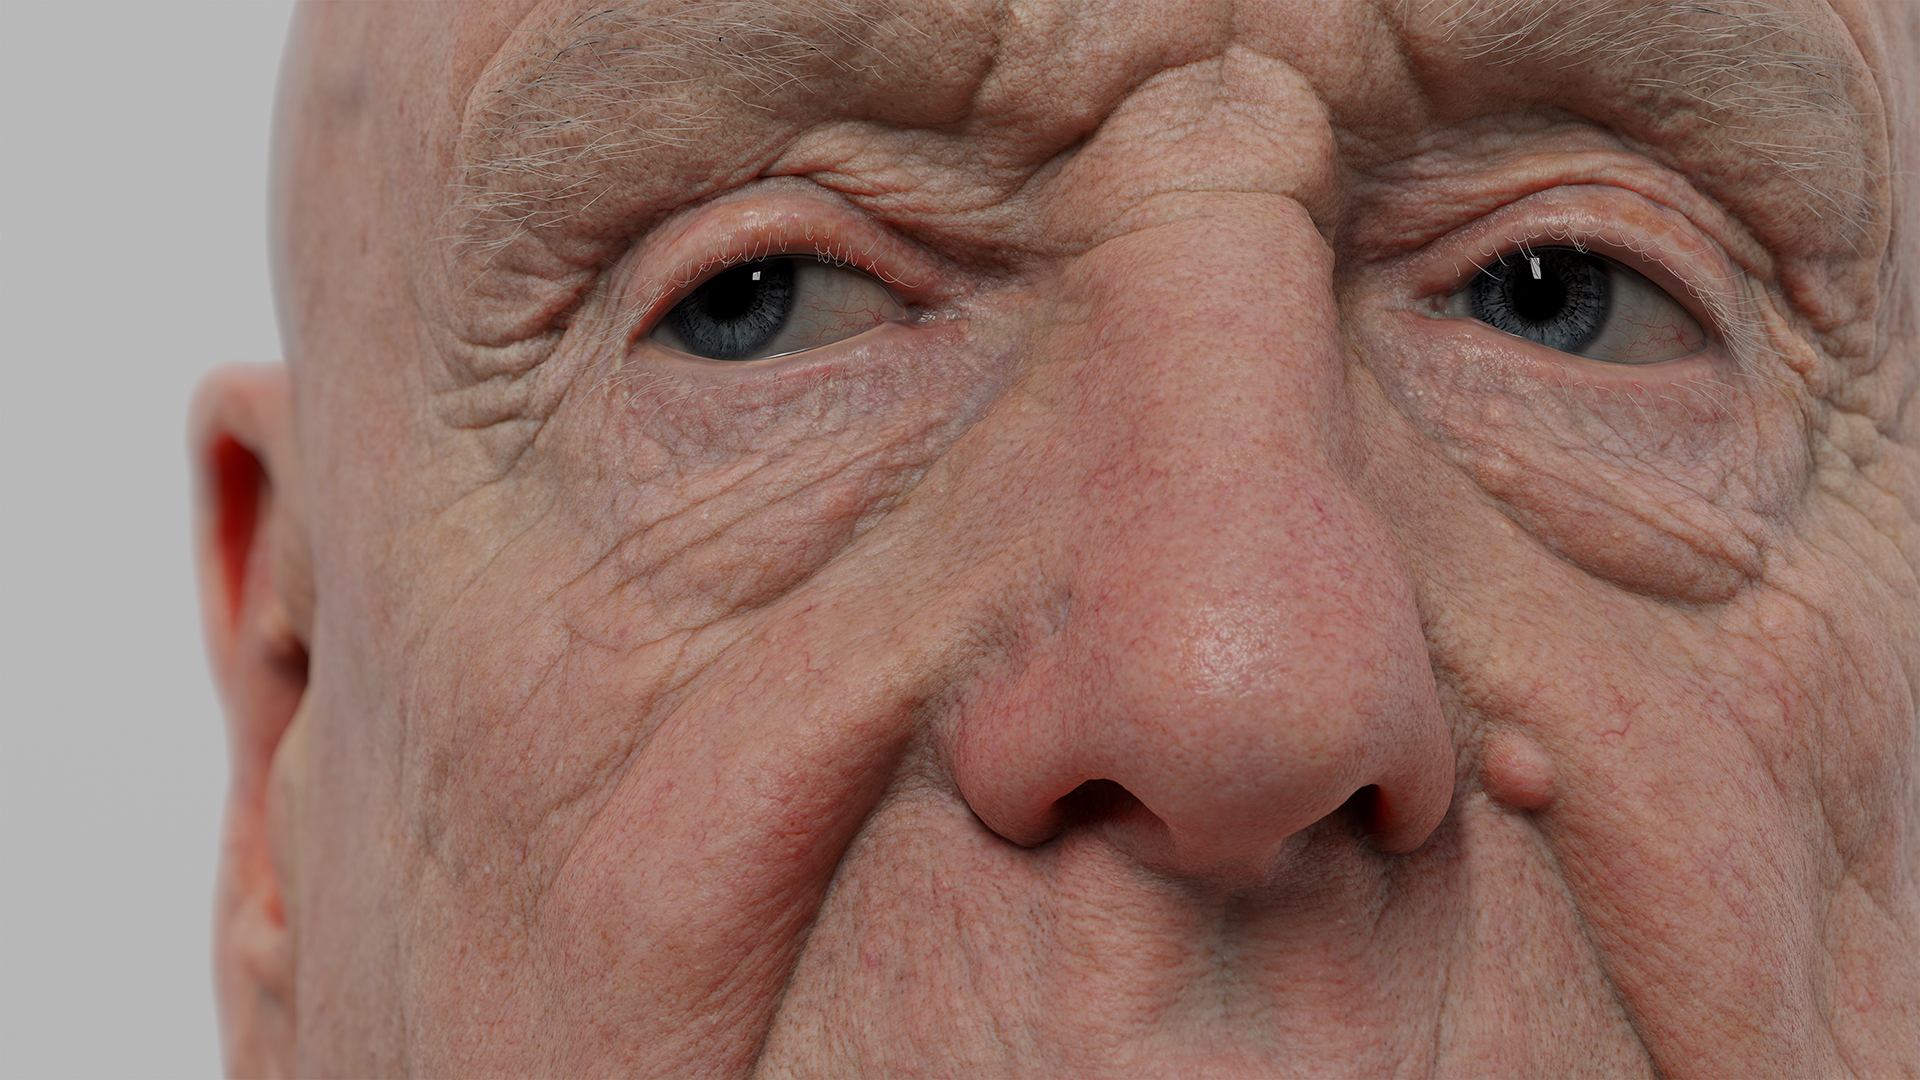
Skin Shading
The head that I’m using is one of our HD head scans. The skin shader was set up using the included maps, as shown in the image below. The one exception is the Thickness map I baked in Toolbag and loaded as the Scatter Map under the Transmission > Volumetric Scattering module to control the light scatter depth.

Dirty Face
I knew I didn’t want him to look as clean as he did in the scan, so I started experimenting with ways to dirty up his face. I wanted to go for an overall grimy look, someone who hadn’t washed in weeks with the ground in soot, tar, and general filth. In the end, I used the cavity map (supplied with the scan) and multiplied it over the top of the color texture to get the dirt into the skin pores and wrinkles on his face. I blurred it a few times and overlayed those as well to give the effect of the grime escaping the area around the wrinkles. After that, I just painted on some random darker areas and patches using a grungy brush in Photoshop.
The clothes I used are scans from a project we did with Driven Arts called “Days of War”. The original scan was actually of me in an A pose. I had to repose the model, cut off my ugly head and remove my hands. I did all this in ZBrush and then exported a medium subdivision level 3 mesh and baked the normal maps from the high res model using Toolbag’s baker. Here’s a quick article about the original project for Driven Arts.
Hands
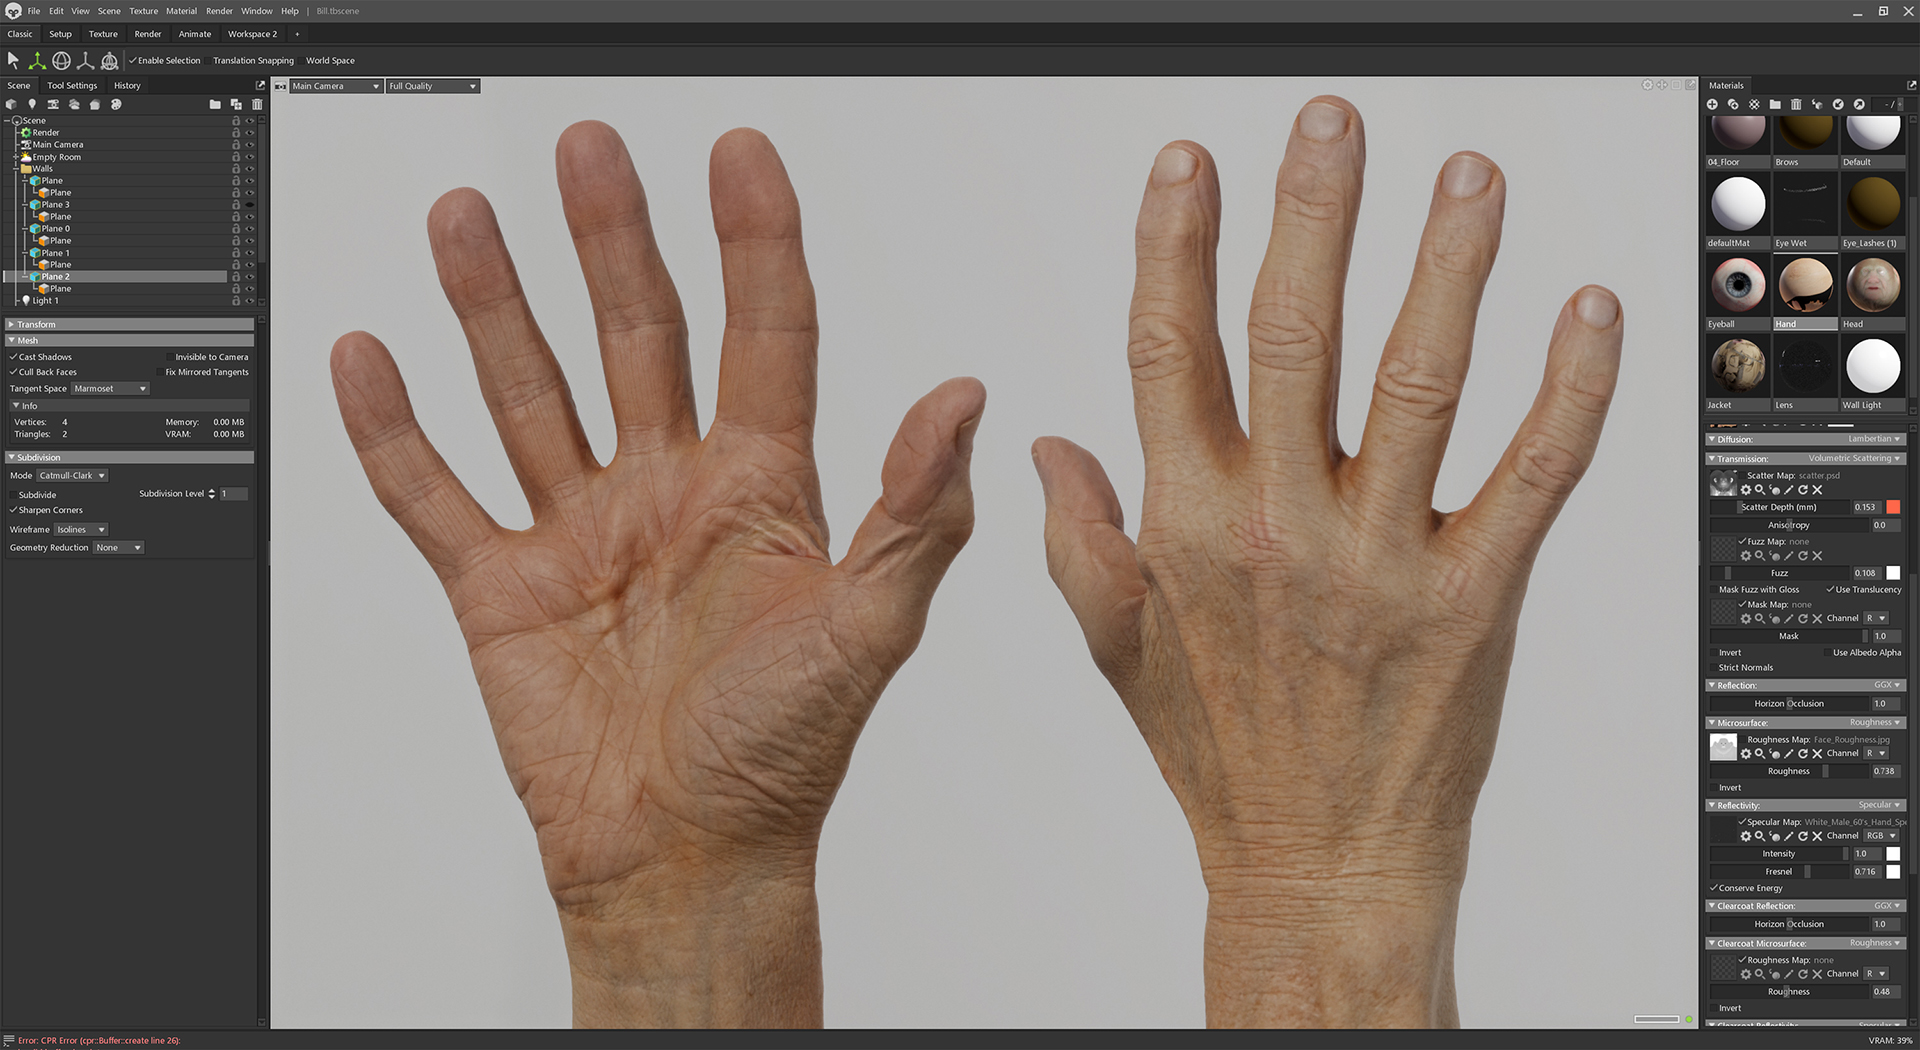
For the hands, I simply posed some of our high-resolution male hand scans. Here is an image showing the material setup I created for them in Toolbag using the Subsurface Scattering shader.
Advanced Scene Setup
I wanted to quickly create a war-torn scene using scanned assets so I used a combination of Megascans assets and a few bits and bobs that I purchased of CGtrader, including the rifle and the crumbling remains of a barbeque. It was fairly straight forward building the scene up, placing objects where I wanted them.

Scene Lighting
Lighting in Toolbag has always been a joy to use, and with version 4 it’s even easier. Most of the final renders shown at the top of the page use only one light and one of the standard HDRI Skies from Toolbag’s Library.
Camera Settings
The final step is to set up the camera. I always like to enable Depth of Field and some nice Hejl Tone Mapping to help create a more photographic look.


And that’s it really. I’ve really enjoyed using Toolbag 4 for rendering with its new ray tracing features, scene management tools, and new 3D texturing tools. I had a bit of a play with the new Texture Projects system and was able to use it to add some dirt to the clothing, boots, and gun. I’ve not really talked about it because I’m still getting to grips with that side of things. Perhaps that will be another article.
If you have any questions, please feel free to email me at jamie@ten24.info.
We would like to thank James Busby for writing this breakdown. Check out more articles written by James and others on the 3D Scan Store blog. Start creating your own photorealistic renders with the power of RTX-accelerated ray tracing using a full-featured, 30-day trial of Toolbag 4.
If you’re interested in collaborating on a tutorial or breakdown article, please send us your pitch, along with a link to your artwork, to submissions@marmoset.co.


