Introduction
Hello everyone! My name is Dylan Mellott, and I’m a Hard Surface 3D Artist currently working at DICE Los Angeles. In my spare time, I enjoy making stylized art and I put together this tutorial together which covers my process for making stylized crystals. You can see how I used this approach in my War Axe of the Ancient Tree asset. The software packages used throughout this tutorial are Zbrush, 3ds Max, Substance Painter, and Marmoset Toolbag, of course!
Sculpt
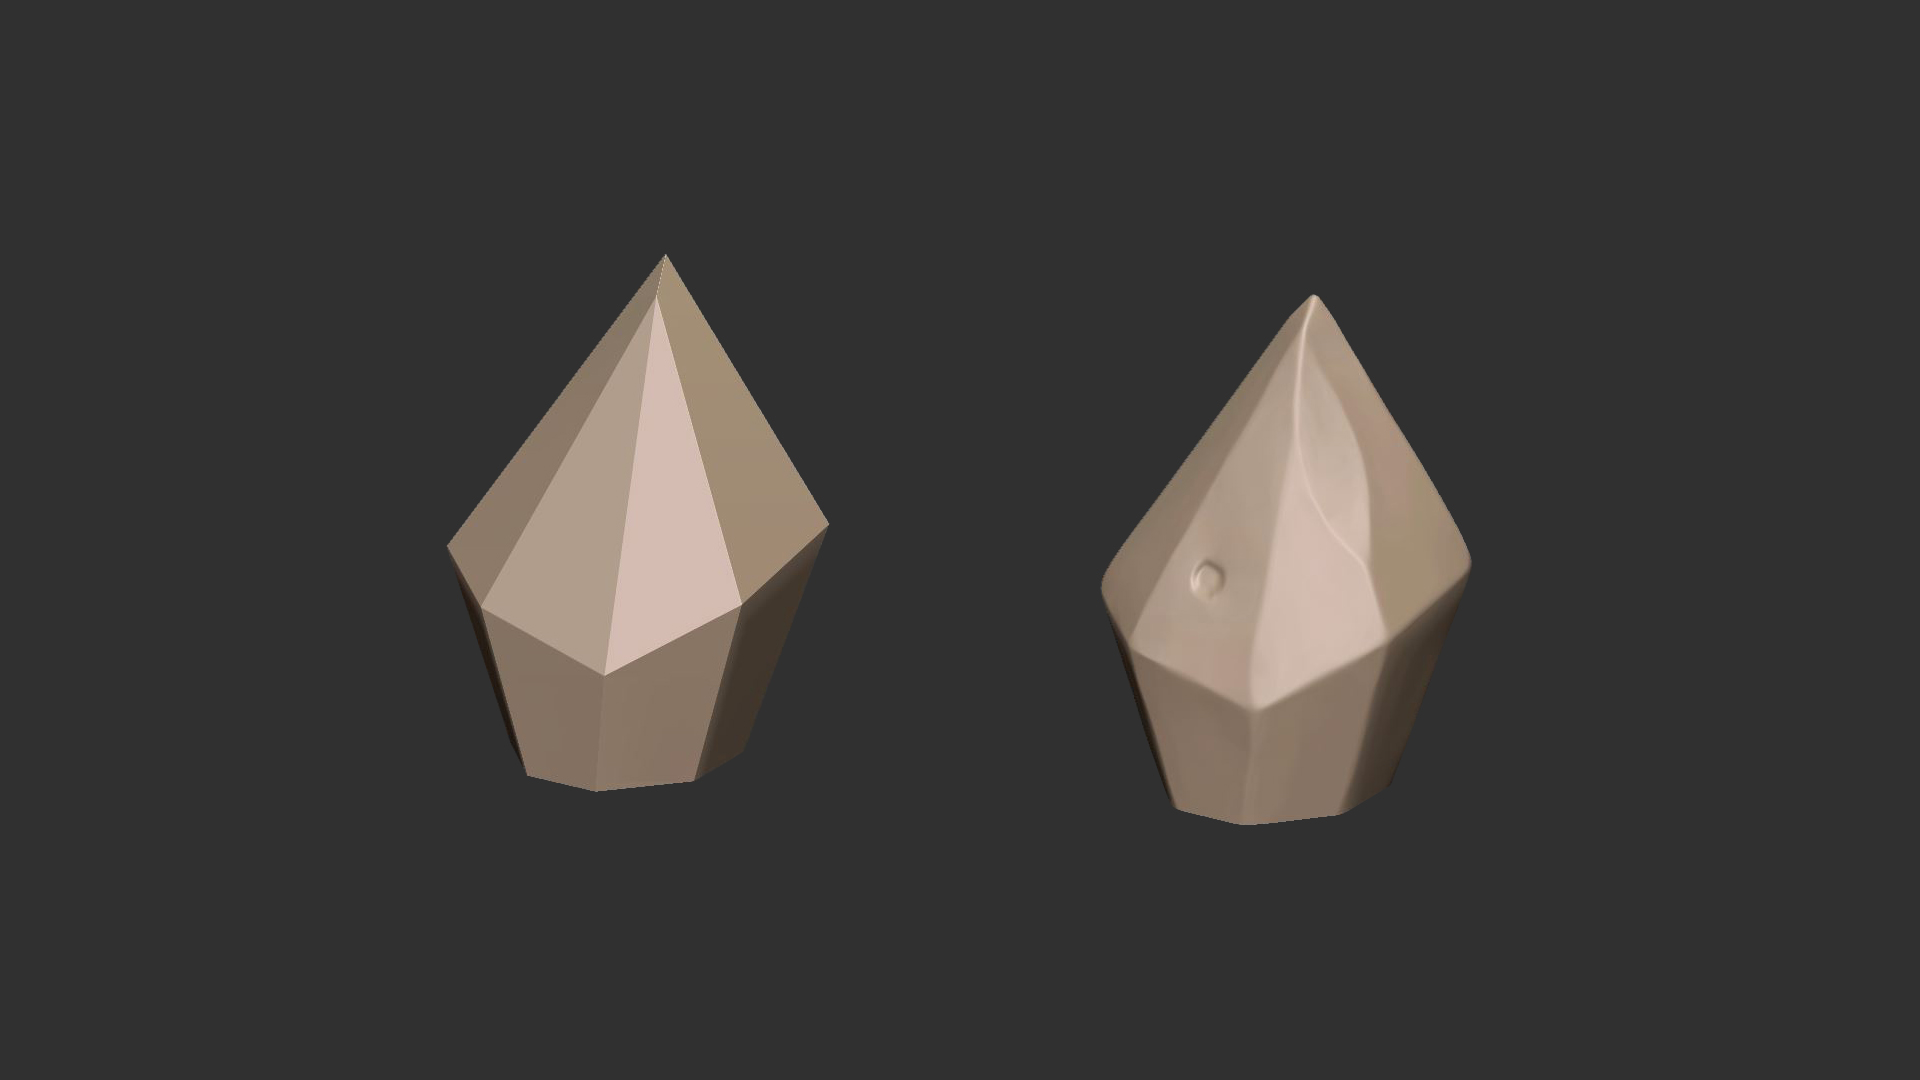
I begin by creating a very simple base mesh in the modeling software of choice (base mesh pictured left). Afterwards, I import the base mesh into Zbrush where I subdivide it, refine, and add details.
Tip: The more planar your crystal sculpt is, the more light it will catch, and the better your final result will be!
Texture Creation & Preparation
Before we take our mesh into Marmoset Toolbag, we need to generate the textures that will drive our shaders. You can follow this structure in any texturing software, whether it be Photoshop, Quixel, Substance, and so on. In this case, we’re going to approach it using Substance Painter.
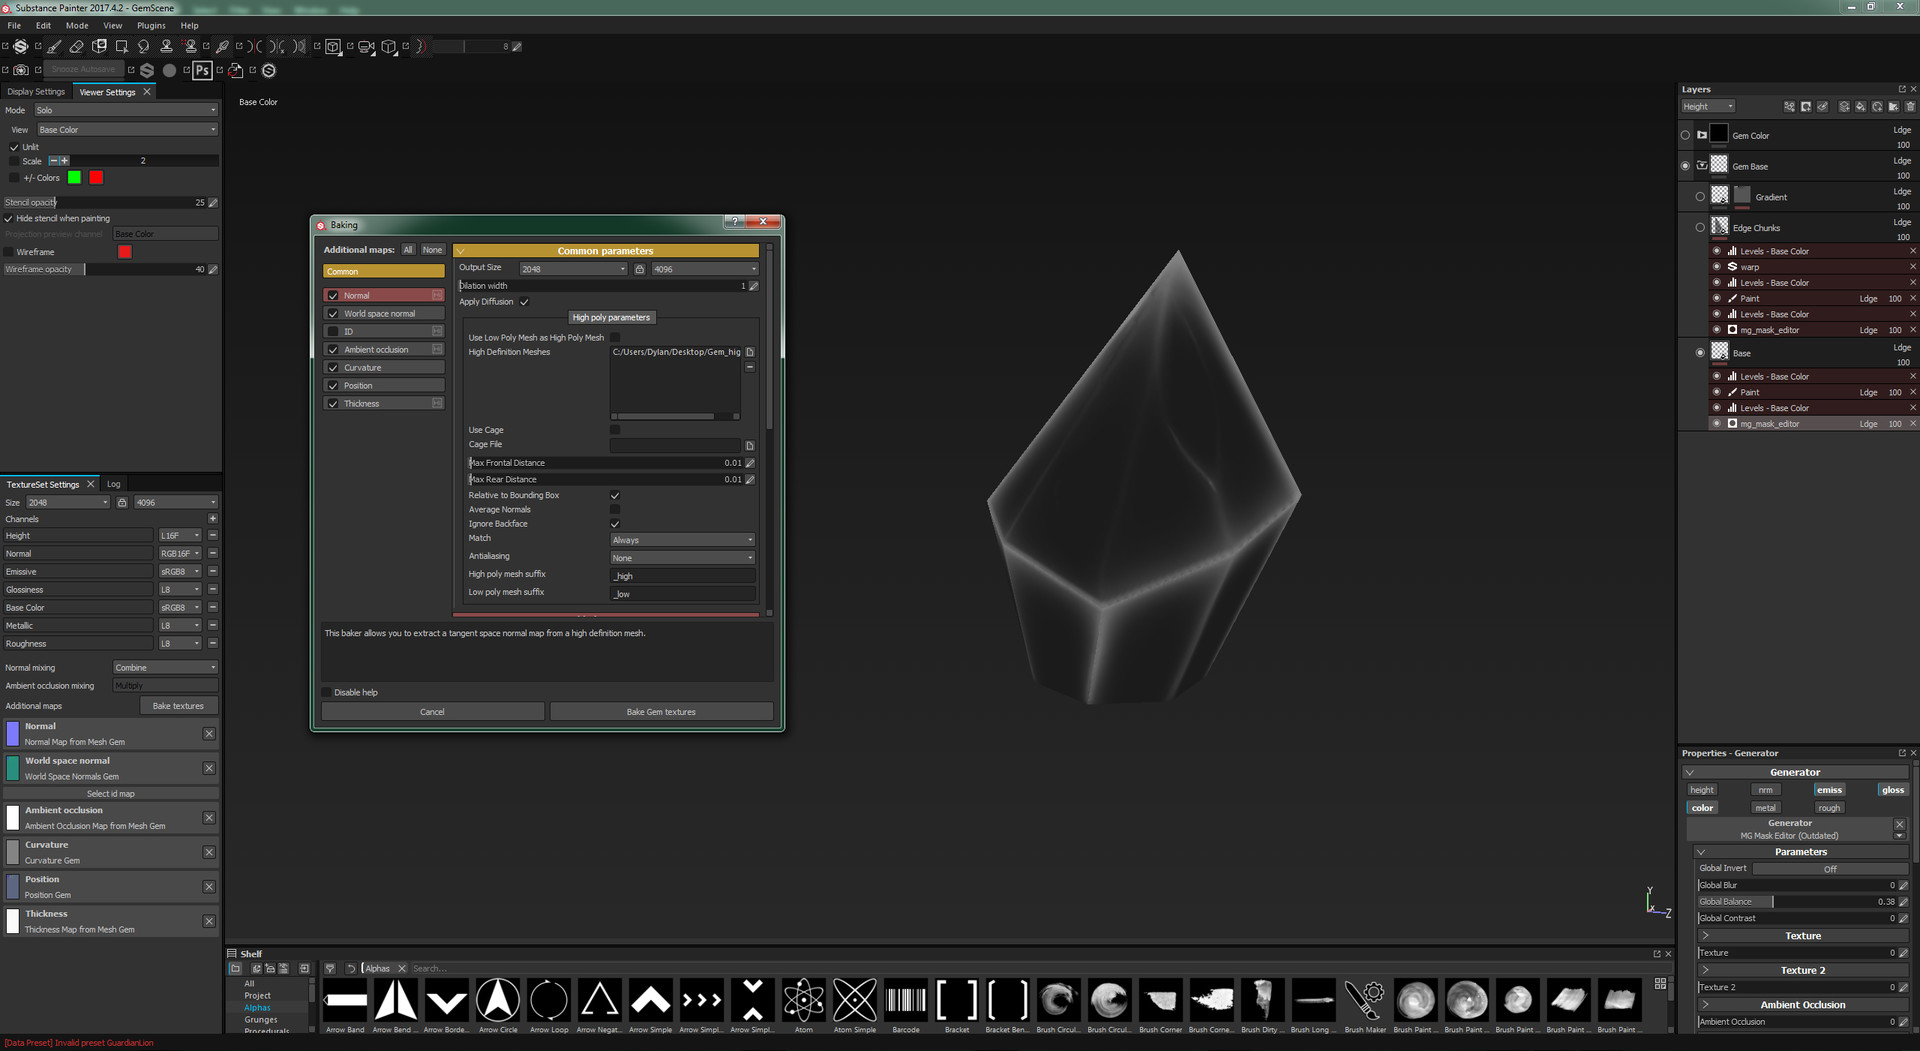
Begin by importing your high poly and UV unwrapped low poly, and bake the Normal, World Space Normal, Ambient Occlusion, Curvature, Position, and Thickness maps. Later on, these maps will drive our procedural materials within Substance Painter. Next, establish a simple grayscale base with edges highlighted in a light gray/off-white color. The highlighted edges will give us a lot of pop in our Emissive channel in Toolbag, while the darker greys will provide us with depth.
For a layering effect, add a simple gradient. In stylized art, gradients can often be used to establish focal points and provide contrast. Experiment with gradients to draw the eye to specific elements in your piece!
To give our edges a lot of depth and overlap, add a Warp Effect in Substance Painter by right clicking on a layer and selecting Effect. Adjust the Intensity to your own preferences. (Thanks to Chris Stone for showing me this trick!).
Material Setup
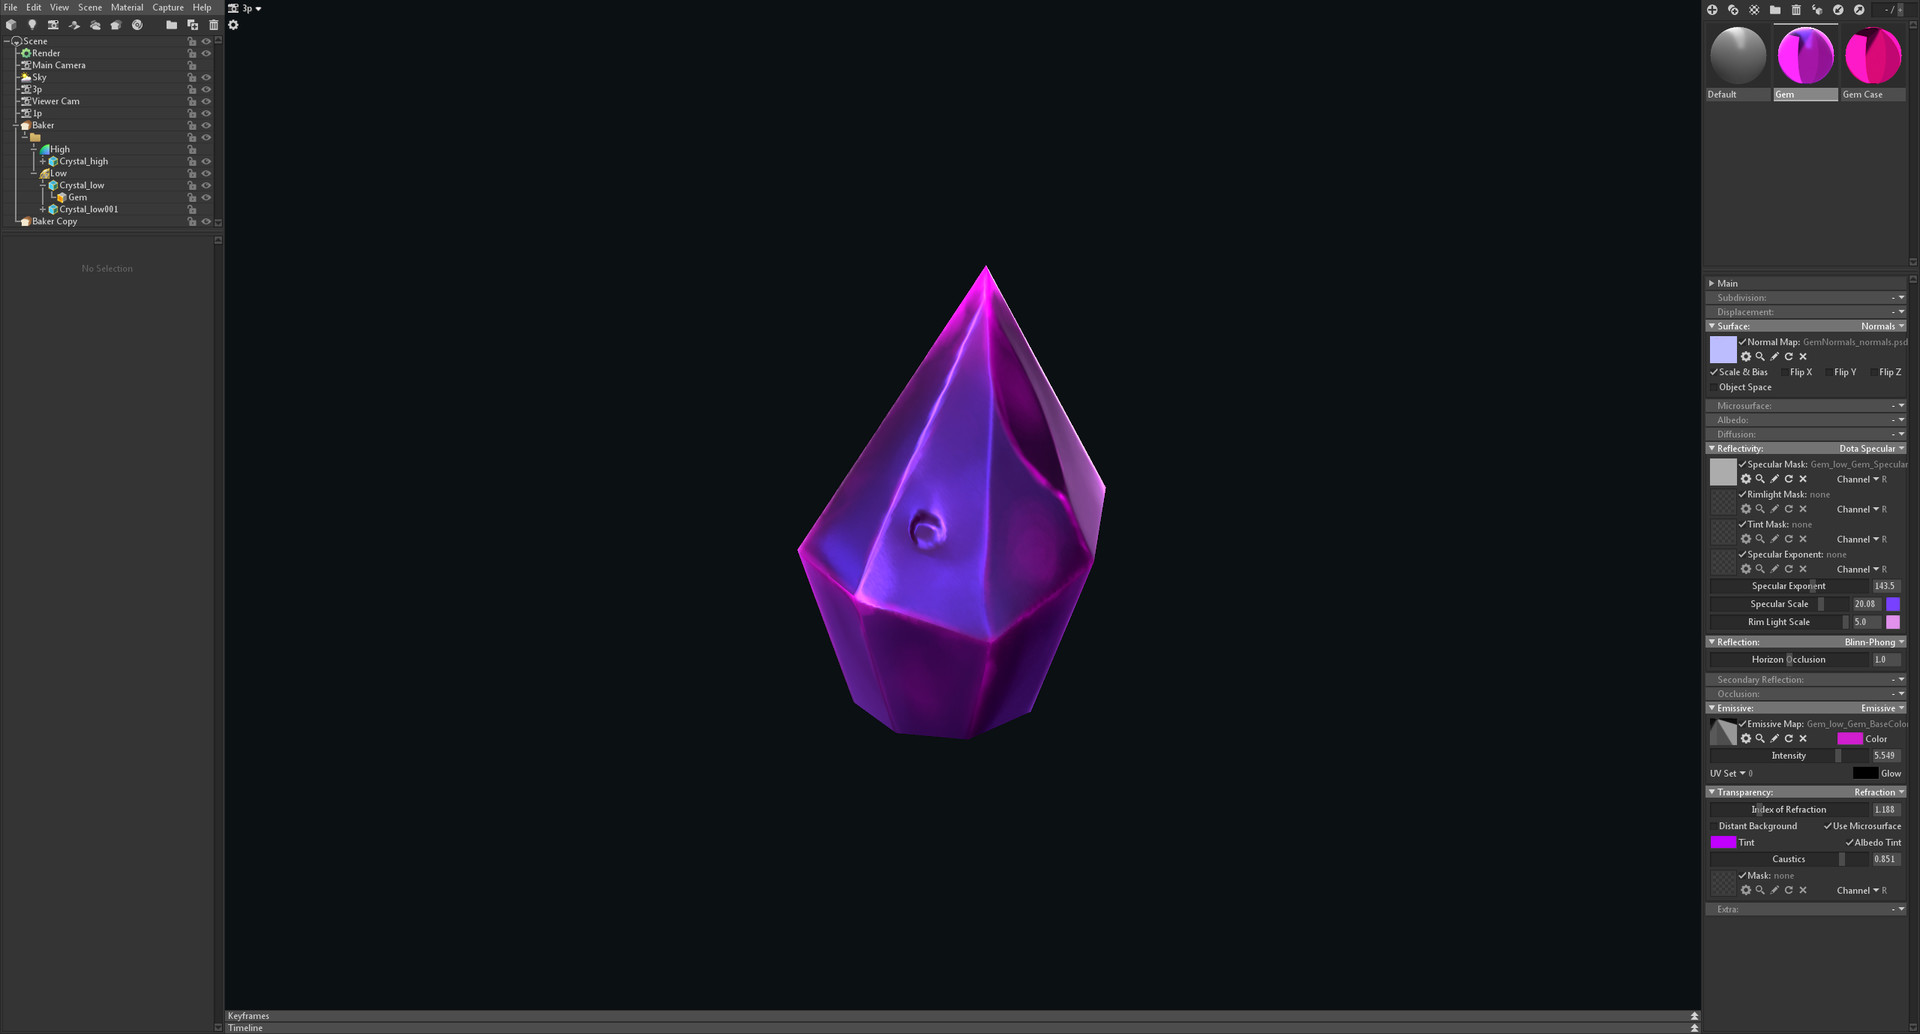
Now that we have finished creating our textures in Substance Painter, I’ll import my mesh and it’s textures into Toolbag 3. Note my material settings on the right:
- Normal
- A flat gray Specular Mask set to use Dota Specular
- Reflection with Blinn-Phong
- Emissive with our texture from Painter
- Transparency with Refraction (more on this below)
The Dota Specular Reflecitivity model has parameters that can introduce some really cool effects! I use this Dota Specular because it allows me to experiment with having very self-contained results, while reserving the ability to add additional support lights if needed. For example, in the video above, I adjust each parameter to demonstrate their individual outcomes. Of particular note, the Rim Light setting can be used to fake a colored light along the edges of your asset without having to add an additional light. I strongly encourage experimenting with the sliders in this section! Below is an explanation of each slider found under the Reflectivity material:
- Specular Exponent: Adjusts glossiness.
- Specular Scale: Adjusts color and brightness.
- Rim Light Scale: Adjusts rim light color and it’s intensity.
- Emissive: Adjusts our map from Substance Painter.
Those settings should get you something like this. We could stop here and have something decent, but let’s go one step further!
Creating Refraction
The goal for the next steps is to increase the fidelity and quality of our crystal. We could have stopped at the previous step and accomplished a decent result, but there are a few more options that can help push our crystal further. We’re going to create a second piece of geometry that nests inside of our existing crystal, which gives us a really awesome refraction effect in Toolbag.
- Select and duplicate the crystal mesh.
- Scale the duplicated geometry to be outside of the original crystal.
- Invert the Normals of the newly duplicated geometry. This will make it so that the duplicated crystal will appear invisible until we assign a shader to it in Toolbag. We will use this mesh to drive our refraction.
Note: You can place the duplicated crystal inside of the original crystal at this point to save a step later. By the end of the tutorial, the duplicated crystal will be placed inside of the original. I chose not to embed it at this stage for the purpose of demonstration, as I wanted to highlight that a new mesh had been created from the original crystal.

- Import your duplicated crystal.
- Duplicate your original shader.
- Change the Specular and Emissive settings to your liking.
The higher your Emissive value, the brighter your crystal will be, especially where you have laid out highlights in your texture. If you boost the Specular Exponent, you will get a crystal that is more glass-like and will show off more refraction. Adjusting the Specular Scale will cause your crystal to become more or less shiny.
You can create a cool refraction effect by dragging your duplicated crystal onto the original, then scaling it down so that it nests inside of the original crystal. You’ll start to notice refraction taking place now.
Change the intensity of the refraction by adjust the Index of Refraction settings to your liking. I ended up playing with the settings until I found a result that had an interesting material and refractions without being too overpowering. I wanted something that showed a lot of light bouncing around inside of the crystal, while retaining the integrity of the external shape.
Note: Raising the Index of Refraction value will cause your internal crystal to appear to shrink. If you raise it high enough, you’ll notice your duplicated crystal will start to become clearly defined inside of your original. I encourage you to be careful not to introduce too much noise by raising the Index of Refraction too high. In the same breath, don’t be afraid to break conventions if it gives you a really cool result!
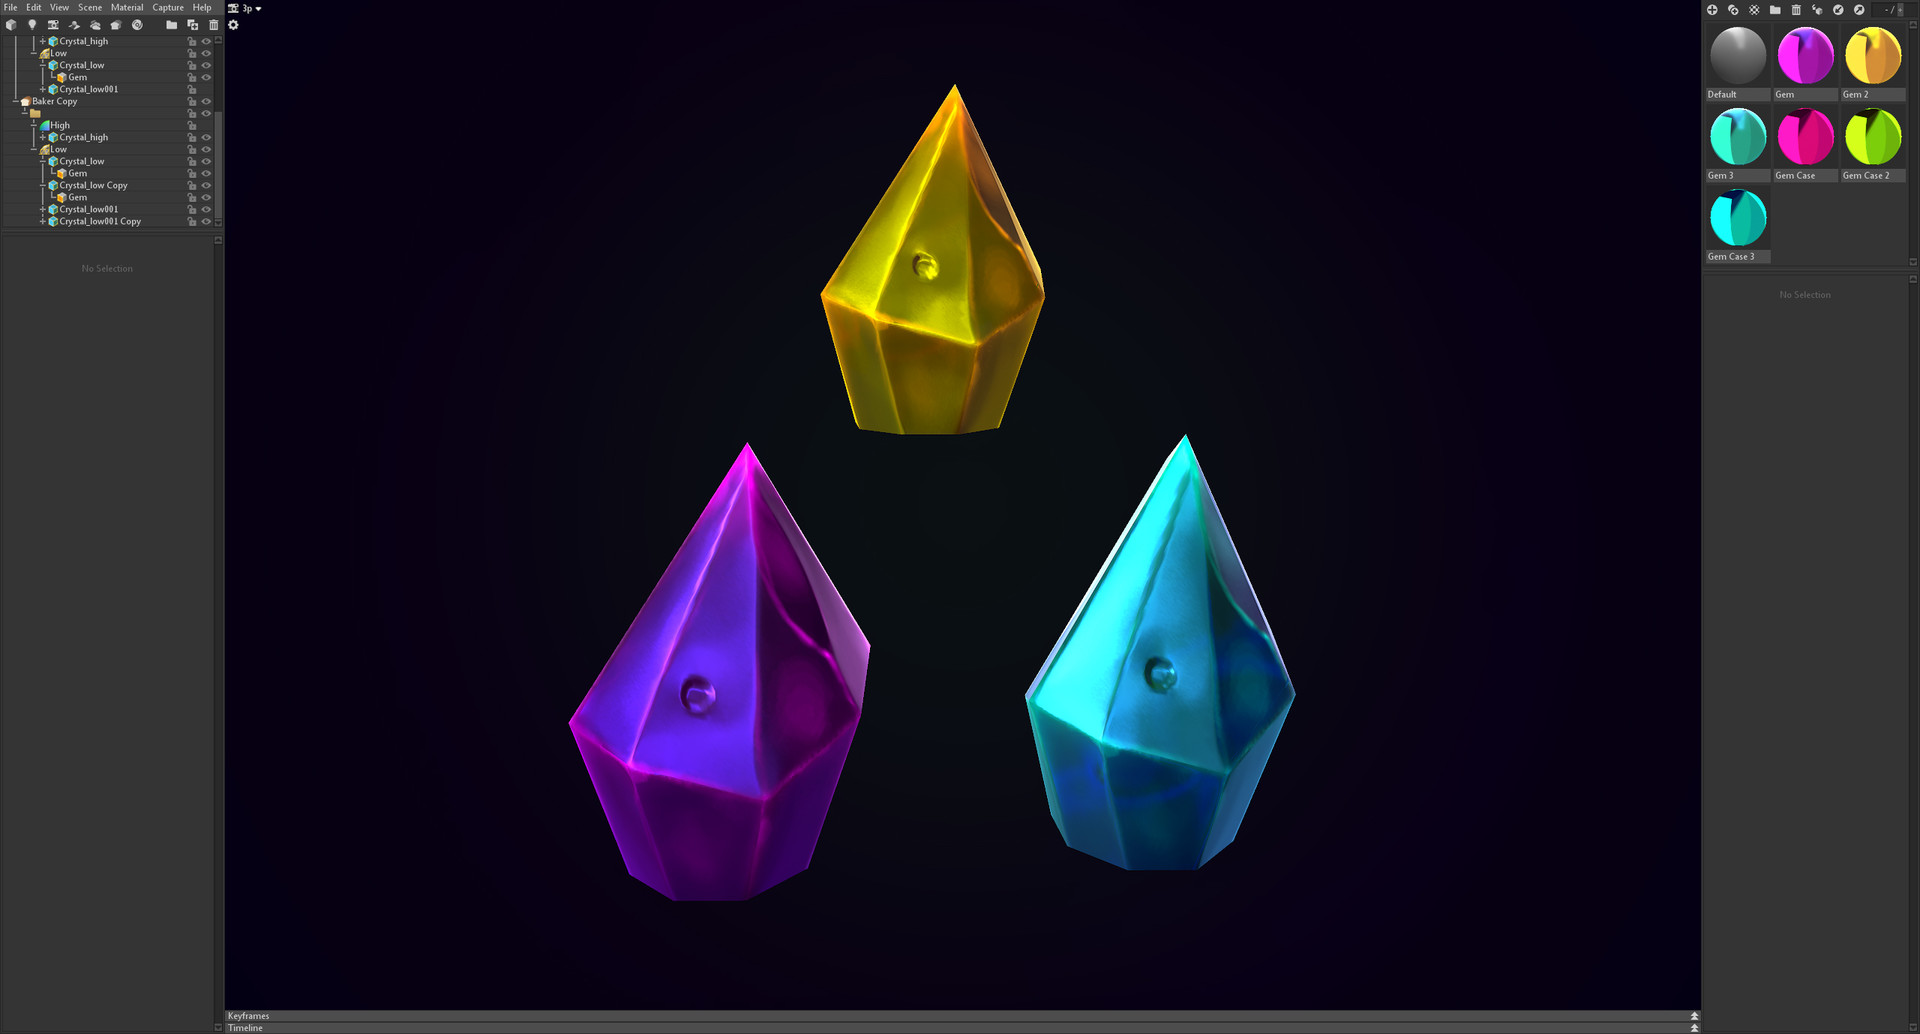
Here are a few quick variations using the same shader and textures, created by adjusting the material settings in Toolbag.
Conclusion
And there it is! I hope you found this walkthrough to be helpful and informative. If you have any questions or need any help, please feel free to reach out to me directly, and all the best on your journey!
We would like to thank Dylan Mellot for writing up this guide. You can find more of Dylan’s work on Artstation. Dylan also collaborates with The Mentorship Collective to offer Stylized Art Mentorships each month. Create your own stylized crystals with Toolbag using the free 30-day trial, and visit our Tutorials section to see more breakdowns.