
Introduction
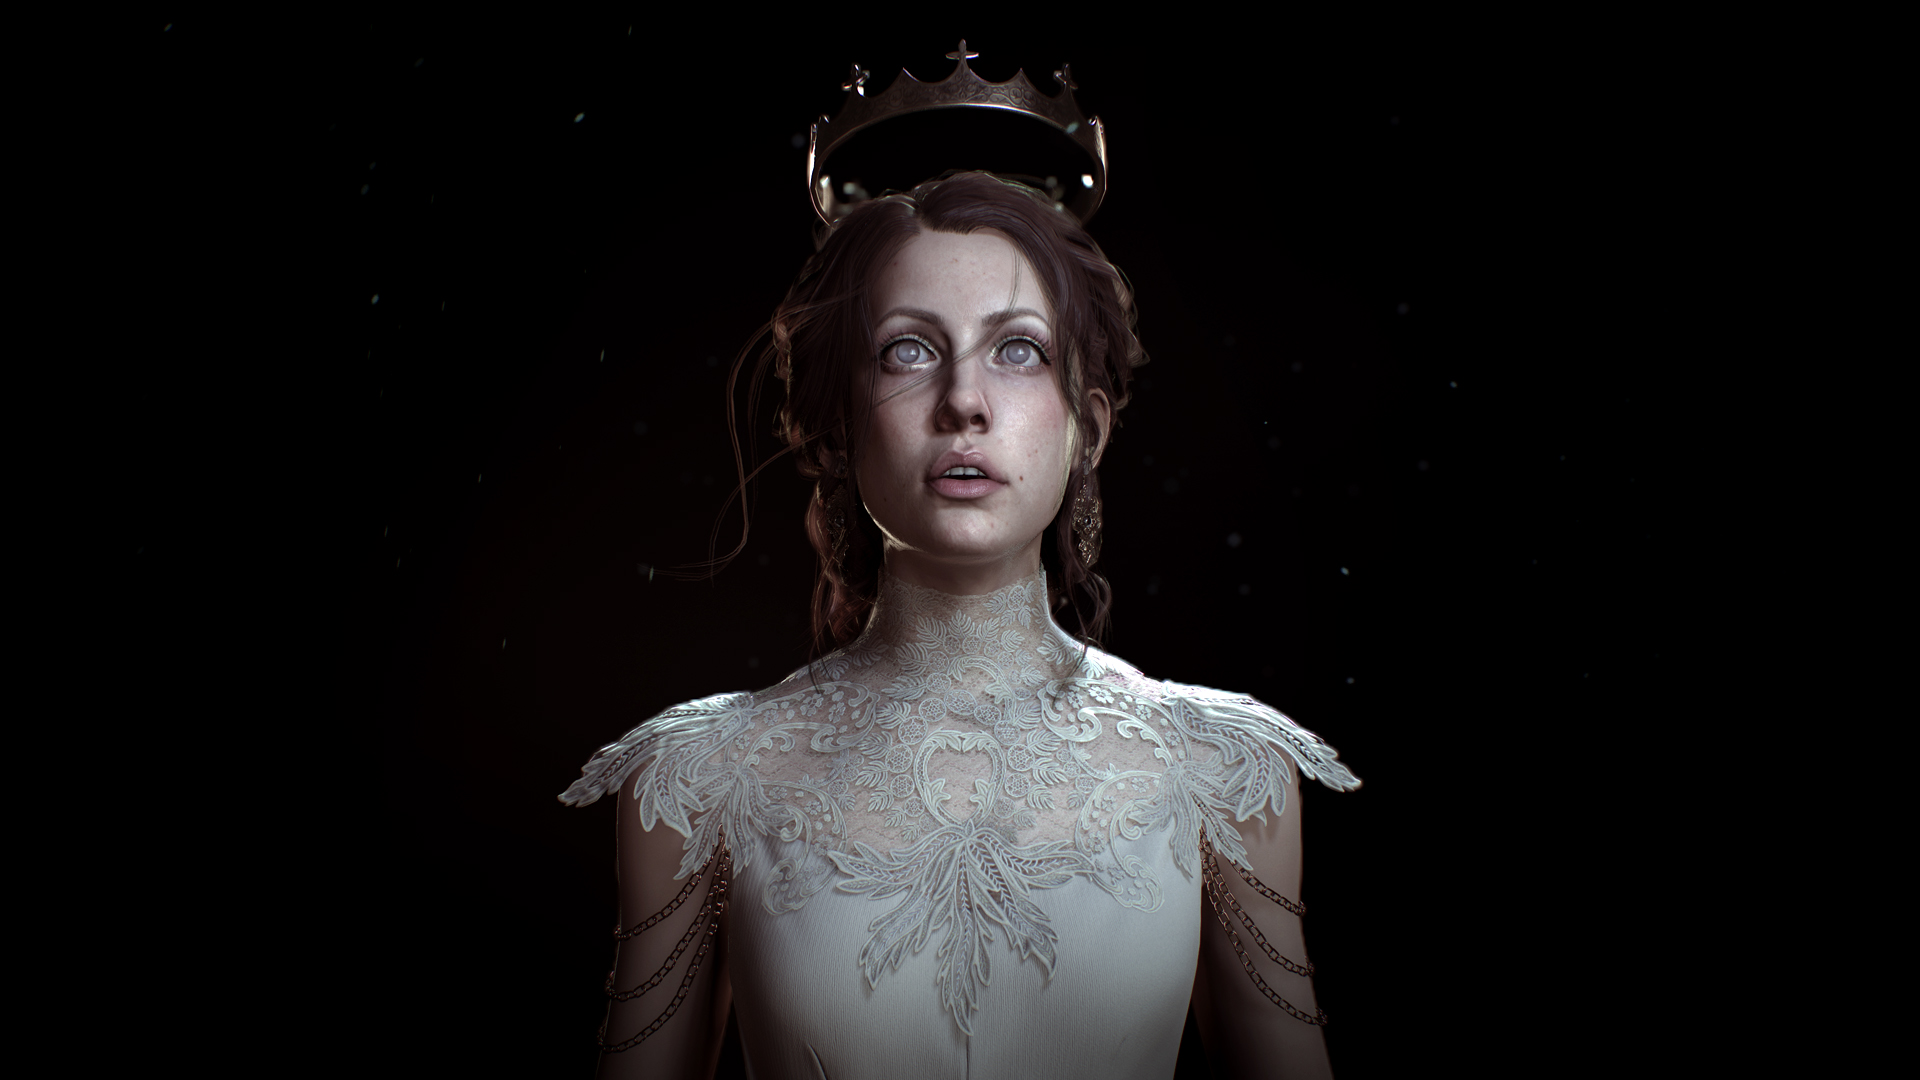
Hi, my name is Moa Alfredsson, I’ve been working as a character artist for 2½ years at Hazelight, and we recently shipped our first title A Way Out. In this breakdown article, I will mainly focus on how I created the lace dress for my recent artwork, ”Coronation”. Other topics I’ve covered are material setups, lighting, and presentation in Toolbag.
Reference
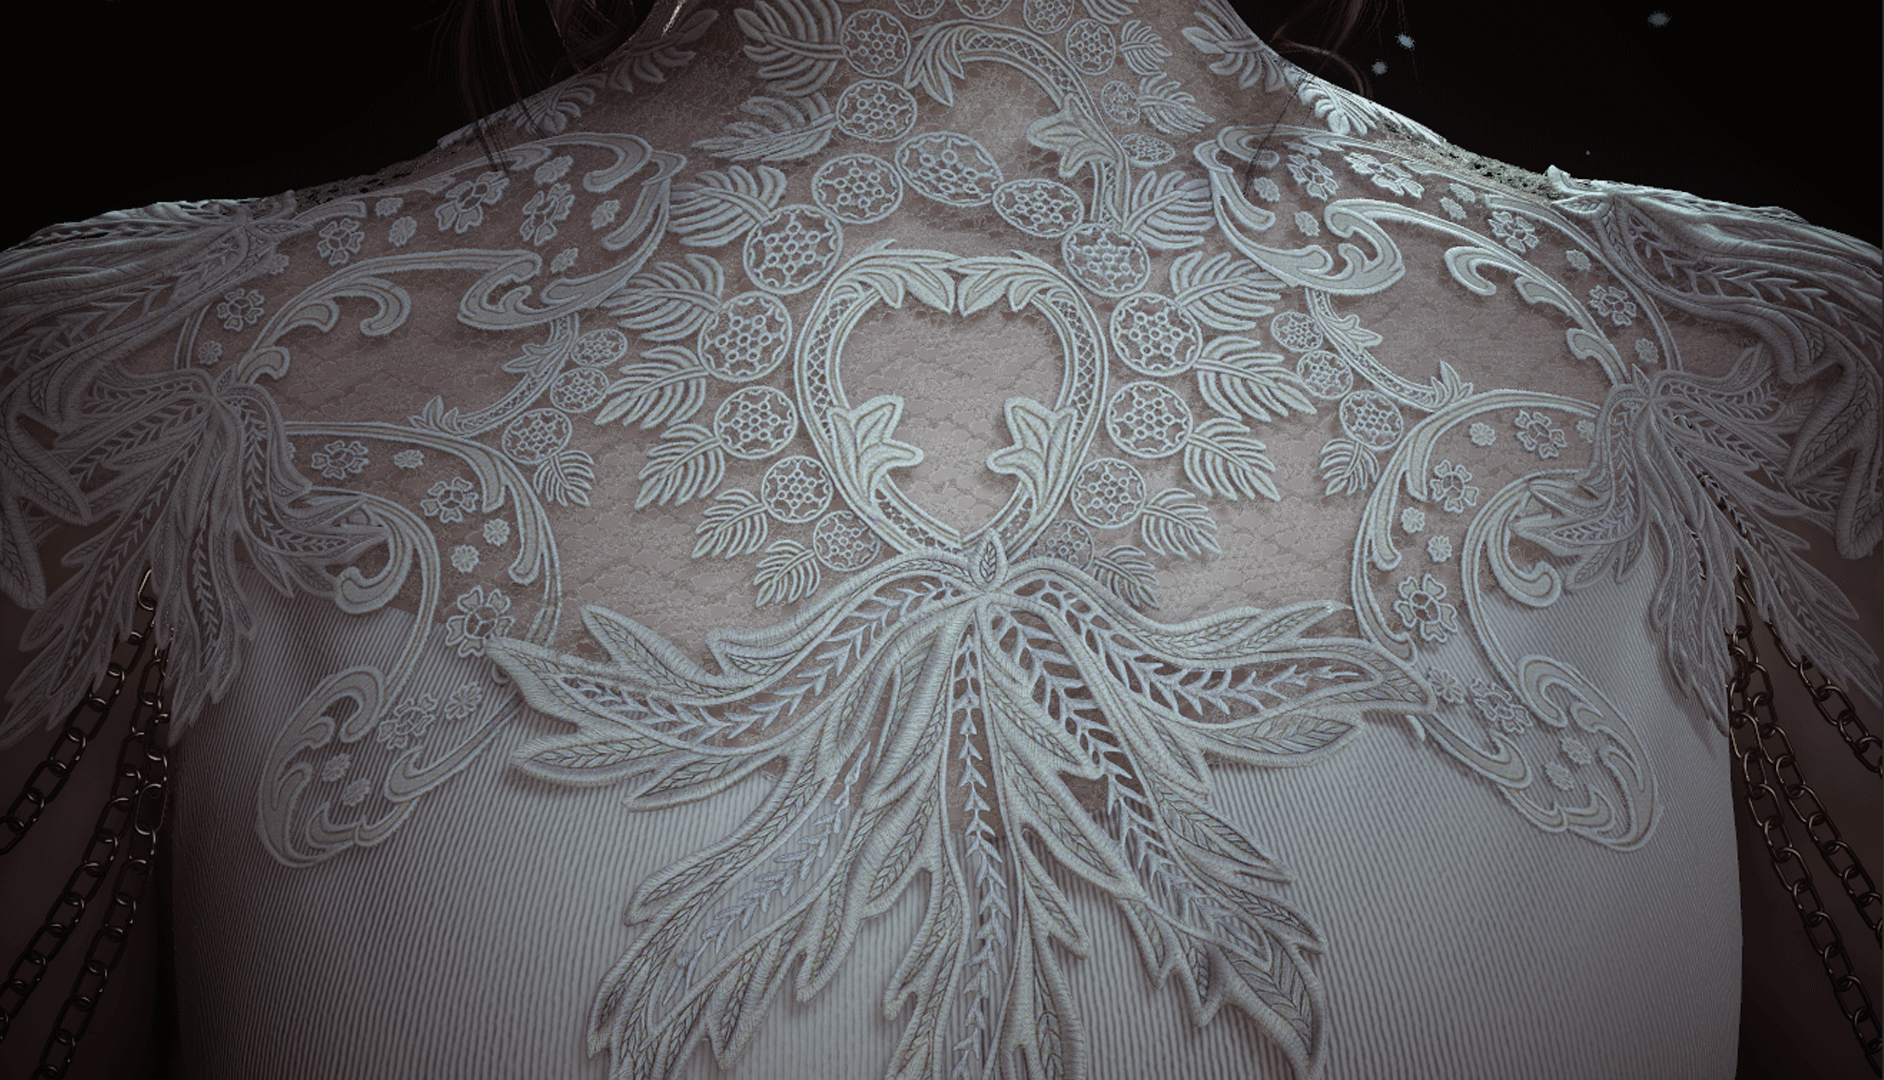
Reference is an important part of every project that aims to look realistic. I found a picture of some lace with a lot of intricate detail that I really liked and thought it would be a bit of challenge. After analyzing the reference, I figured I would try to break it down into three parts:
- A bottom layer made up of a tiling lace texture on a shell.
- A middle layer that contains hand placed lace detail baked on a shell.
- A top layer that is made up of meshed lace leaves.
I decided to structure the two shells this way to get the right shadows and depth. This would be similar to how the lace would be sewn in real life. The third layer consisted of the big leaves laying over her shoulders. I decided to mesh them together since they lay on top of each other and will be seen from several angles, and therefore needed to be double sided.
Modeling
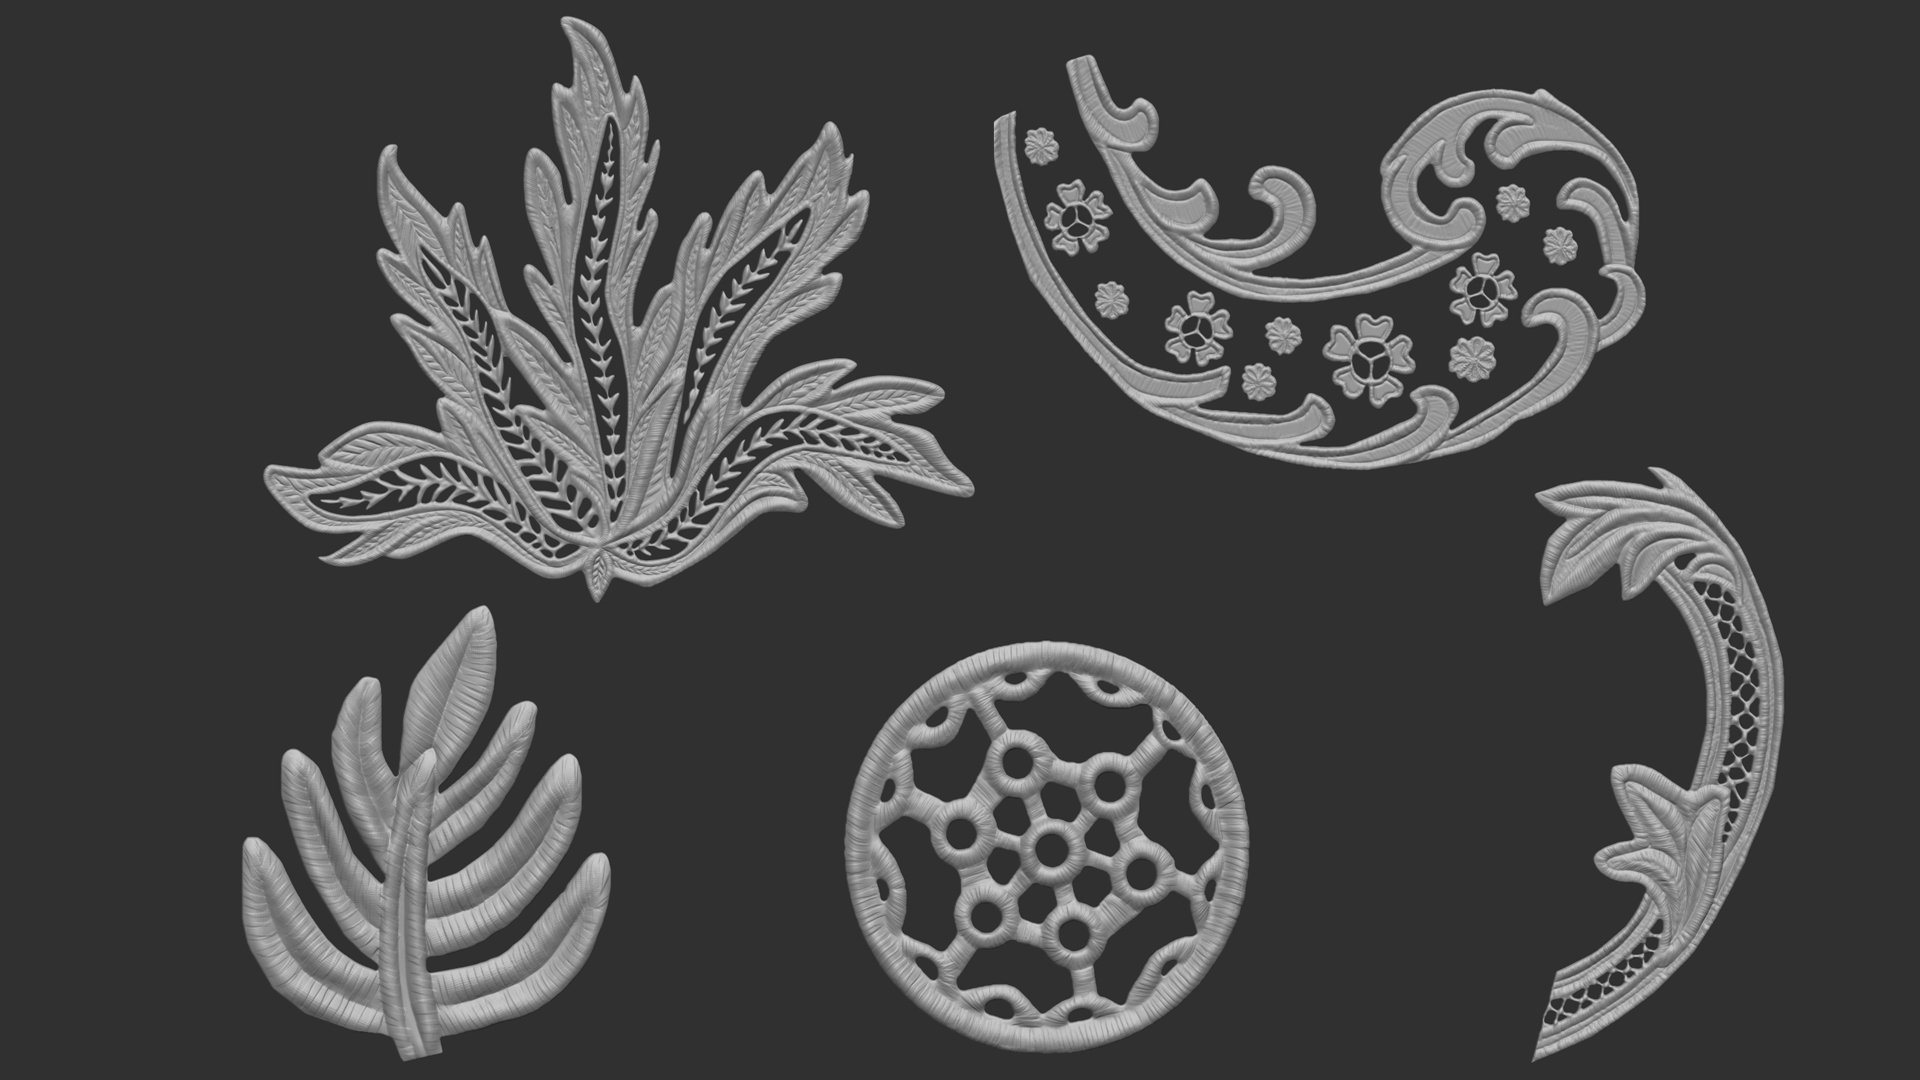
I planned to sculpt five different pattern pieces for the lace. I started out by drawing alphas in Photoshop for use in Zbrush. For faster results, I decided to keep the sculpt pretty rough and focused on adding most of the small details in the textures. After sculpting each piece, I decimated them a bit to make it manageable when placing several pieces at the same time. Then, I made an IMM brush that contained all of the pieces so I could place them on the character. I placed them with DragRect and shaped them using the move brush until I was happy with how the pattern looked.
This image demonstrates my modeling process for one of the lace pieces.
- Alpha painted in Photoshop
- Alpha masked on a plane in Zbrush.
- Inverted mask and removed masked geometry.
- Used edge loops to make it double sided and added thickness to edges using the Standard brush.
- Rough details sculpted with Clay and Dam Standard brushes.
- Low poly created in Maya.

This picture shows my finished high poly lace.
Texturing & Material Setup

In this section, I will break down each component of my lace mesh setup. The first shell (Shell 1) was my underlying lace that the other lace pieces are attached to I used a modified version of a tiling material that I bought on the Substance Source store. The second layer (Shell 2) is a low poly shell with baked normals from the highpoly. The Meshed Leaves are double sided and baked from the highpoly version of the leaf
Texturing in Substance Painter
The texturing I did for the lace was pretty simple. The kind of lace I wanted to make has a fabric
base with embroidery on top.
- Base – I used the burlap fabric material in Substance Painter as base for the bottom, and the rough fabric as a base for the edges to mark that they are different materials.
- Cavity and AO – I added my Cavity map and overlaid my AO in the Albedo map to make some sculpted details pop more.
- Grunge – I added a small amount of grunge detail to break up the monotone colors.
- Stitches – I added some depth and color with the stitch brush to make the edges look embroidered.
Setting up the Lace Material in Toolbag
The lace material is set to Microfiber in the Diffusion module. It has Fuzz settings that wrap the lighting around the edges of the mesh, which helps push the realism of cloth materials. To make the lace shell look fuller and have thickness on the sides, I used a simple Displacement map. The Scale slider in the Displacement settings determines the intensity of the Displacement map, and since lace is a thin material, my slider was set to a low value. To remove Displacement artifacts, you can tessellate the mesh to a higher resolution. This might slow down your scene significantly. The gif above shows tessellation being increased in wireframe view.

At this point, the lace looked a bit flat, lacking wrinkles and unevenness. To solve this, I overlaid a tiling wrinkle Normal Map to get more interesting shadows and light detail on the lace.
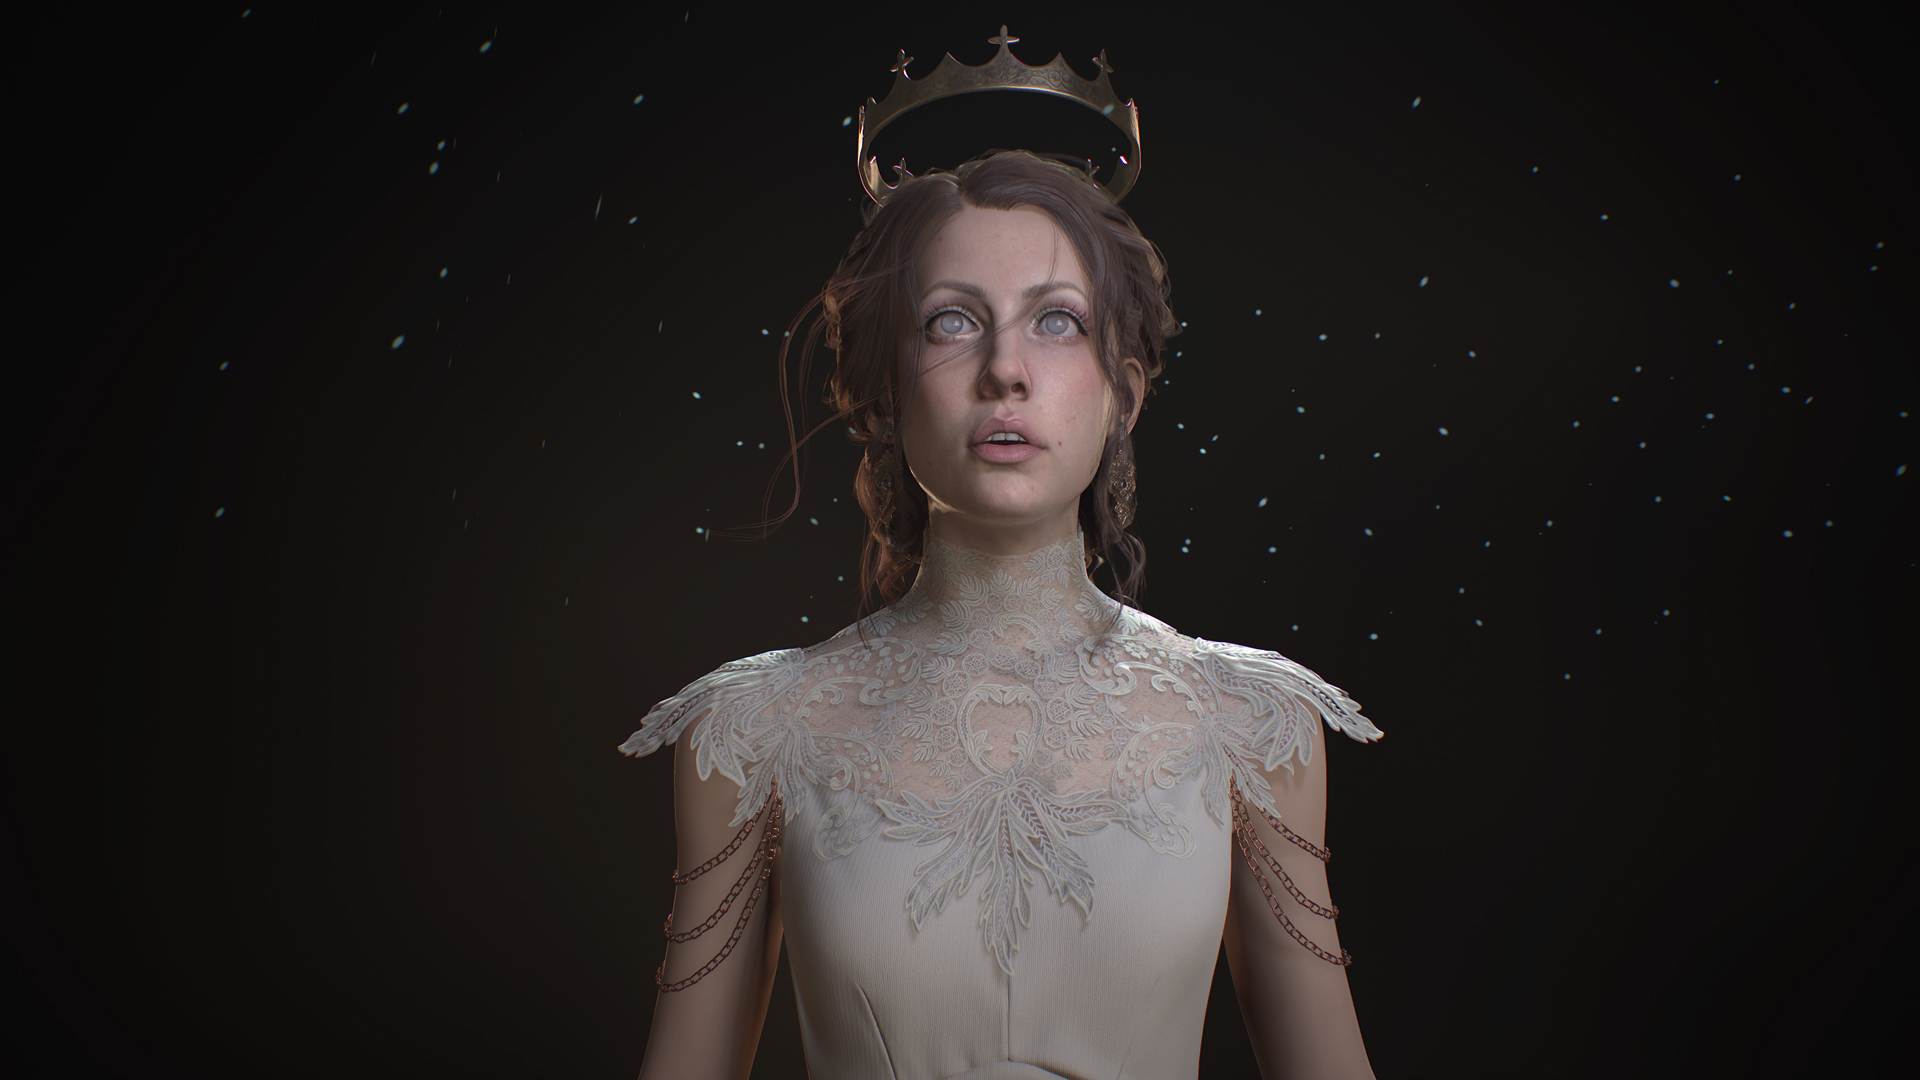
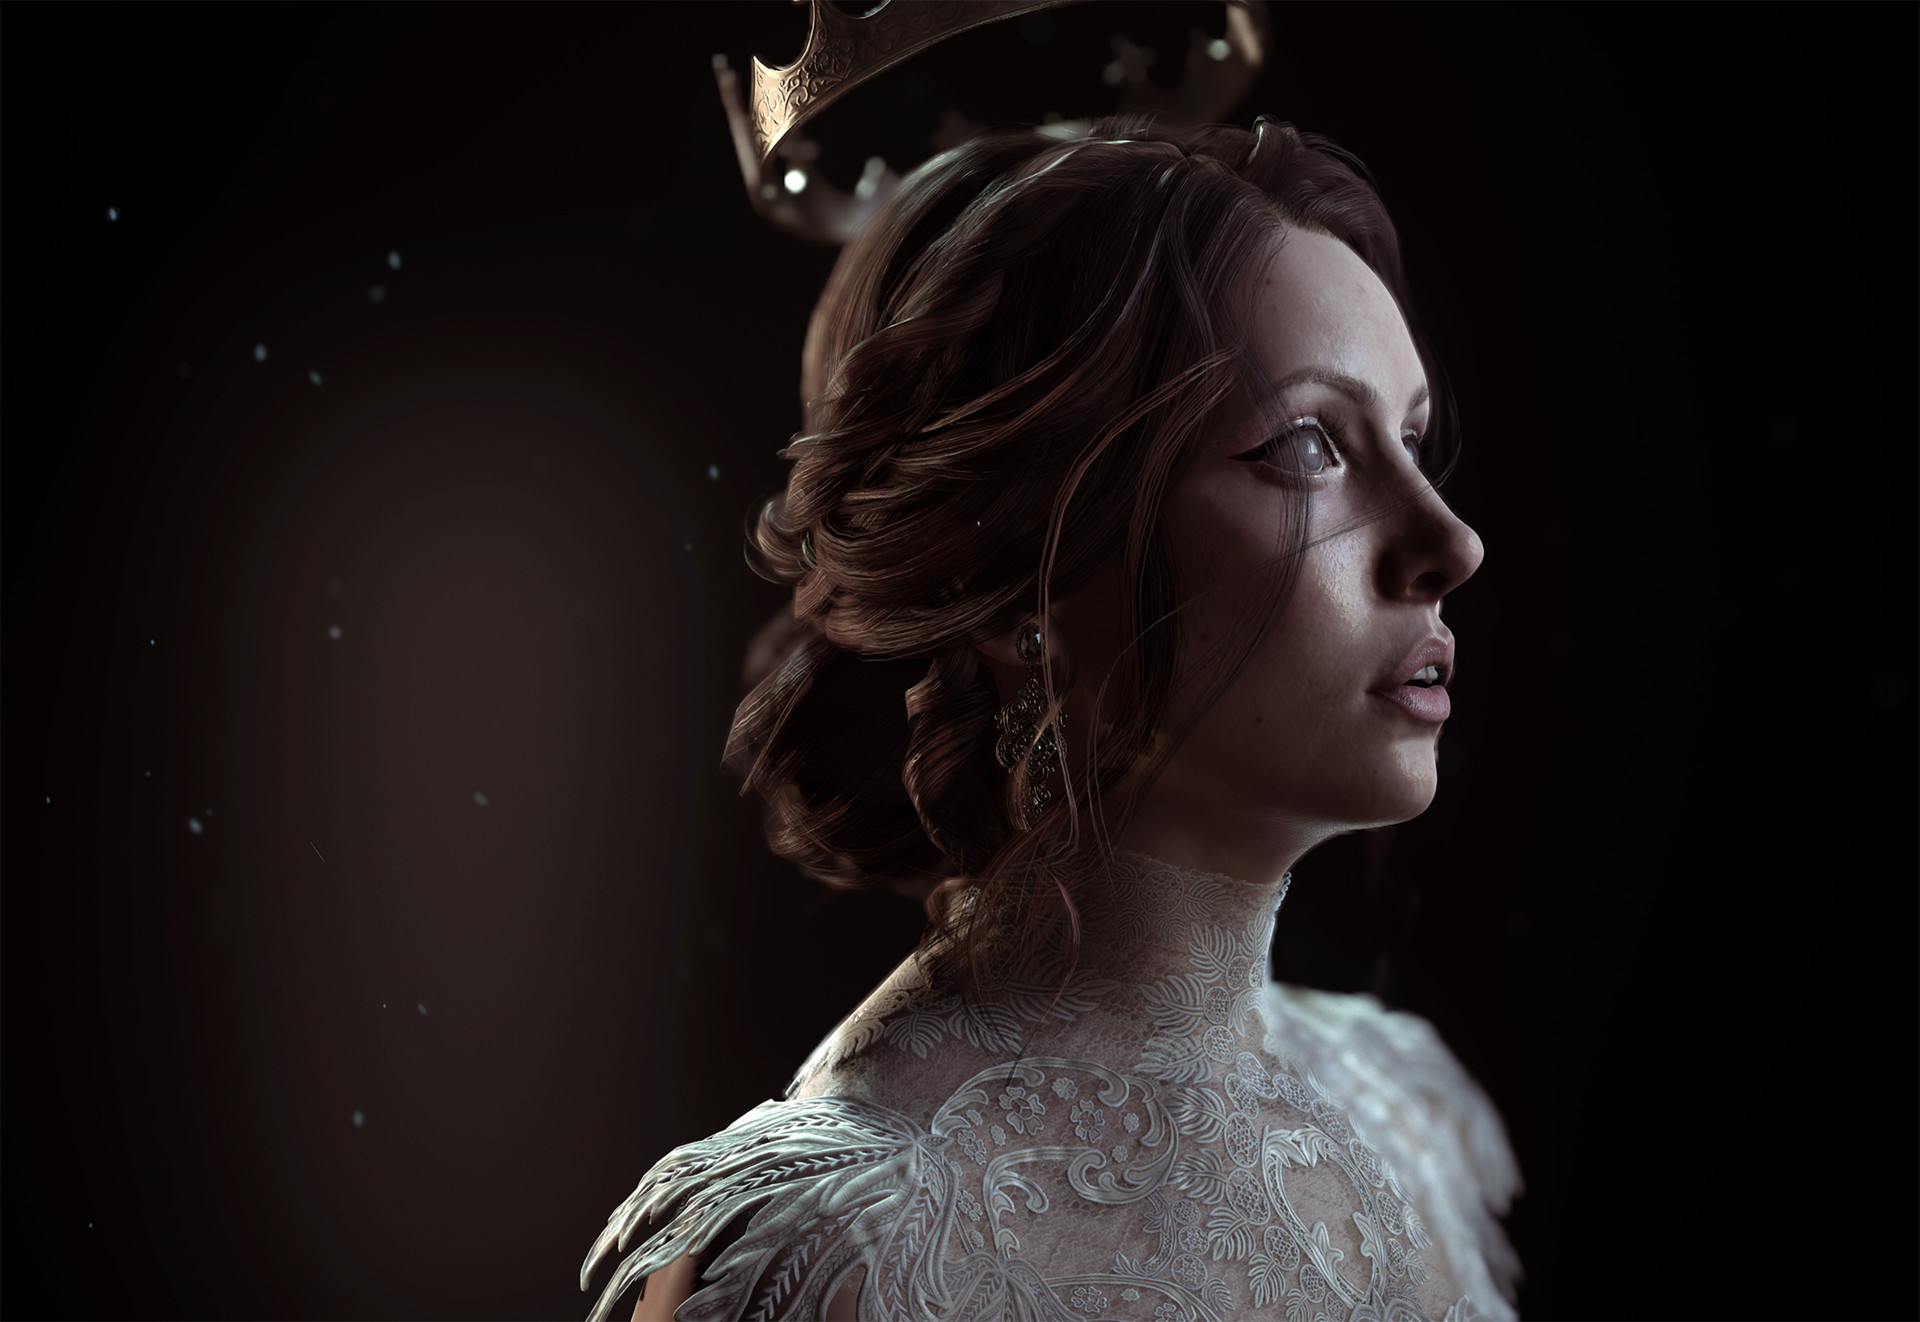
Lighting & Presentation

Good lighting is crucial for achieving the right mood in a scene. For this project, I wanted a soft and eerie mood with a dramatic flair. I started out by adding the Ennis House Sky to create my basic ambient light and reflections. The entire lighting setup was composed with 5 light sources:
- HDRI Sky Light only
- Main Light: An Omni Light with a slight blue tint.
- Back Light: A strong, blue tinted light placed behind the character.
- Rim Light: A warm orange light to give the hair a nice rim light.
- Secondary Rim Light: Another rim light to accentuate the crown.
The Render Settings are really important for the lighting effect.
Local Reflections: This added nice specular detail in the face.
Ambient Occlusion: This added nice shadow detail, especially in the hair.
High-Res Shadows: This setting helps soften shadows.
Global Illumination: This simulates bouncing light, helping add shadows in the correct places.
The Contact Refinement check box turns on ray tracing for the light, and helps to fill in gaps in the shadows where meshes overlap. This setting made the shadows look a lot more realistic on the skin underneath the lace.
Post Processing

The Post Process settings in the Camera properties can be used to completely alter the mood of the scene. The image to the right shows my final post processing settings and the image on the right shows the default settings.
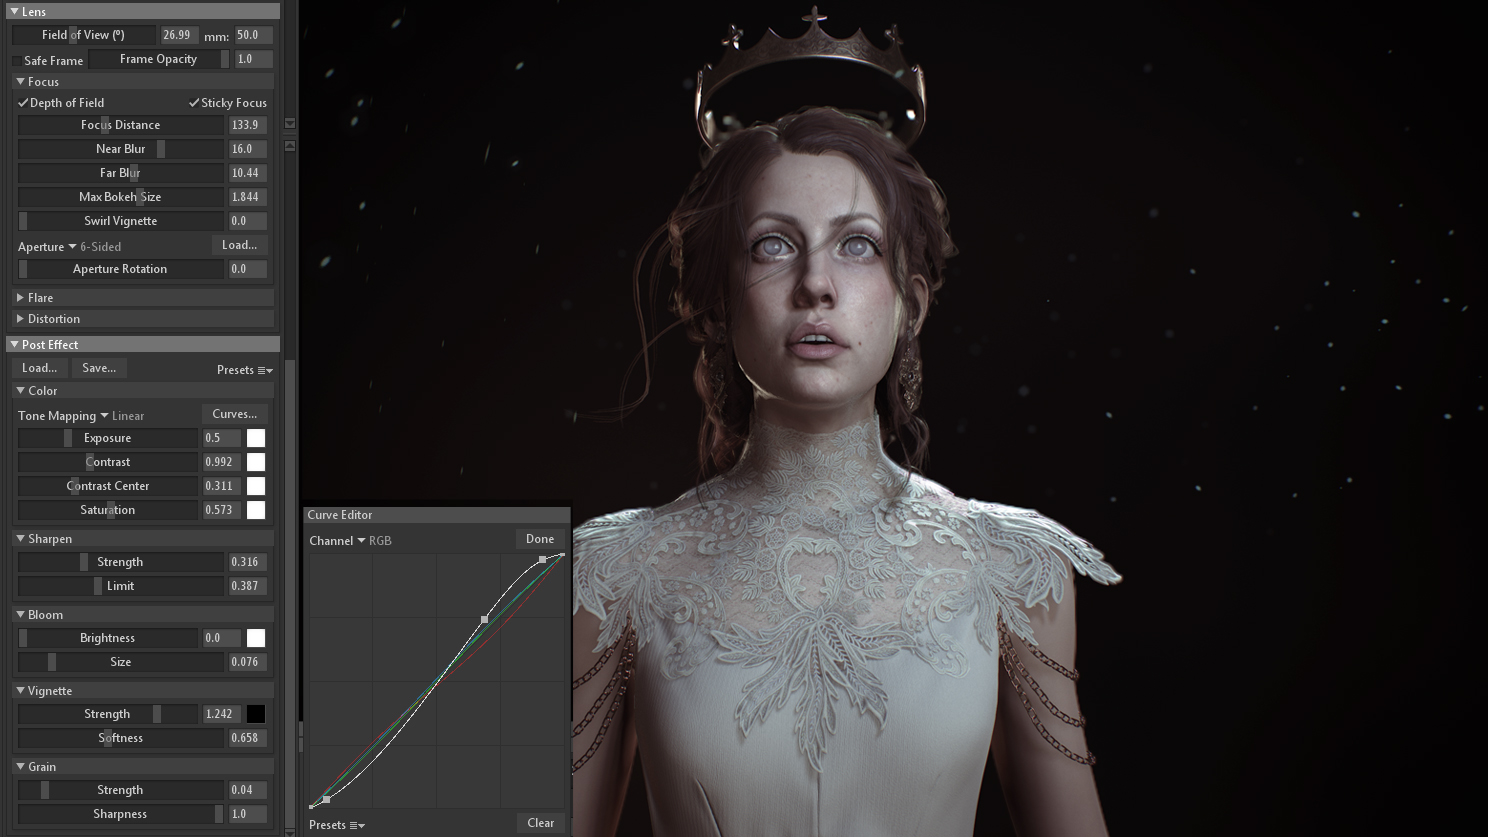
The most important settings for me were the Depth of Field and Tone Mapping settings. I reduced the Saturation and dropped the Exposure down to 0.5 to get a better mid range. Then, I used the Curve Editor to punch up the highlights and add some darker shadows. I used the remaining RGB curves to add color to specific areas.
Conclusion
Thank you so much for reading, and a big thanks to the Marmoset team for asking me to write this article.
We’d like to thank Moa Alfredsson for writing this breakdown article. Check out more of Moa’s work on Artstation.
Render glam shots of your materials using Toolbag’s free 30 day trial. If you’re interested in collaborating on a tutorial or breakdown article, please send us your pitch, along with a link to your artwork, to submissions@marmoset.co.


