Introduction
Hello! My name is Daniel Thiger. I’m currently working as an ‘Art Swiss Army Knife’ at Bungie on an incubation project. When I’m not at work, I’m usually at home working on some procedural art project. My Artstation is a documentation of these explorations. The video above is an example of one of my experiments entitled ‘The Things in Your Bed’, which is a Substance Designer material applied to simple geometry.
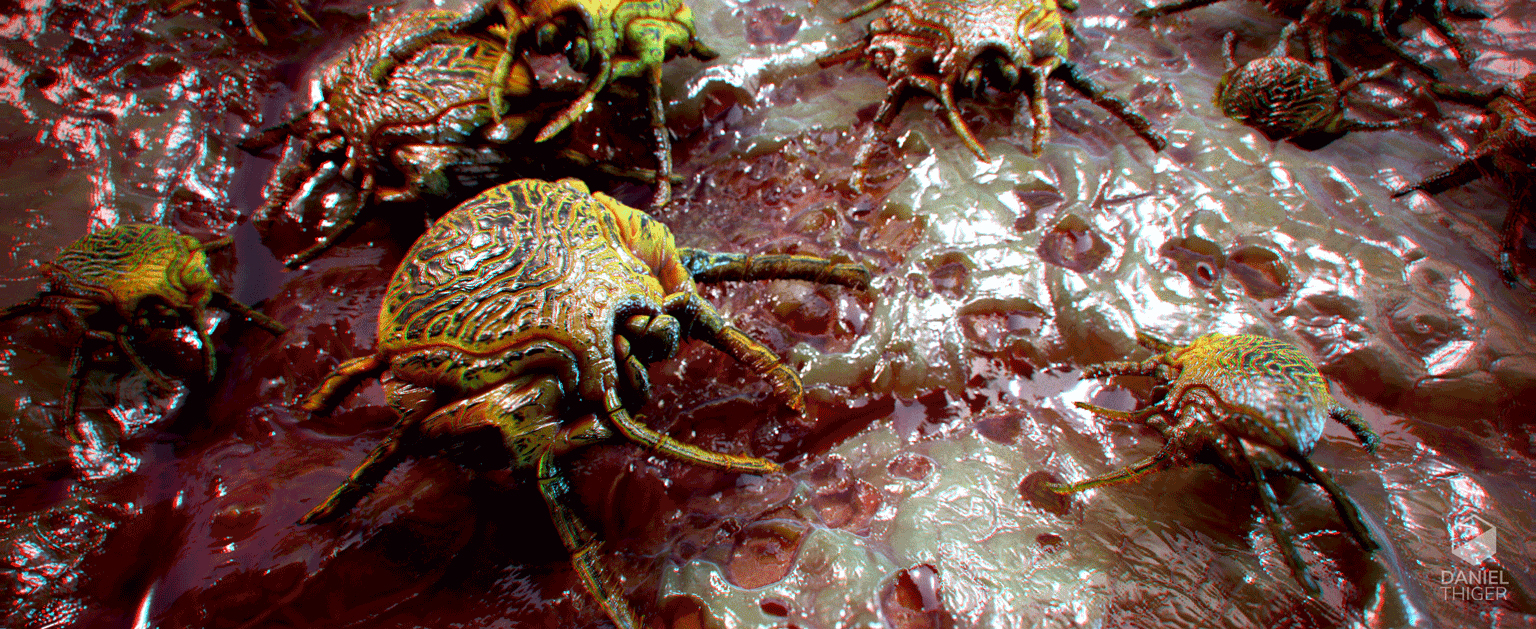
Parasitic Bug project showing the primitive geo and final render.
Toolbag is my renderer of choice for everything. From portfolio renders, to quick concepts and visualizations at work. So it’s no exaggeration to say that I’m a big fan of the software. In this article, I’m going to talk about my favorite aspects of Toolbag and break down how it was used in one of my recent explorations.
How Toolbag Fits in my Workflow
Level of Control
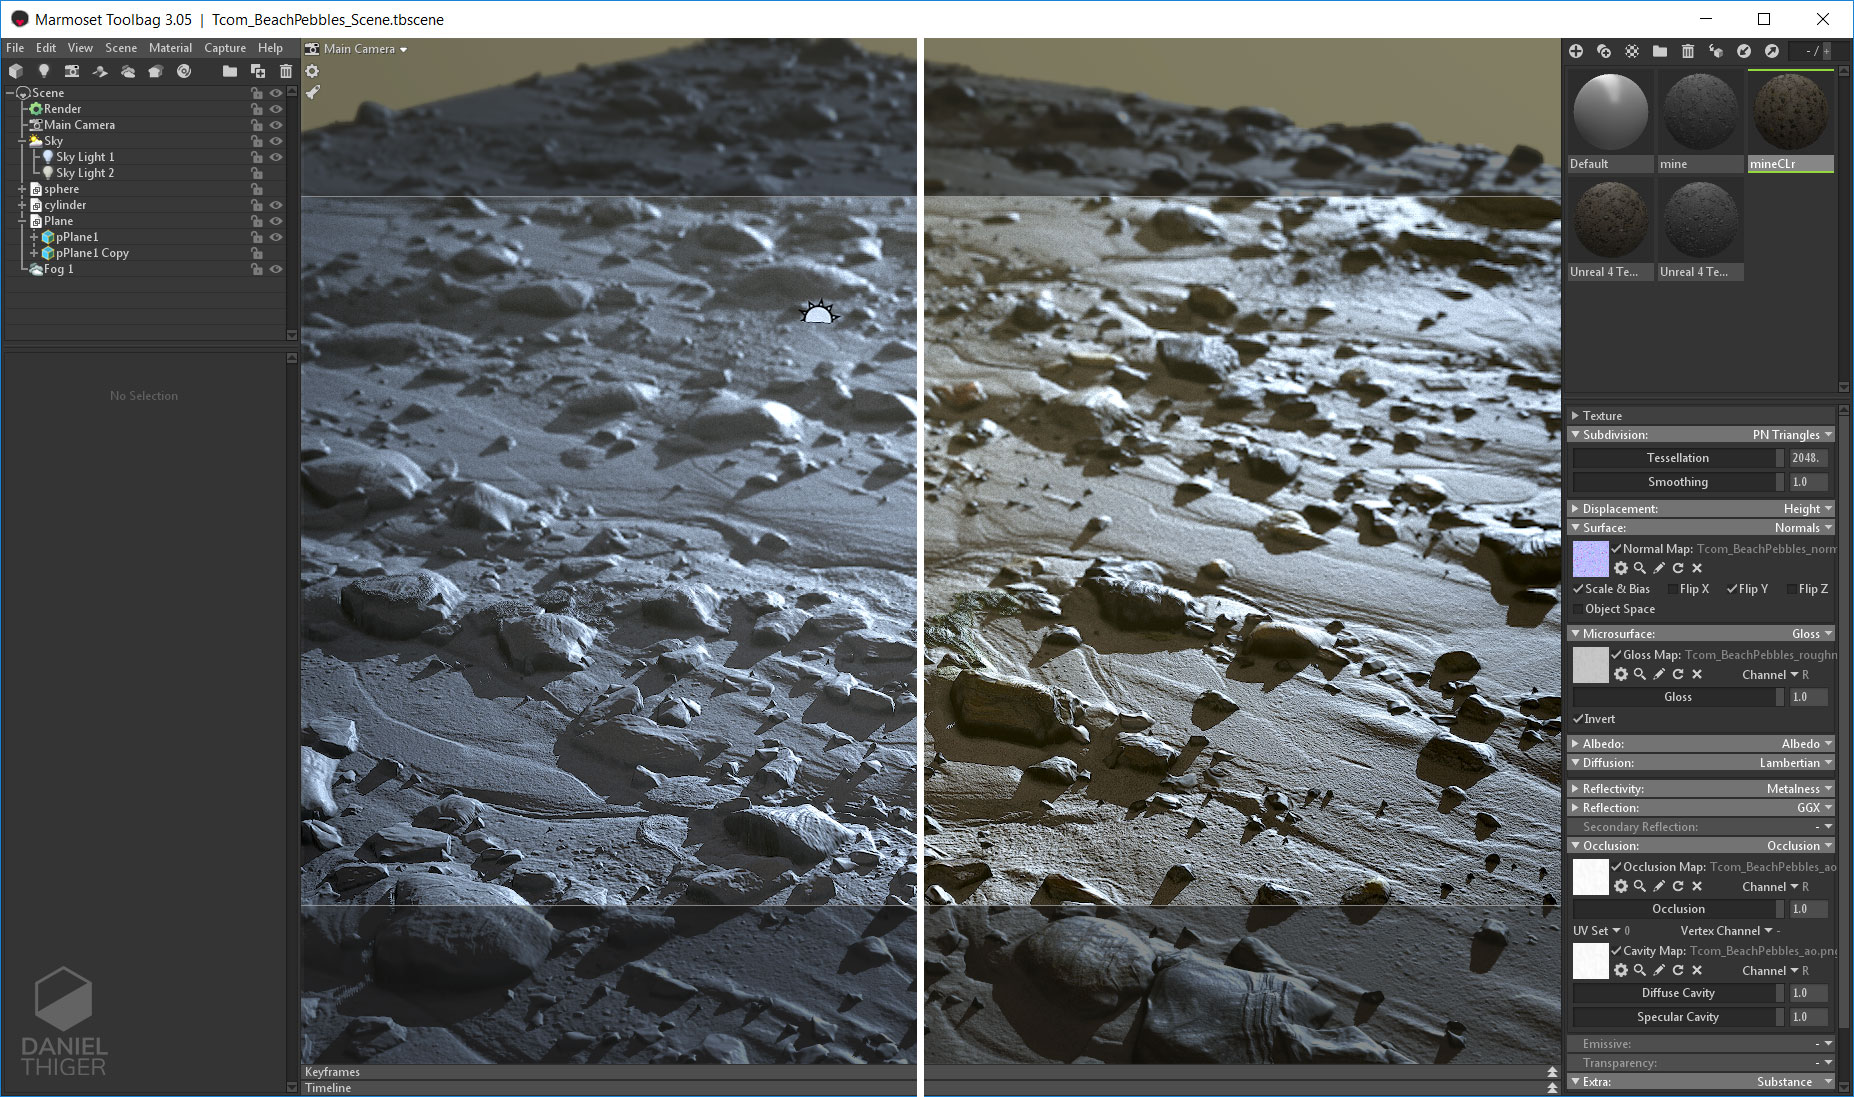
Procedural recreation of a 3D scan of beach pebbles. I keep two versions of my materials, one with gray diffuse (left) and one full material with color (right).
In my workflow, Toolbag and Designer go hand in hand. Most of my projects are created in Substance Designer, then imported into Toolbag for preview in a more realistic context on custom geometry and under different lighting conditions.
The default renderer in Designer can only get you so far, and its limitations make it difficult to catch render-specific issues. This is where Toolbag comes in. I usually try to get my Substance textures into Toolbag as soon as possible. It’s only after importing my textures that I can clearly spot issues, such as incorrect nuances in Height maps and inaccuracies in Roughness or AO maps. By switching through different lighting setups, I’m able to catch issues that I need to fix early on.
Speed
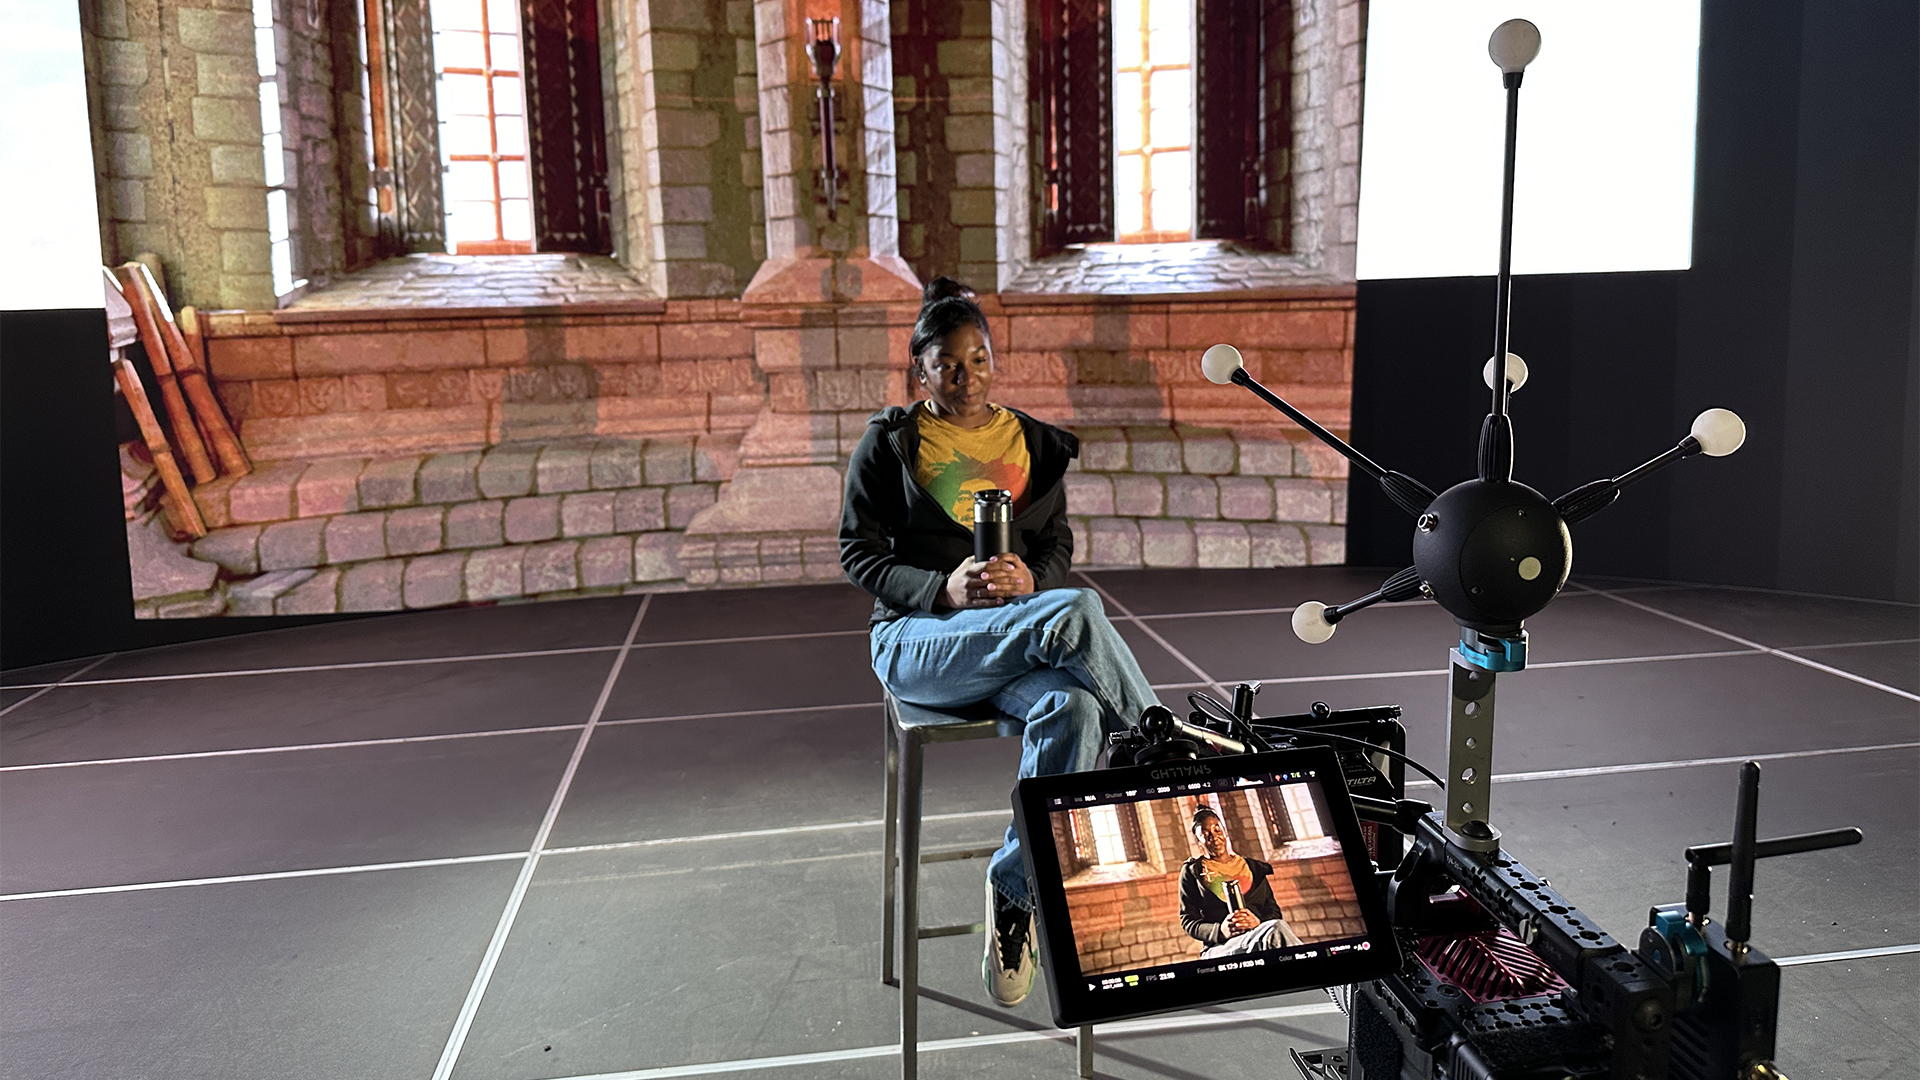
Toolbag arms artists with speed, which is invaluable in the creative process. A lot of my job revolves around R&D and visual development, where I have to quickly explore several options, as well as have a feedback process with art directors. Toolbag, in my opinion, is the perfect program for this task. It boots up fast and is ready to go. With a simple scene, I can quickly show art directors a variety of styles by dropping in different materials into various parts of a scene. I can adjust tiling rates, tint, and change material responses with ease. This allows art directors to react and give feedback to a finished-looking concept in real time.
Animation
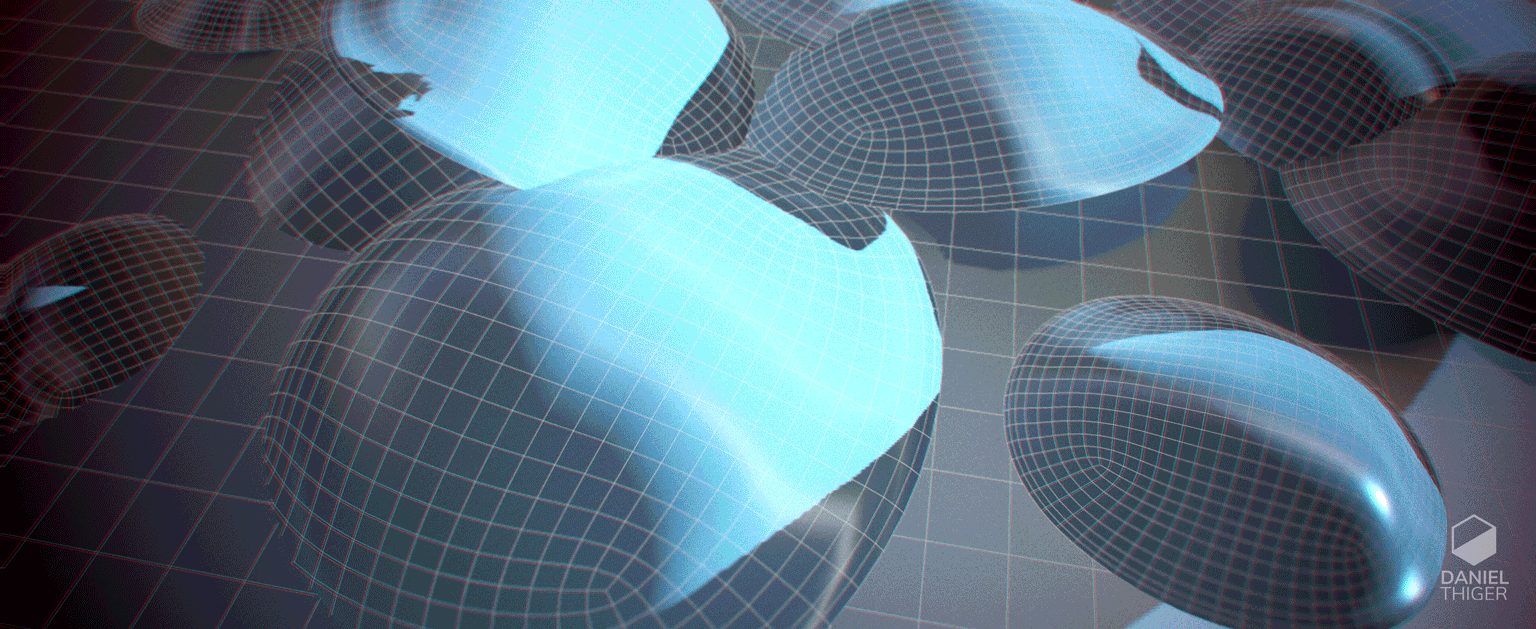
Animation created for my GDC 2018 presentation, “Creating Photorealistic Procedural Materials with Substance Designer” .
Toolbag is incredibly versatile and I’ve used it for many different tasks. Besides rendering my materials, I’ve rendered simple animated scenes for presentations such as the one from my recent GDC talk. With Toolbag, it’s easy to create camera panning animations and animate lights moving across surfaces. Additionally, I’ve used it at work to create similar animations and things like UI mockups.
Material Diversity
As simple as the Material Editor is in Toolbag, it’s surprising how many different types of materials it can represent. It doesn’t compare to shader editors, like the one in Unreal for example, where you have endless options. However, what Toolbag lacks in flexibility is made up with speed of use.
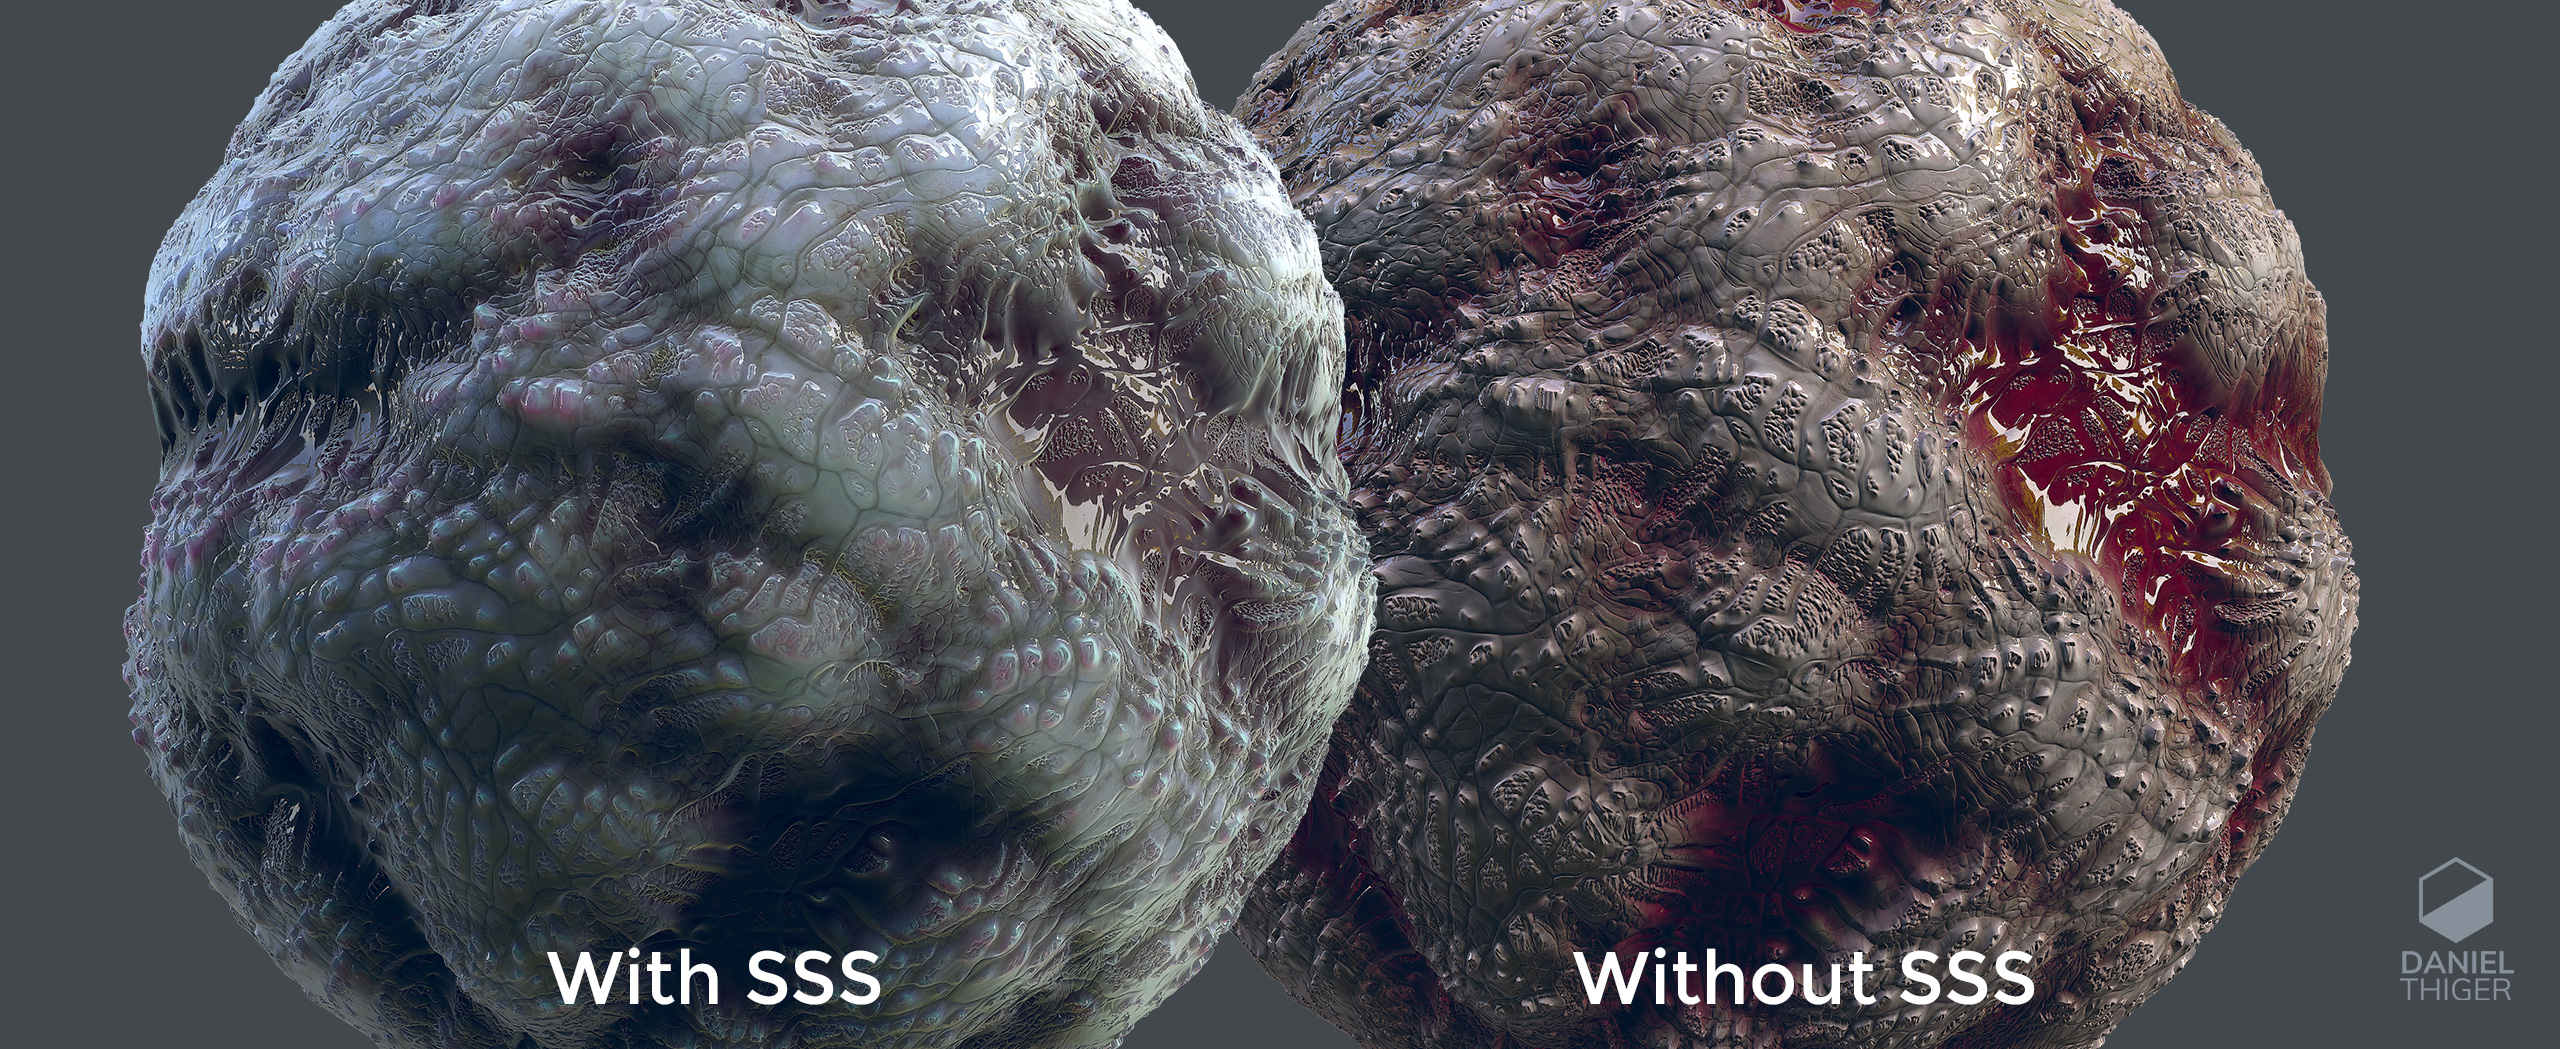
I typically use the Unreal 4 Template Material Preset and I especially love playing around with the Translucency and Subsurface Scatter (SSS) parameters. For example, the render of my alien skin membrane above shows the difference SSS makes in bringing life to a material. Subsurface Scatter can be enabled under the Diffusion module in the material editor.
Temple Project Breakdown

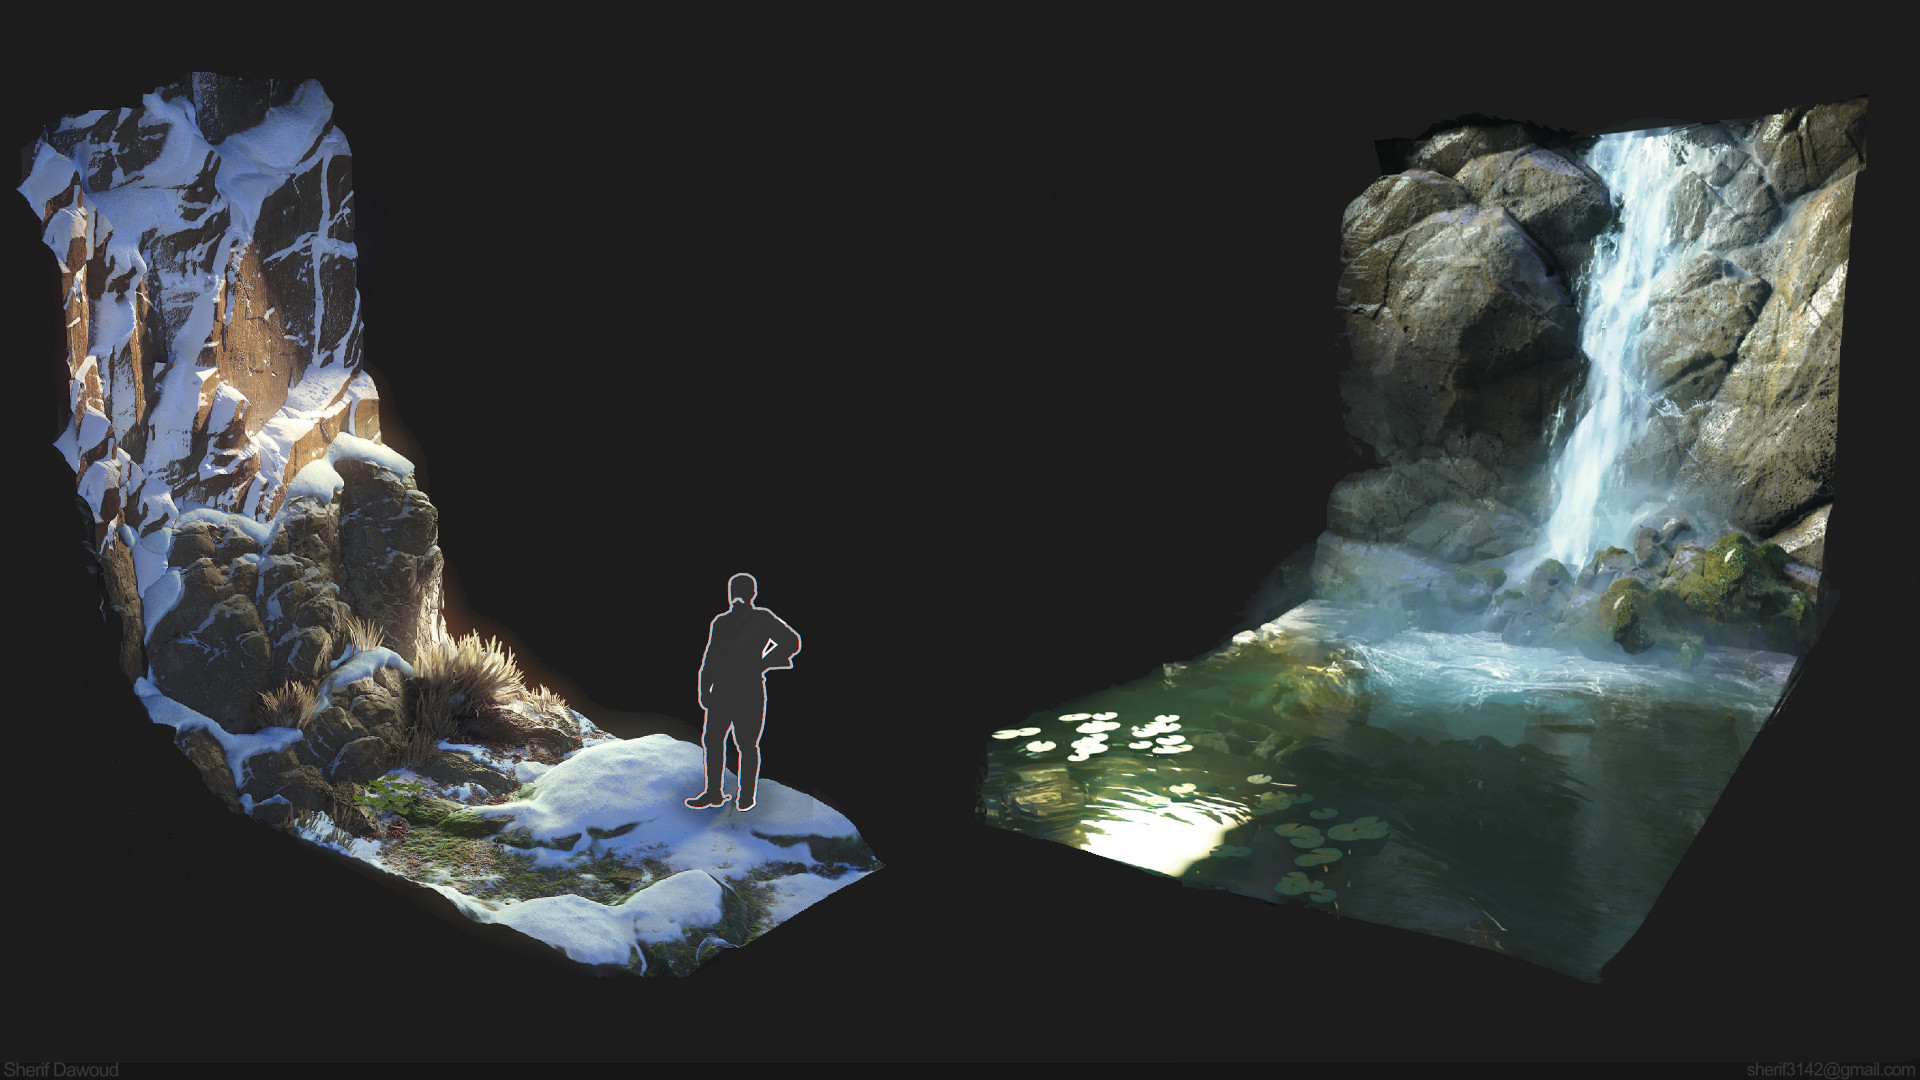
The workflow for my temple scene is an extension of previous projects of mine, such as my Watch, Parasitic Bug, Rapier Sword, and Tire Generator. I really wanted the textures to do all of the heavy lifting by defining the geometry and the surface detail without having to put any effort into modeling. I wanted to rely solely on Toolbag’s powerful displacement and tessellation capabilities. This time, I wanted to apply the same methodology to a much larger environment to see how this workflow scales and determine whether it’s a viable one in this context.
Geometry
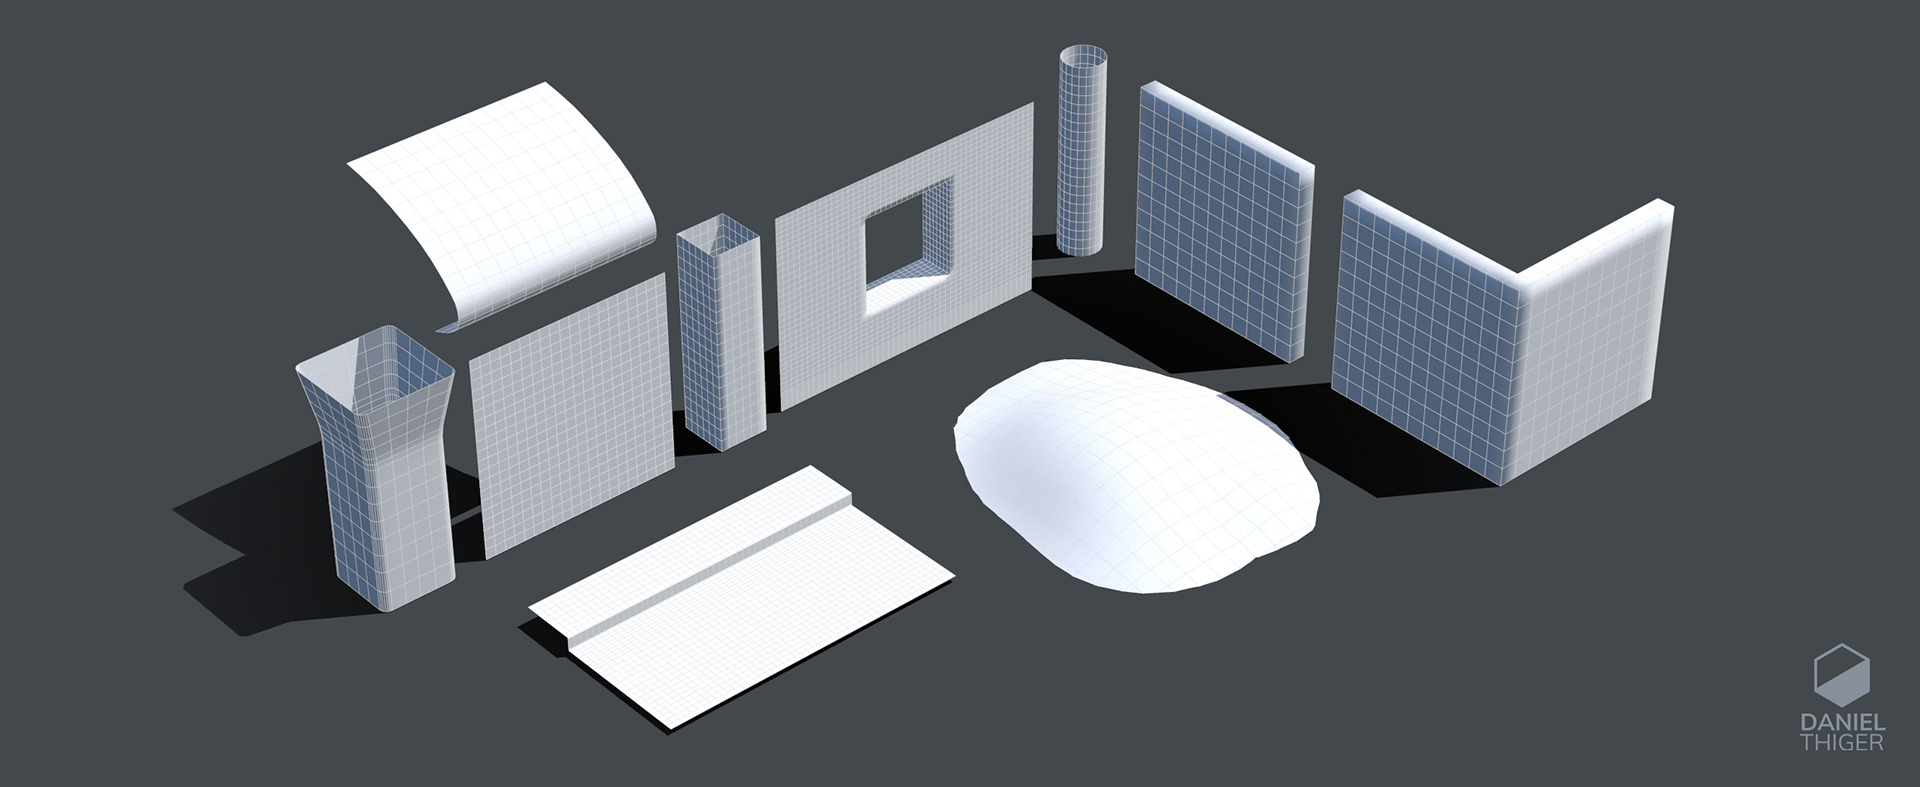
I started modeling simple components and generic shapes in Maya that were used to compose my scene. Each piece of geometry was imported into Toolbag separately. The important part here is to have evenly subdivided geometry to work best with displacement and tessellation.
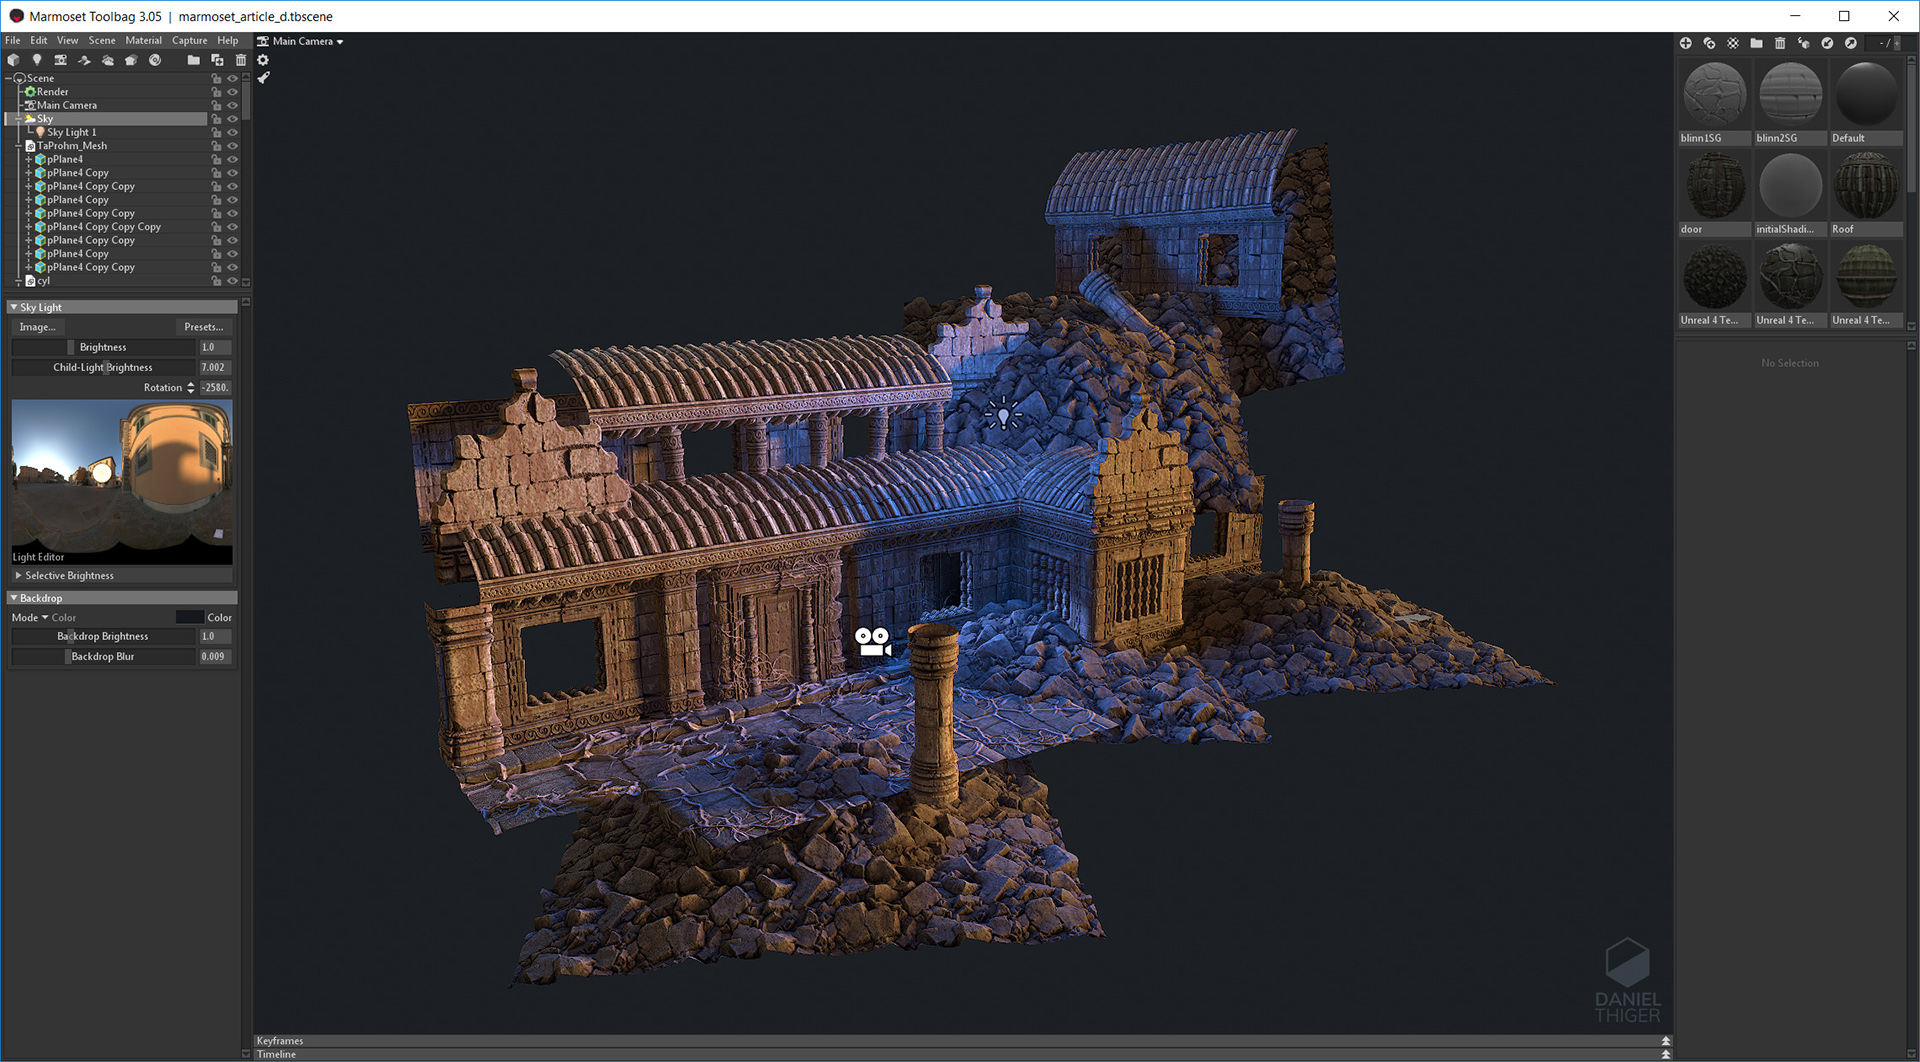 Temple scene breakdown.
When it came to UVs, I made sure all of the pieces shared the same UV scale to work well with any material.
Drag & Drop Visual Development
For this project, I made a library of 8-10 materials that I could quickly drag and drop onto my geometry to test out a variety of looks. This is an extremely powerful and iterative way of scene development, which I’ve only ever experienced in Toolbag.


For example, I can apply a floor material to the ceiling to see what it looks like. Then I can use Toolbag’s material editor to change the tiling rates, adjust metallic surfaces to appear dielectric, and play around with tinting colors. This way, I use Toolbag as an iterative tool to find the look I want, while still maintaining flexibility on all aspects of my scene.
Reusability
The fun part about this project is that if I later decide to create an Egyptian or Aztec themed texture set, I can use the same scene to create a completely different look. This is a powerful way to think about visual development.
The results of this project indicate to me that this is totally a viable way of building environments. Especially for concept art and movie scenes, where there isn’t scrutiny of the environment at close range. This method of working is super fast, iterative, and flexible. At any point in time, you can change the look of the scene without having to model anything, while maintaining seemingly detailed and flexible assets. Check out more renders of this project on Artstation.
What’s Next
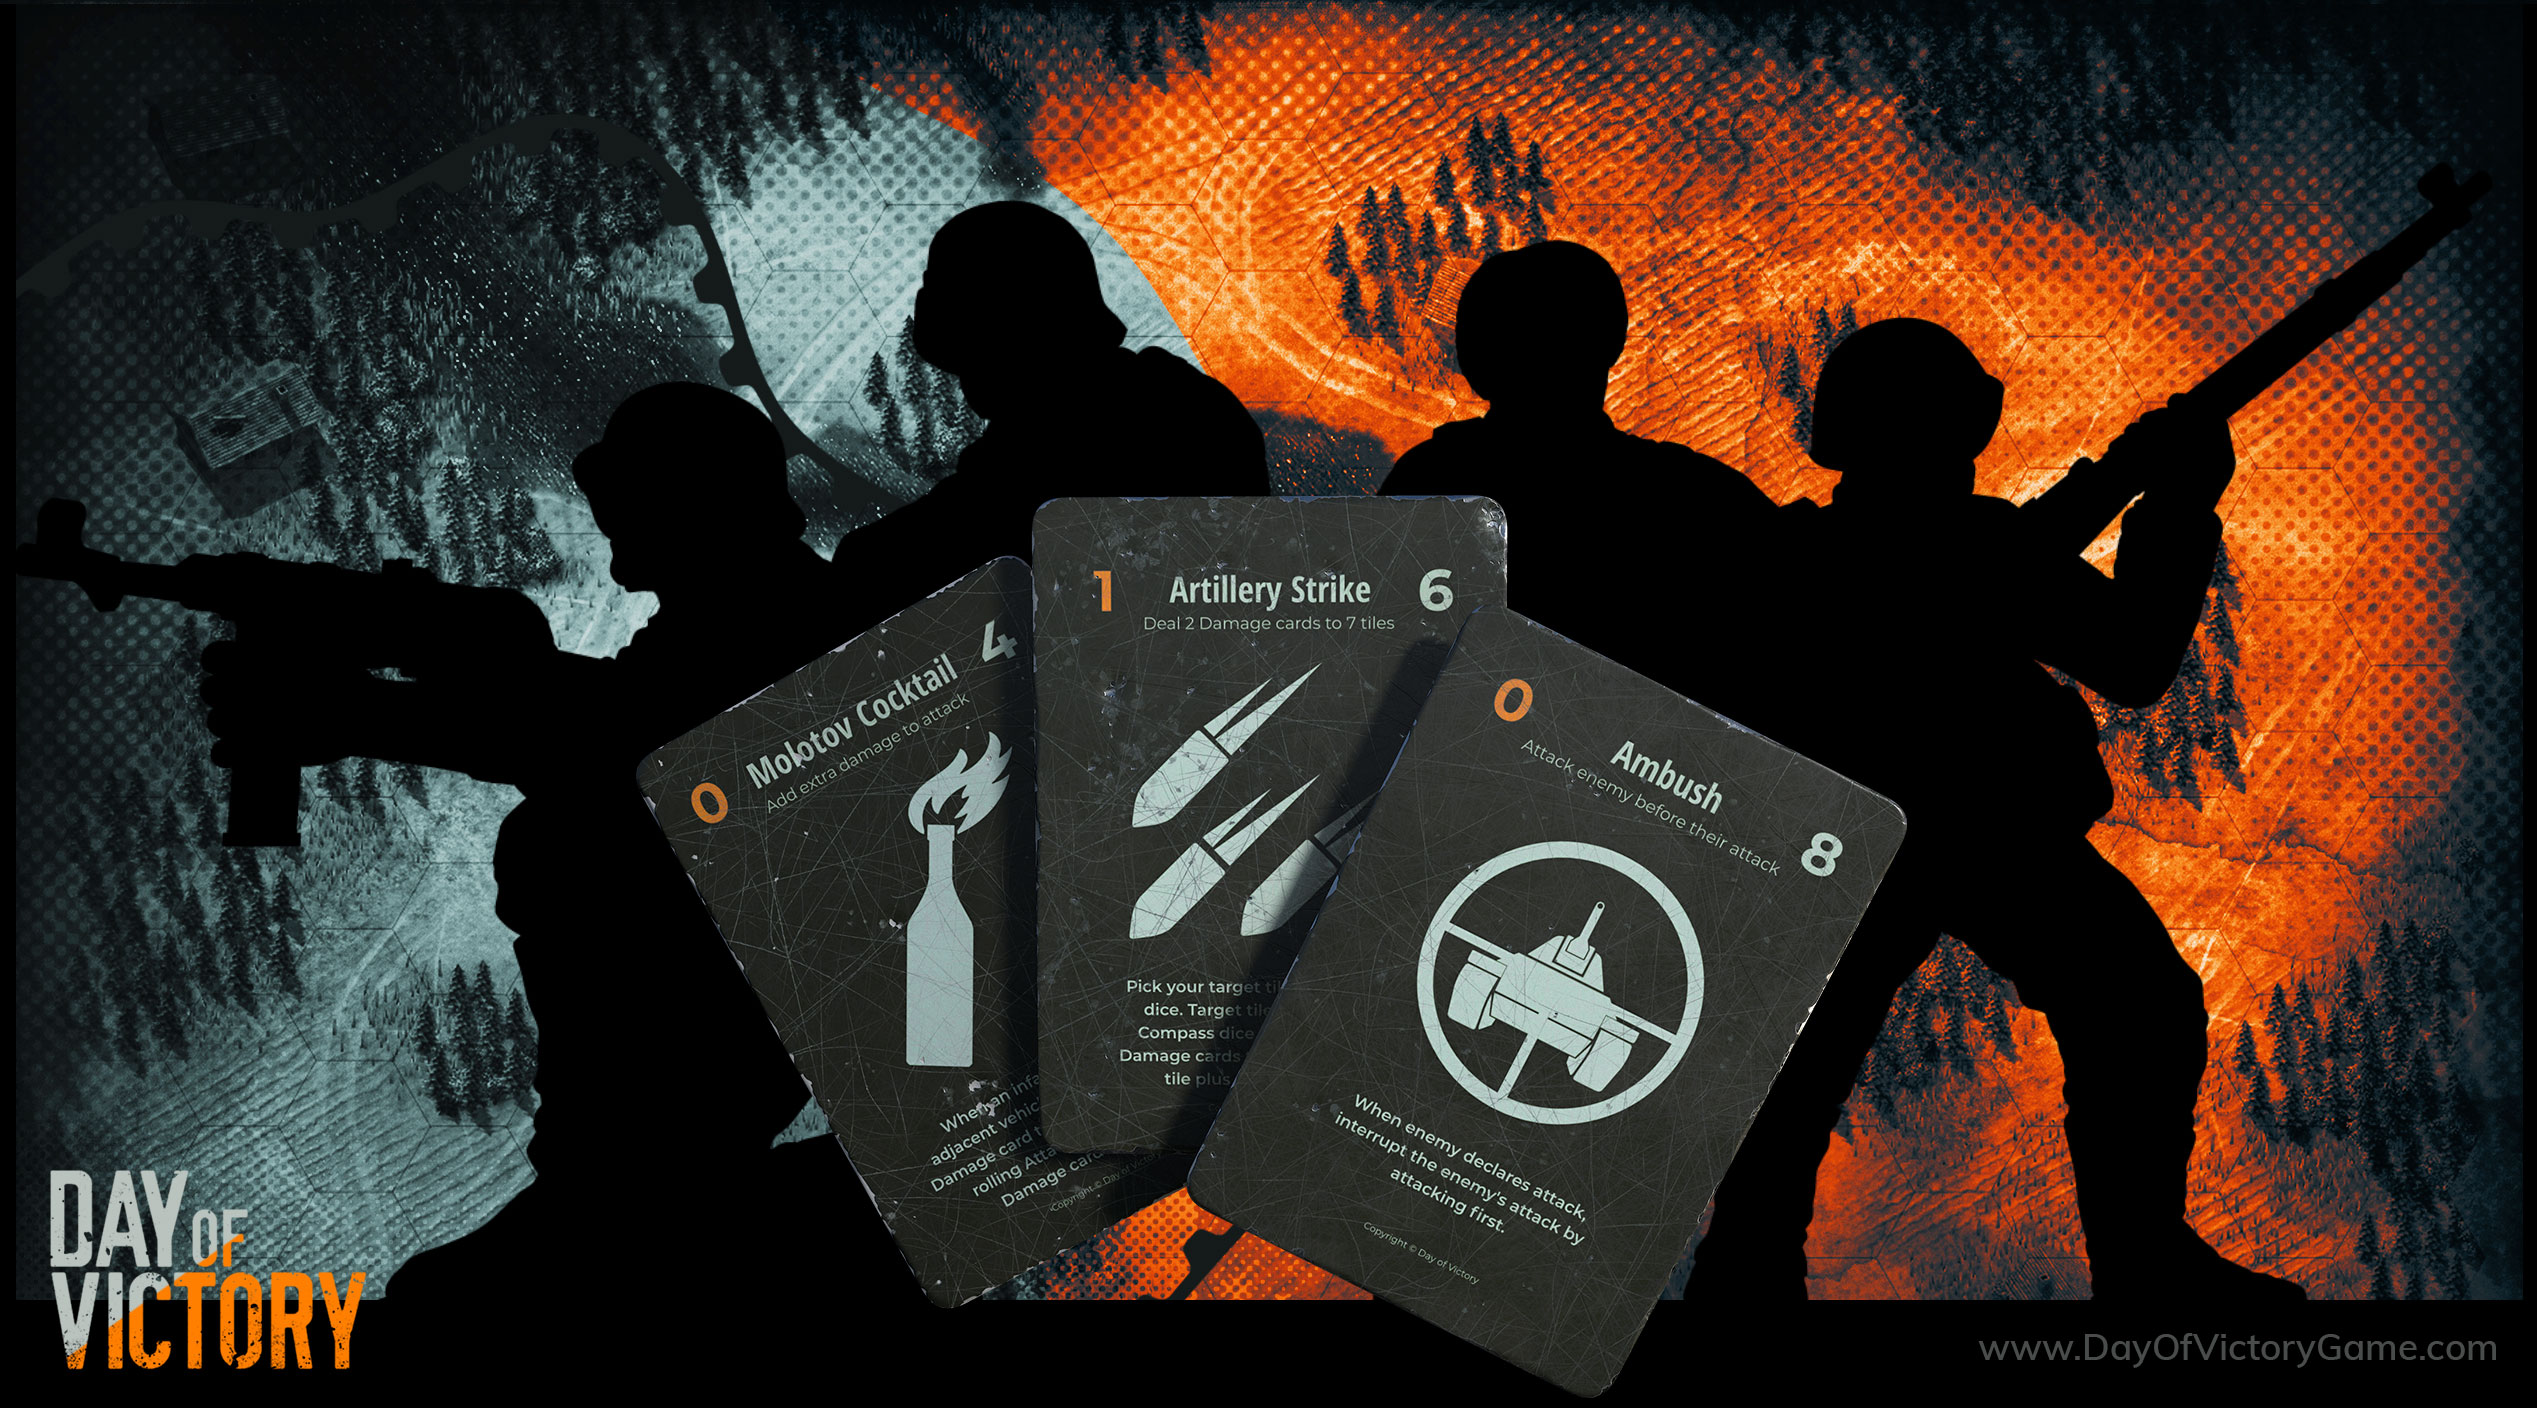
In my mind, there’s still so many applications for a Substance Designer and Toolbag combo workflow. In fact, my wife and I are currently working on a board game where we’re relying on these two softwares to create essential components for the game, everything from graphic design to the game board and pieces themselves. If you’re curious to learn more, check out Day of Victory and follow us on Facebook.
If you’re looking to learn Substance Designer, take a look at Daniel’s Substance Designer Fundamentals tutorial series and check out how he uses Toolbag to create portfolio renders (use ‘detetoolbag’ to get 50% off).
Find out how you can simplify your workflow and create compelling renders using Toolbag’s free 30 day trial. If you’re interested in collaborating on a tutorial or breakdown article, please send us your pitch, along with a link to your artwork, to submissions@marmoset.co.