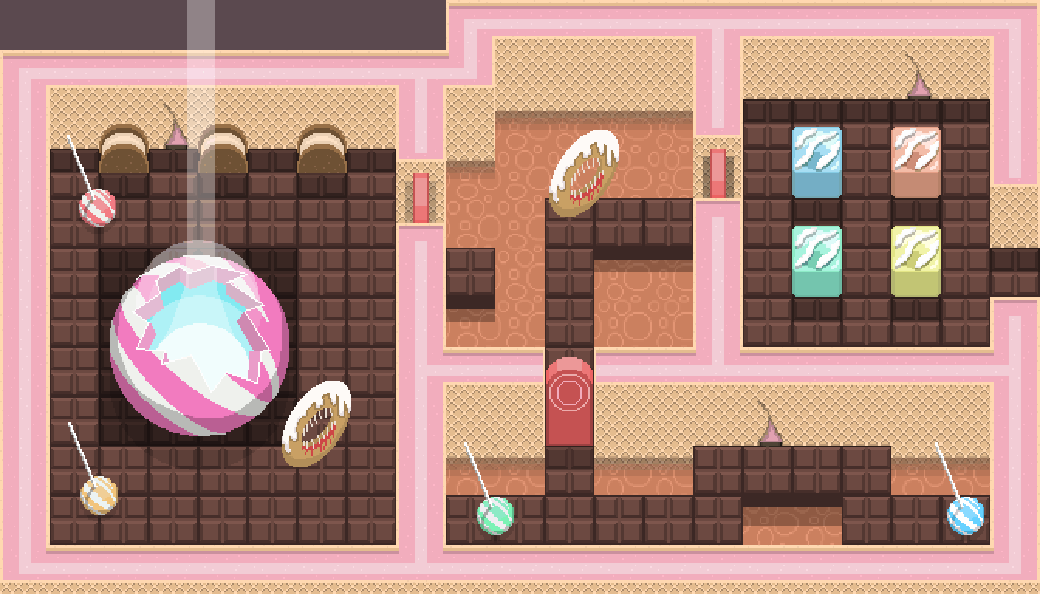
This guide will show you how to use Hexels to create seamless pixel art textures and export a tileset for 2D game development. In this example, I created a confectionary themed tileset and used it to prototype a level layout.

What is a Tileset?
Pixel art textures are used to build the levels of a game world. Having seamless textures means large areas can be filled using one texture and its variations. This saves time and improves game performance.
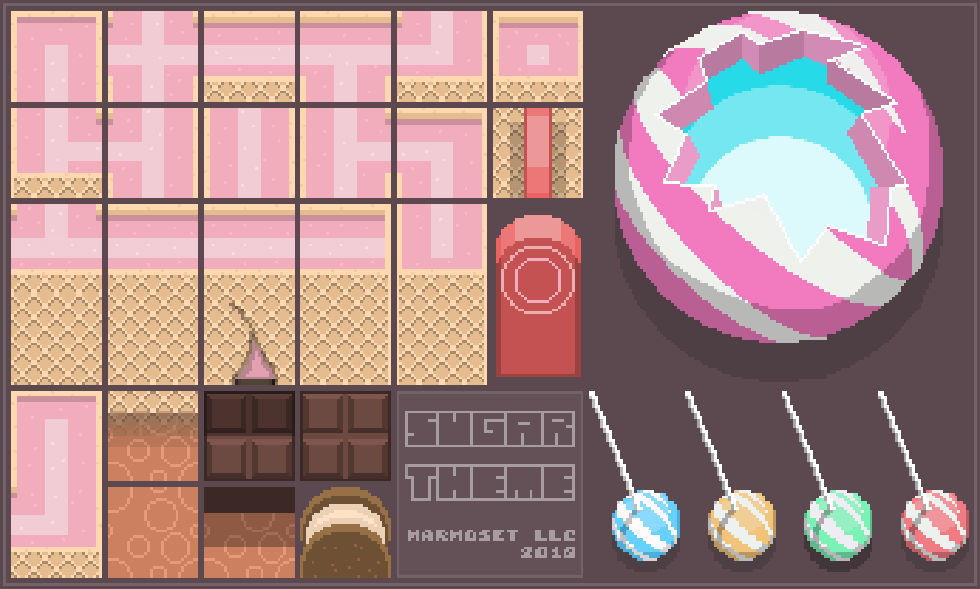
A tileset can include assets such as walls, flooring, doors and treasure chests in a grid formation. Similar to a spritesheet, having all of a levels assets in one image improves the performance of a game.
Creating a Tileable Pixel Tile
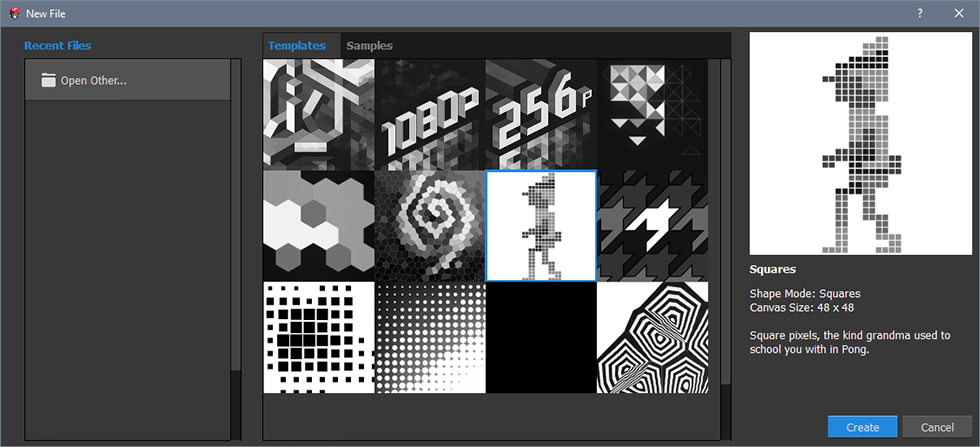
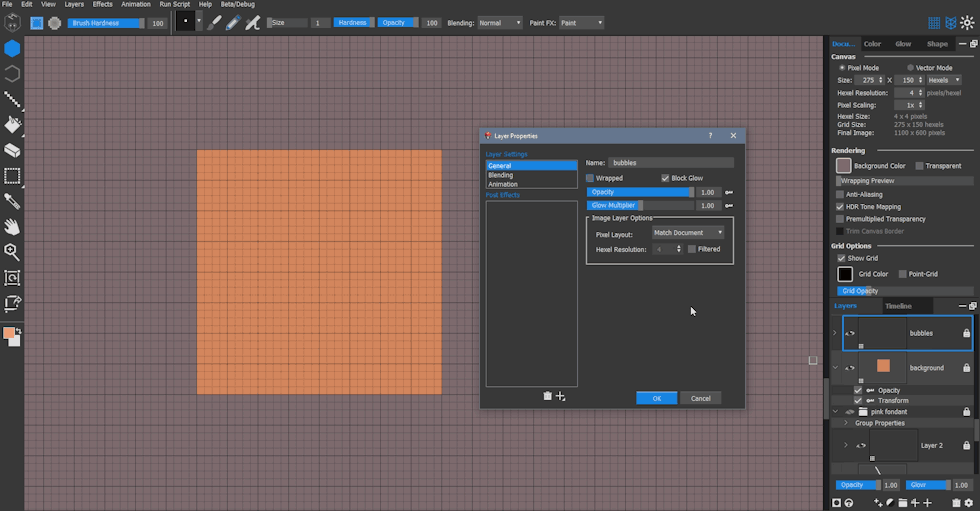
To start, I used Pixel Layers on the ‘Squares’ template and enlarged my canvas size to 275×150. This allows for plenty of room to move shapes around.
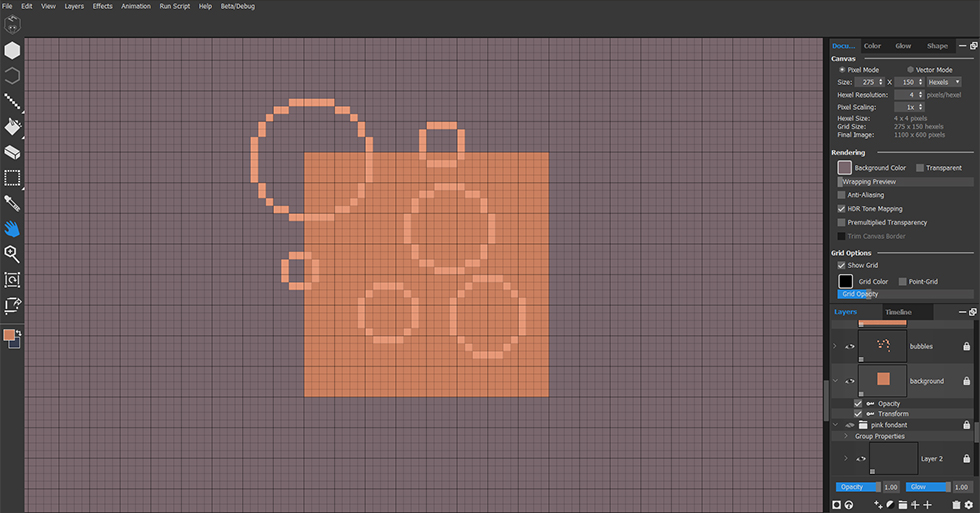
Creating the seamless ‘fizzy drink’ texture.
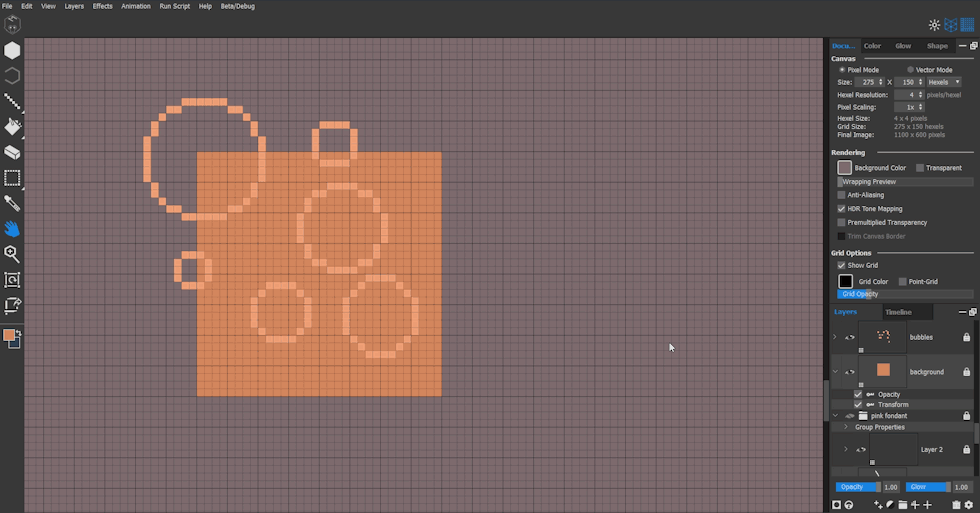
I created a solid 32×32 square to form the background of the tile. The next step was to draw a series of circles on a new pixel layer to represent bubbles. The bubbles are offset from the tile for the following demonstration.
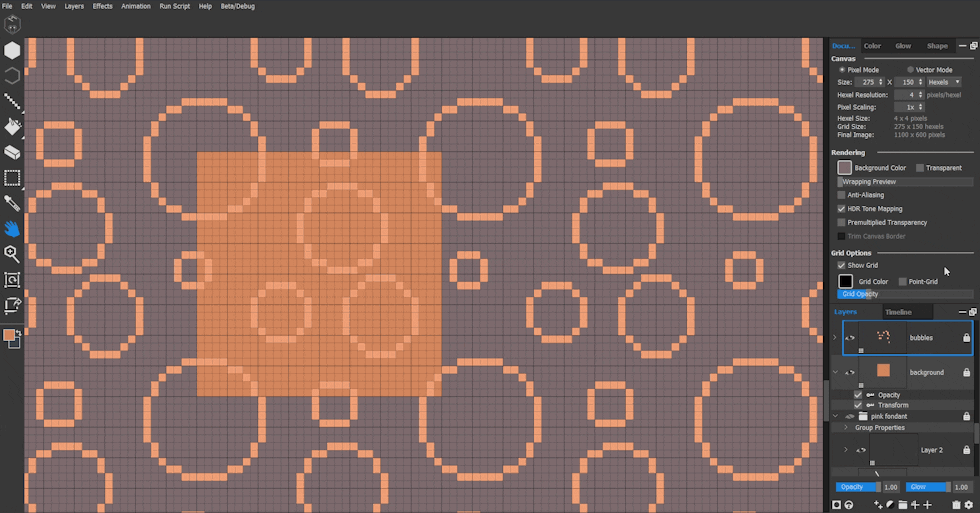
I tested the tileability of the pattern by double-clicking the ‘bubbles’ layer and ticking the ‘Wrapped’ box in the Layer properties window. This shows how the image repeats and where components needed to be repositioned to avoid seams.
I moved some areas horizontally and vertically to their corresponding positions.
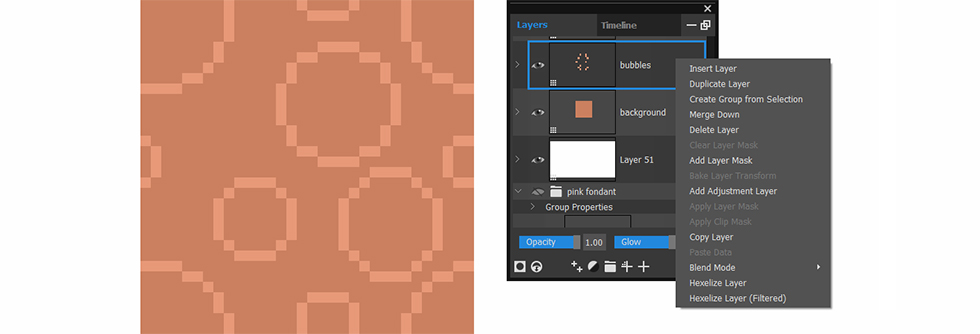
To finish the tile, I merged the bubble layer into the background layer. Always create each tile on a new layer to test with the wrapping feature, otherwise more than one tile will be included in the wrap.
You can also draw details with wrapped view enabled and the canvas will update as you draw.
Things to Consider
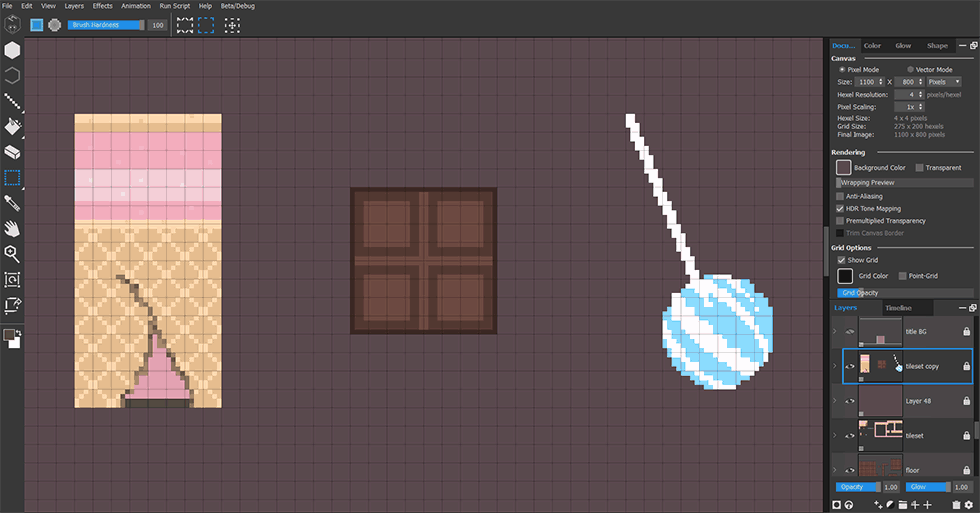
When creating a ‘top-down’ style game, the lighting direction needs to be considered. For each tile, paint shadows using a darker shade of the existing color to influence shape and depth. I created the rest of the tiles using the same technique and checked each one using the wrapping feature.
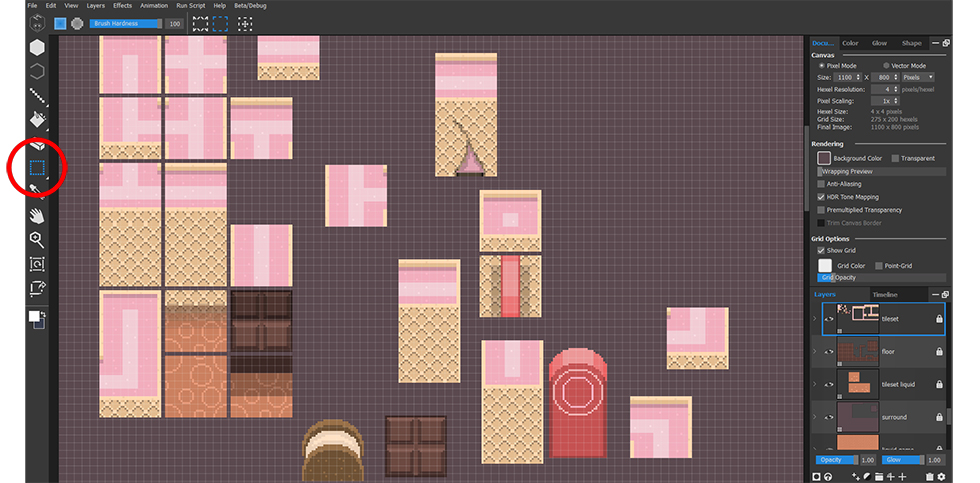
With the grid turned on for reference (Ctrl+G), tiles can be positioned and arranged using the Marquee Select tool (S).
Time to Export!
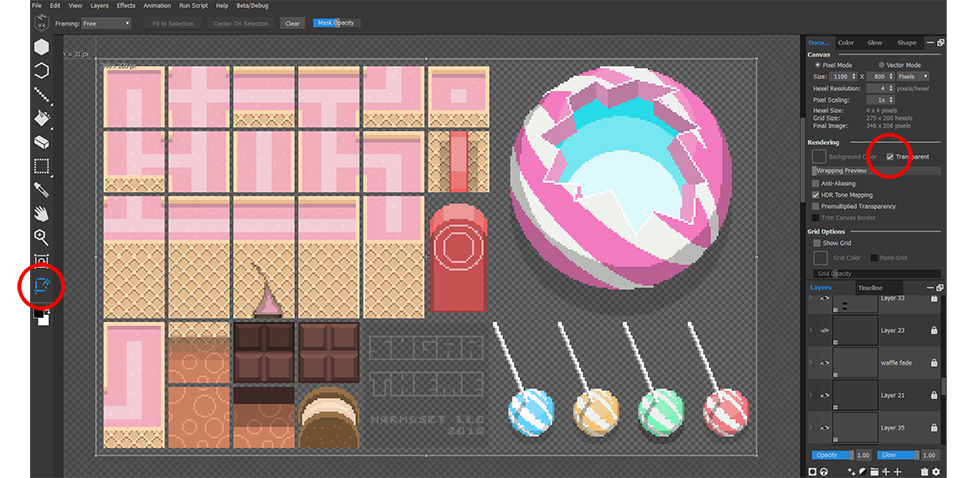
The Frame tool (F) is used to crop the visible canvas area. Be sure to tick the Transparent box in the Document tab to make the background transparent.
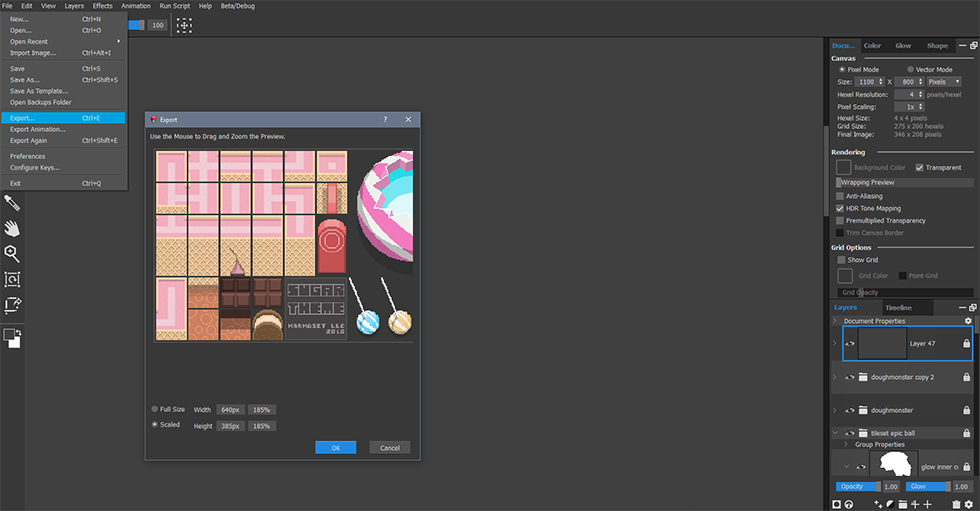
To export the tileset, go to File>Export (Ctrl+E), select your save destination and the Export window will appear. The size of the exported image can be customized to suit your intended game resolution target.
That’s a Wrap!
Whether you’re conceptualizing a game idea or creating assets for in-game use, Hexels makes it easy to bring your game designs to life. Create your own tilesets with the free 14 day trial of Hexels.