 Being told Hexels was getting Pixel Mode, with the ability to combine Pixel Layers and Trixel Layers in the same document I saw this as a real game-changer for the software. With the new Pixel Layers allowing me to draw curves and lines in any direction, I wanted to see if it was possible to Rotoscope over imported images using the new mode.

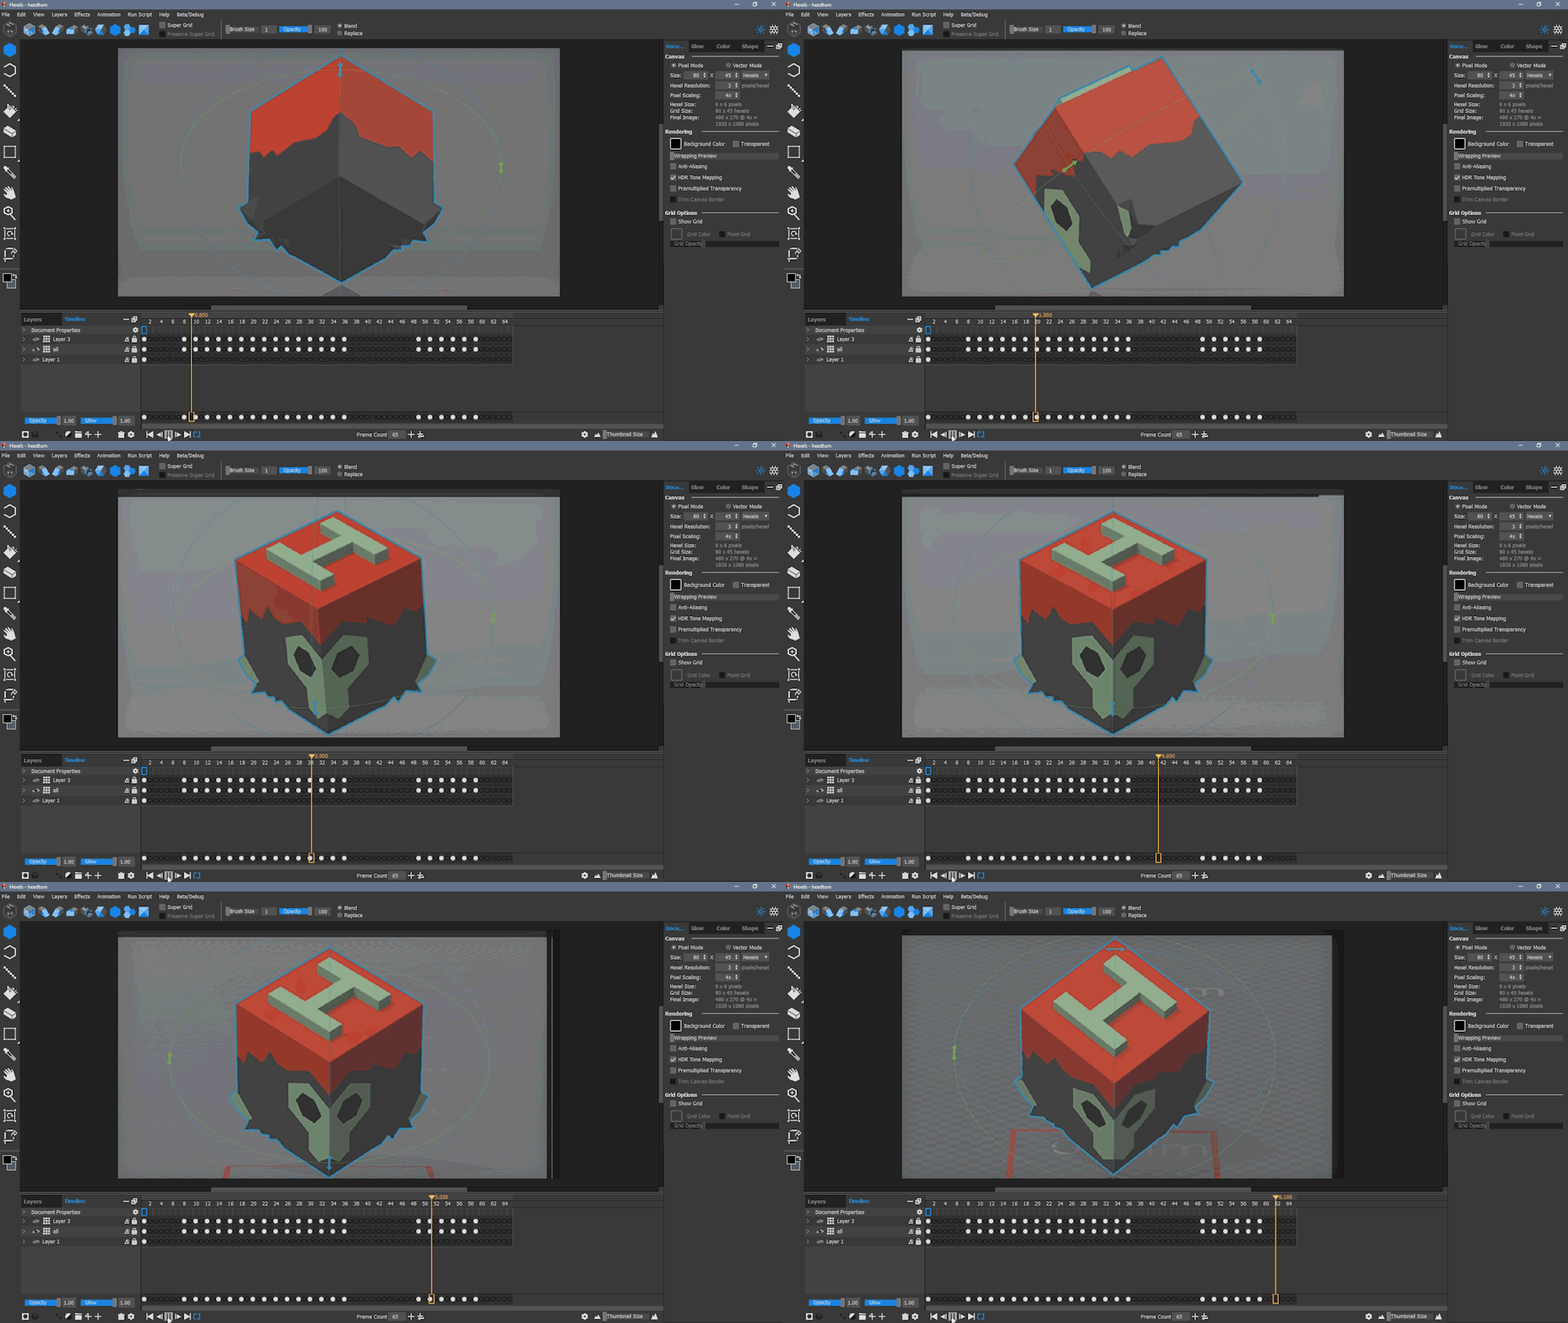
I started by creating a short 180° turn amination with a 3d model of the Hexels monkey head Logo in a 3D package. I exported the frames of the animation and then imported the entire sequence of images into Hexels, all at once, by simply dragging it onto my hexels canvas. This gives the option to add each image on its own layer of the entire sequence as a single layer animation.
Choosing the latter meant I could see the full animation like a flip book and I now had my rotoscoping reference.

I lowered the opacity of the reference animation to make painting above, on a new pixel layer, more visible. I used the line tool to trace the outline around each colour ignoring shade altogether. Next, I used the paint bucket to fill each outlined area. I carried on using this technique for every frame, and once finished extended the cube down to the bottom of the canvas to give the creature a body.

This is how my animation looked once I was happy the blocking of some of the main shapes.
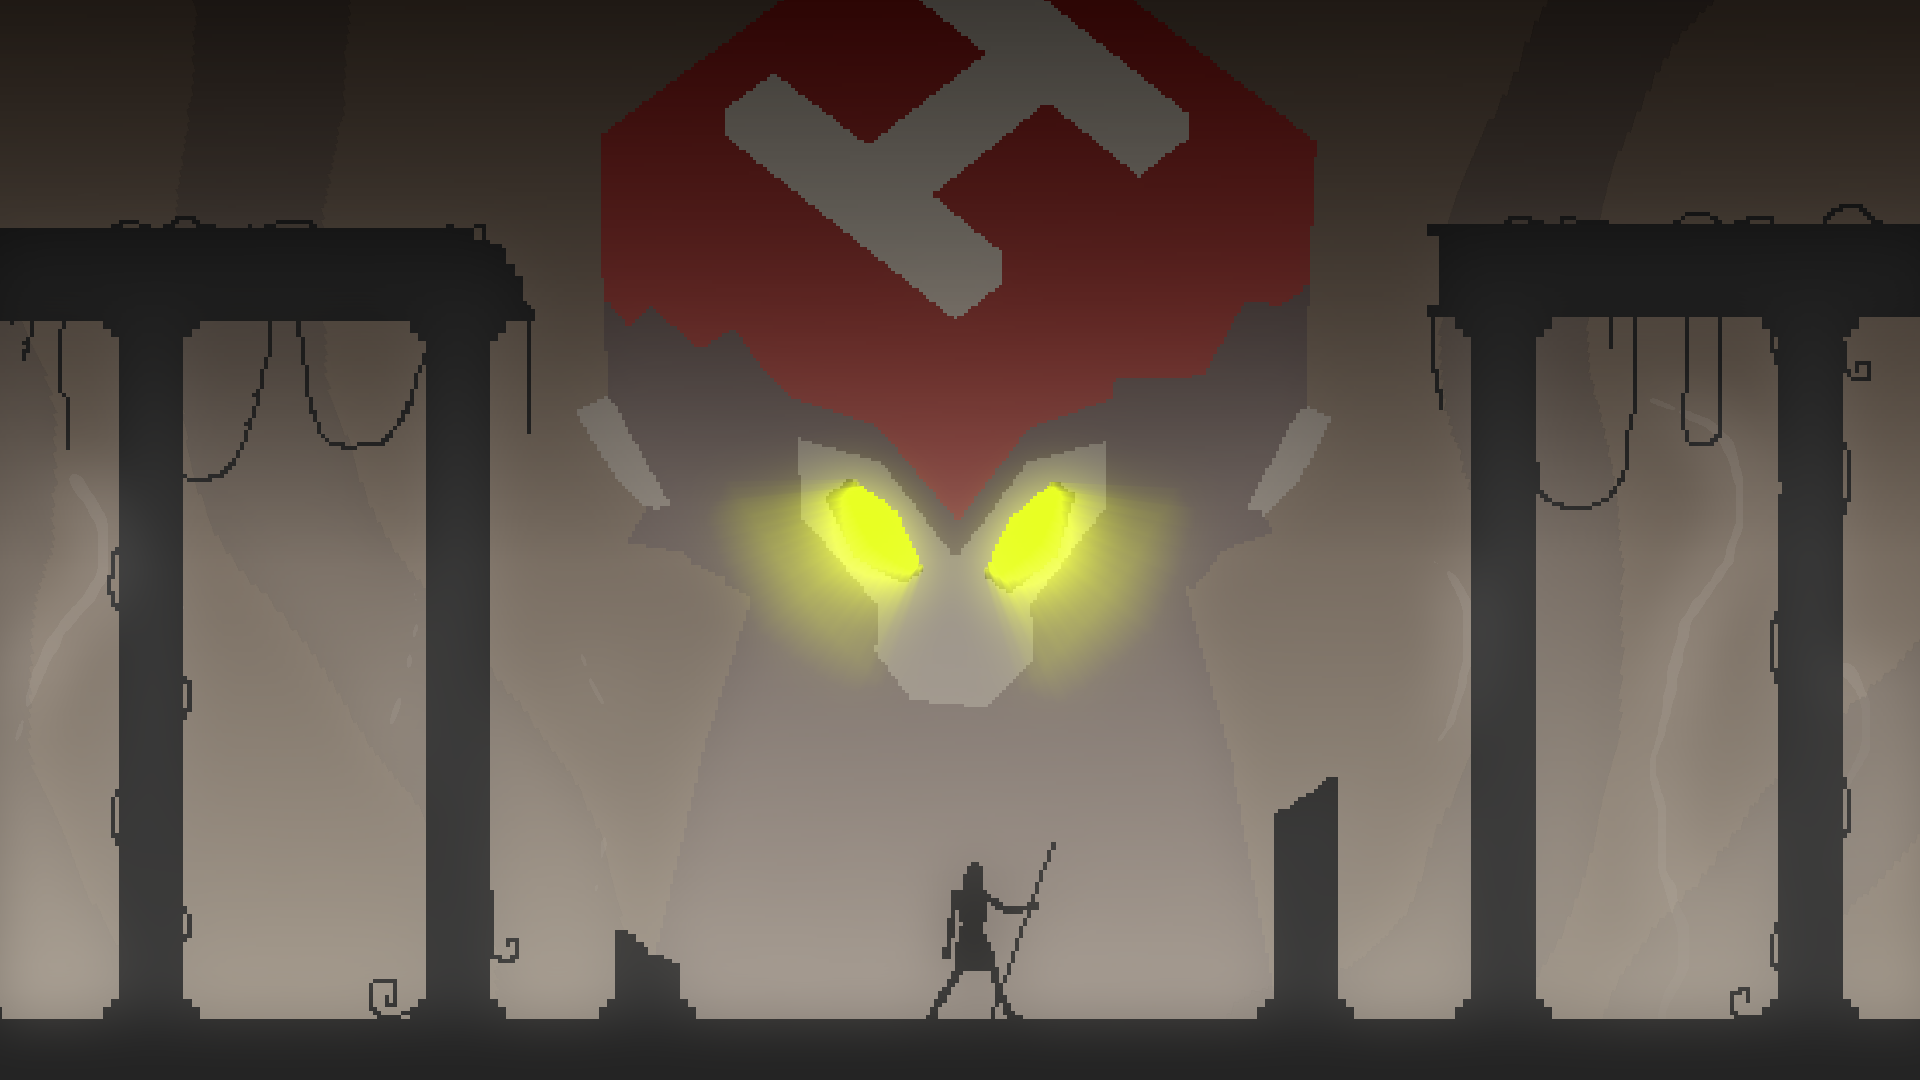
The next step was to animate glowing yellow eyes. This effect was created by creating a new pixel layer for the eyes. I filled each new selection with a strong yellow colour then added a directional motion blur effect to each cell. This allowed me to animate the intensity and direction of the blur without impacting upon any other scene elements. Effects like this can be found in the dedicated ‘Effects’ drop down menu or from the layer properties window.

I wanted to add more shape to the creature so the next logical step was tentacles, because I love all things Lovecraftian. To give the illusion of the tentacles rotating along with the creature reveal I required two pixel layers. Layer ordering is important here. One tentacle layer is below the creature Layer, the other is above it. By having each of the two layers transform across the length of my timeline, and having the intersection point at the midpoint of the creatures rotation, I could simplify a potentially complex sequence.

The tentacle layer behind the creature has a reduced opacity to help convey distance.
From this point I added a white gradient layer rising from the bottom of the canvas. I lowered the opacity to give a hazy look and create distance between the creature and the foreground. For the top edge of the image I added a black gradient to give the impression of darkness above the scene. I also added a pixel layer with a few vertical freehand lines with an animated distortion and blob effect to smooth away the pixel edges. This gives a look of rising smoke like wisps. It’s worthwhile experimenting with effects. They can really add a level of polish to an element or scene. It’s good practice to create each element, of your scene, on a new layer to allow for more creative control when applying transforms and effects.

The final element in the scene is a small silhouette foreground character with some environmental detail. I added a little movement using traditional keyframe animation, on a new pixel layer, and added some architectural ruins to put it all together.
To create the effect of a smooth panning camera movement, I applied a Transform to the whole document. This essentially means I can move and scale all layers at once. I created a frame with a 16×9 aspect ratio so that anything inside the frame will be included in the final export. Using the Transform tool (T), I reduced the scale of the whole document towards the end of my timeline. Hexels automates the change in scale to create a camera pan away from the scene. For any camera like movement the frame tool (F on keyboard) is essential. You can still export your images full size with the options available in the export window.
With the introduction of Pixel Layers the possibilities for animation are substantially increased. It’ll be really exciting to see what the community comes up with now that Hexels 3 is released.

