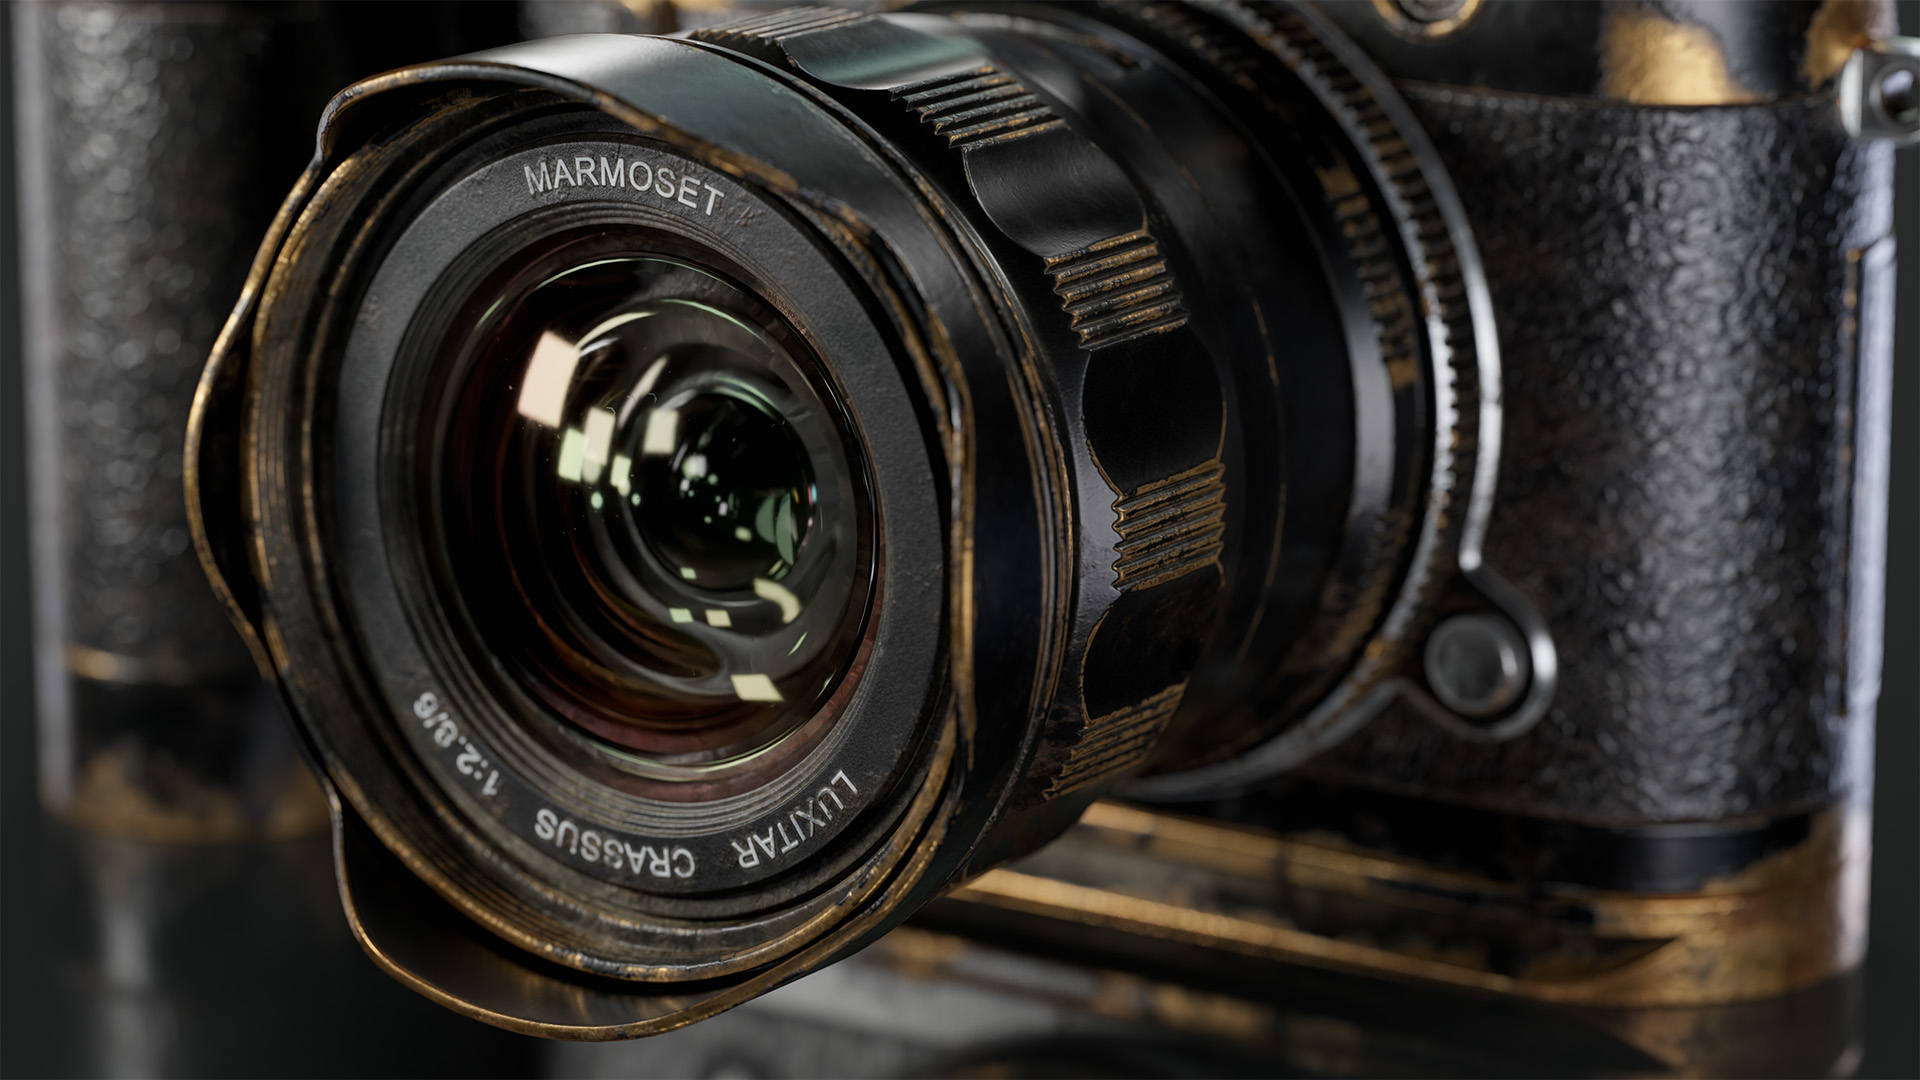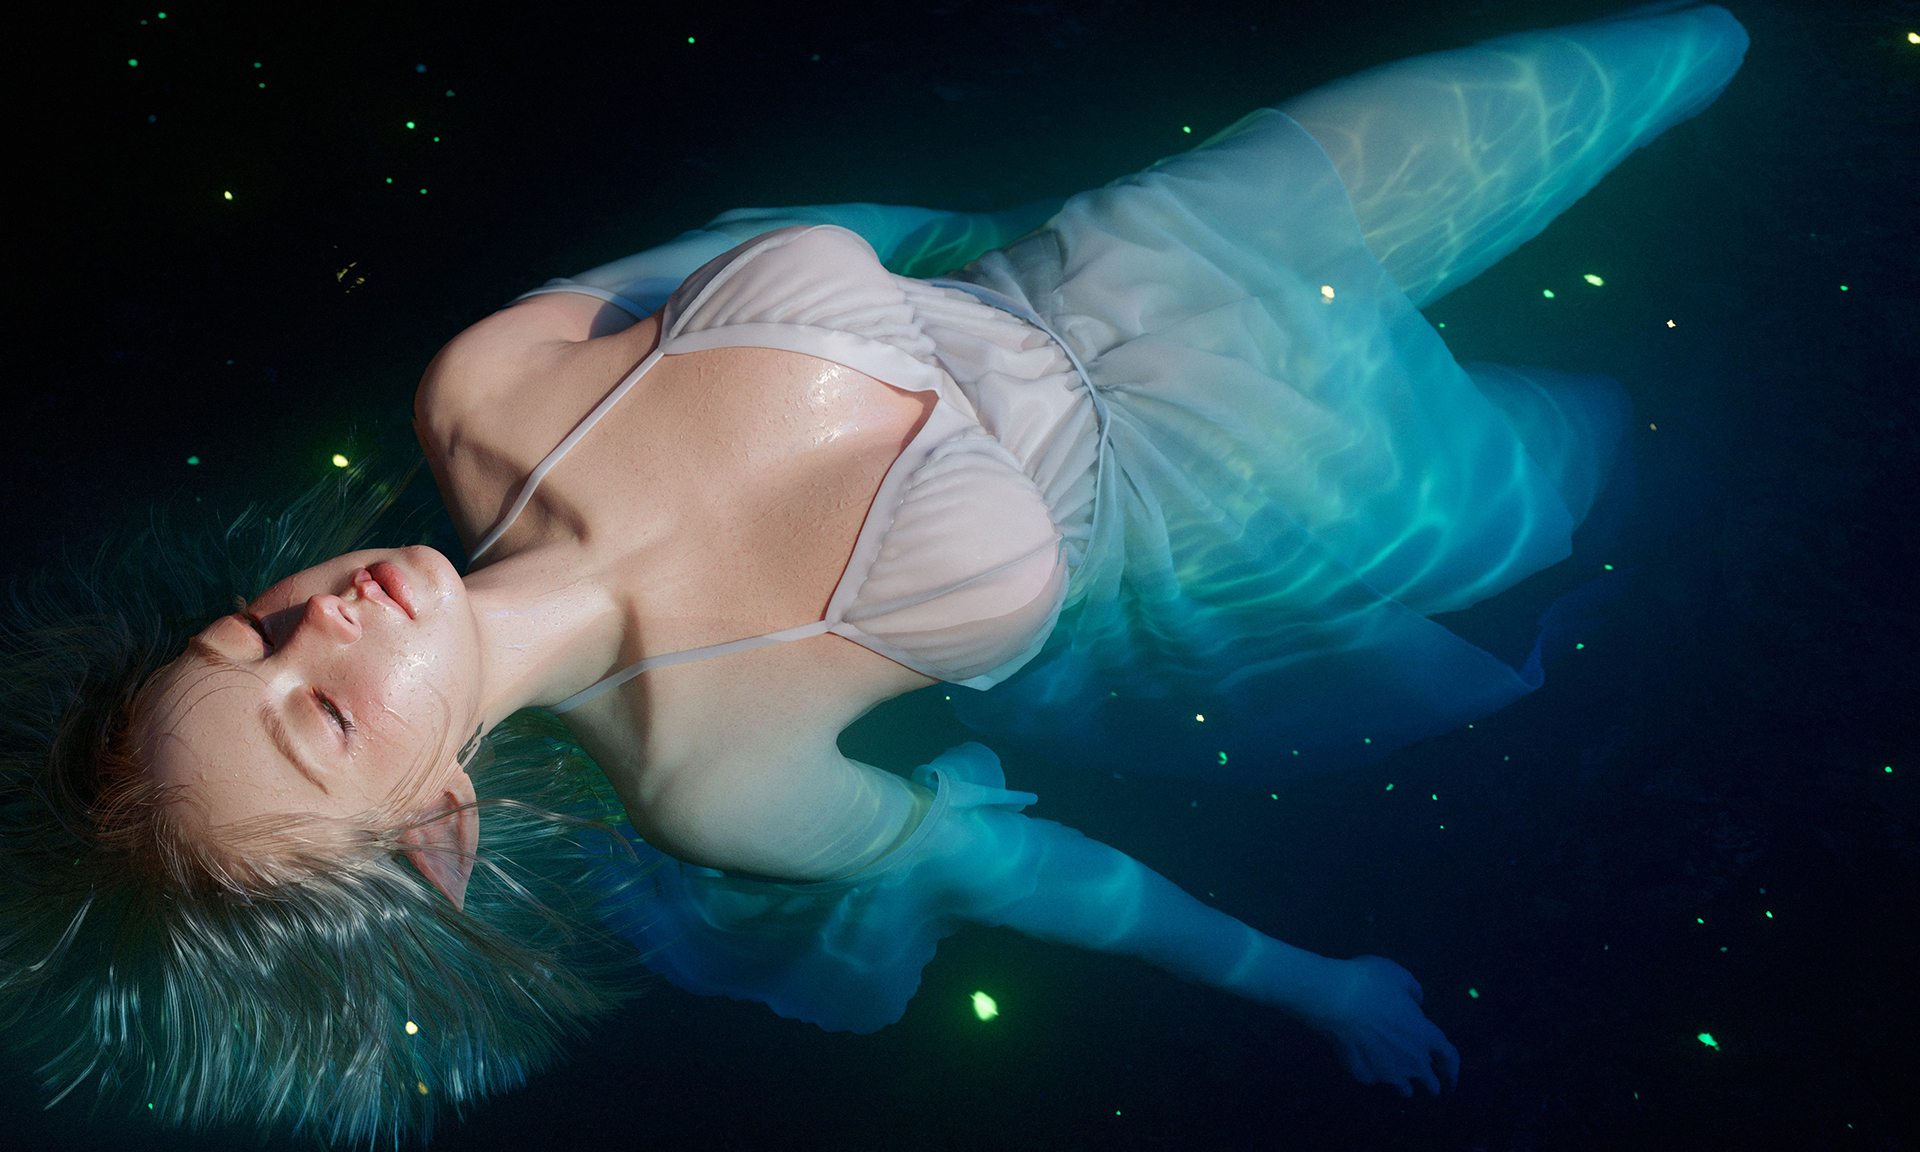
3D Model by Rudolf Béres
The Importance of Dynamic Shadows
Dynamic shadows play a crucial role in 3D rendering, giving the potential to add depth and a layer of storytelling to a scene. They provide visual cues about the position and distance of objects, helping viewers perceive how they’re placed in relation to each other in the scene. They also contribute to the overall mood and atmosphere of a scene. Whether it’s a spooky horror setting or a bright, sunny day, shadows can evoke emotions and set the tone for the viewer.
This article will explain how to quickly and effectively add character to your shadows in Toolbag using various features, including Shadow Catcher objects, Gel textures, and custom shadow plane meshes. We’ll also examine how to animate shadows with Toolbag’s animation system, and make sure you capture the highest sense of realism in your shadows by enabling the power of Toolbag’s ray-traced rendering.
3D Model by Eugene Lukashevich
How Motion Changes the Scene
Dynamic moving shadows help in conveying the passage of time. For example, as the sun moves across the sky, the shadows shift and change, indicating the progression of hours. This level of detail enhances the storytelling potential of your scenes. Another example would be a scene with trees swaying in the wind, casting ever-changing shadows on the objects below.
As you plan the final presentation of your artwork, think about the sense of time and place for each character or environment you create and what style of simple animation and light or shadow movement would best support your intended narrative.
Crafting Dynamic Shadows in Toolbag
Now let’s dive in! We’ll be introducing the three following methods to craft dynamic cast shadows and help you achieve a natural sense of realism with simple and efficient workflows:
- Applying Gel (Gobo) textures to Light objects
- Using shadow plane meshes with a custom material
- Adding a Shadow Catcher object to the scene
Method 1: Using Gel (Gobo) Textures
Gel (Gobo) textures allow users to project patterns from a texture onto a shadow using light objects. To use it, you must place the light source, apply your gobo texture to the Gel texture slot in the Light settings, and set up the Tiling and Vignette.
Note: When using Gel texture maps, white areas indicate where light passes through, and black areas indicate areas that create shadows.
Gel textures can be used to simulate various effects, such as dappled sunlight through leaves, intricate architectural patterns, or even the shimmering reflections of water (caustics). You can experiment with different gobo textures and see their immediate impact on your scene.
Tip: Using a Spot Light for Gel textures can give more realistic results. Photography studios usually use similar light sources to achieve such gobo shadows.
Method 2: Creating Shadow Planes
Additionally, you can create shadows using shadow plane meshes placed between the light source and your model(s). The shadow plane technique is particularly useful for creating soft, diffused lighting.
This technique is more advanced as it involves crafting specific materials and manipulating objects in 3D space, but it offers greater flexibility in setting up shadows. Similar to shadows created by 3D objects, plane shadows can mimic the effect of light passing through an obstructed surface.
To start, you can create your plane using your 3D modeling app, or use Toolbag’s integrated primitive generator found in Edit → Plugins → Generate Primitives.
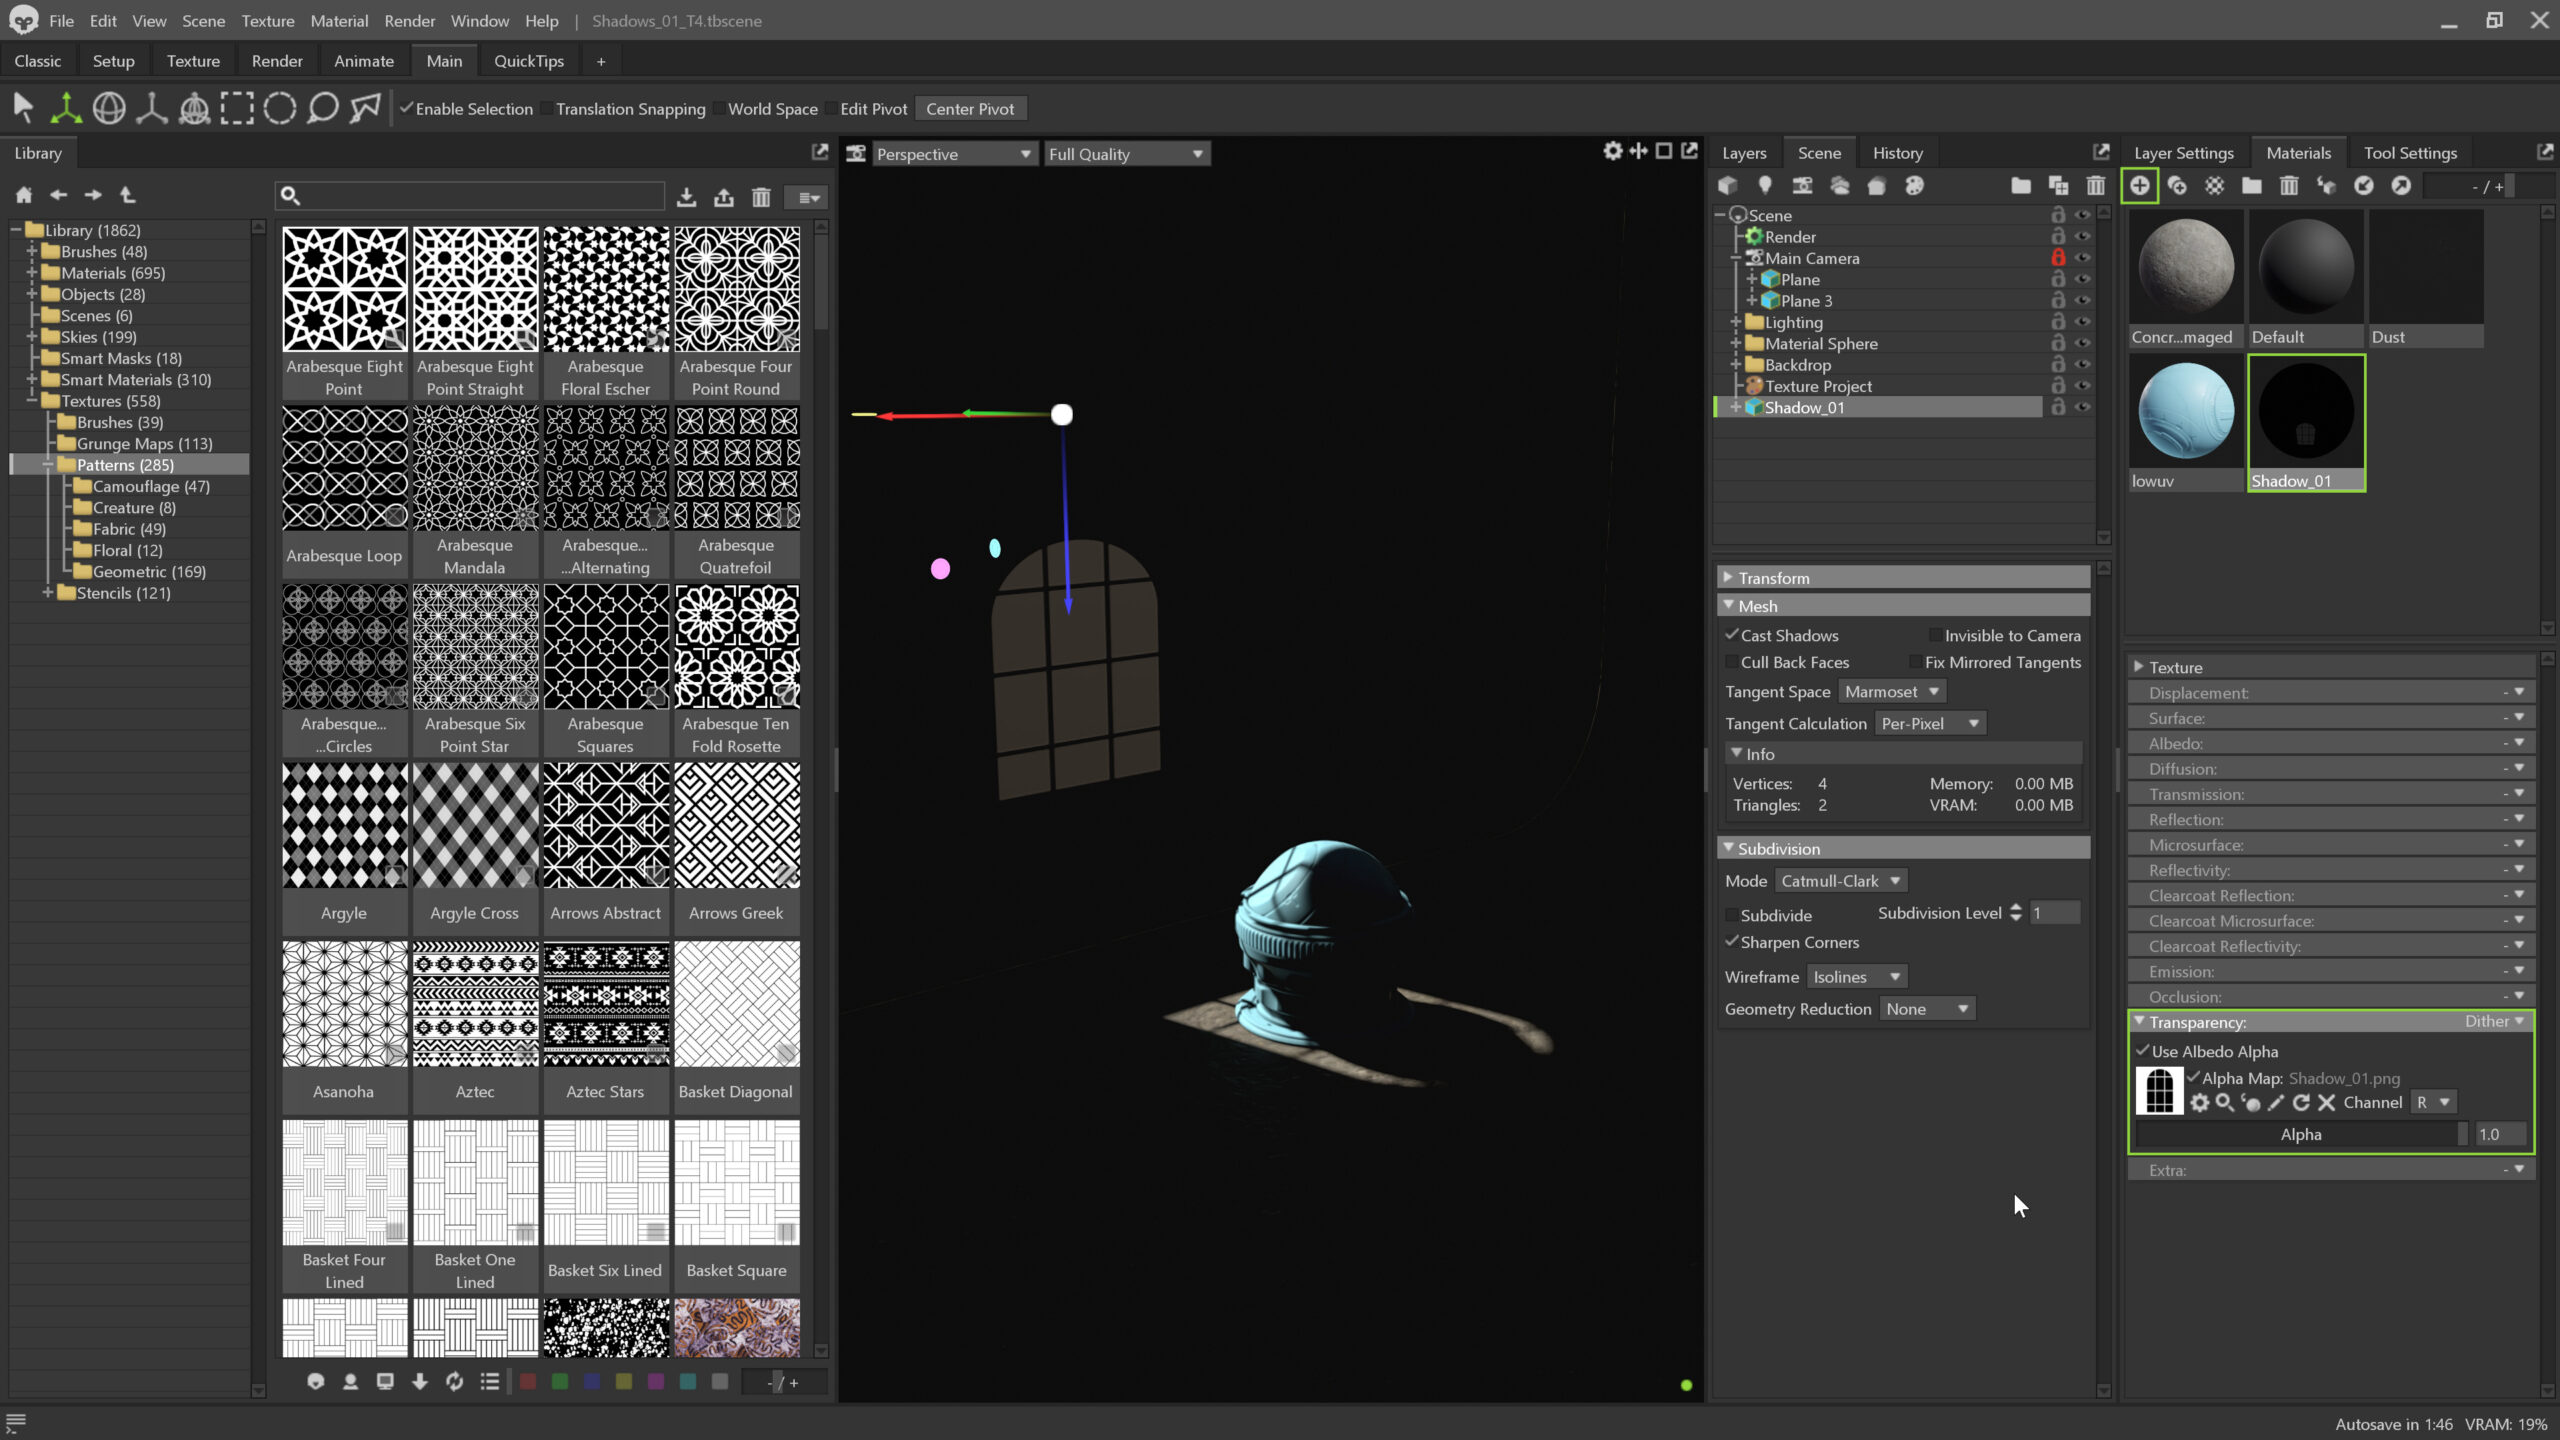
Next, proceed to create a transparent mask material. Open the Materials window from the Window menu, or make it active if you already have one. Press the plus icon to create a new material.
Let’s configure our newly created material. Set a name for your material, disable all shader properties, and change the Transparency submodule to Dither. This will allow us to use a mask texture to indicate areas through which light will pass and those through which it will not.
Notes:
- Unlike Gel textures, this shadow method requires inverted textures. When using a mask, dark areas indicate where light passes through, and light areas indicate areas that create shadows.
- If you didn’t use a custom texture with an alpha channel, you should change the Channel to Red (R), Green (G), or Blue (B) in the Transparency settings. Otherwise, the mask will not work.
Once the material is configured, apply it to your plane mesh by simply drag-and-dropping the material swatch from the Materials window onto the mesh in your viewport.
Method 3: Using Shadow Catchers
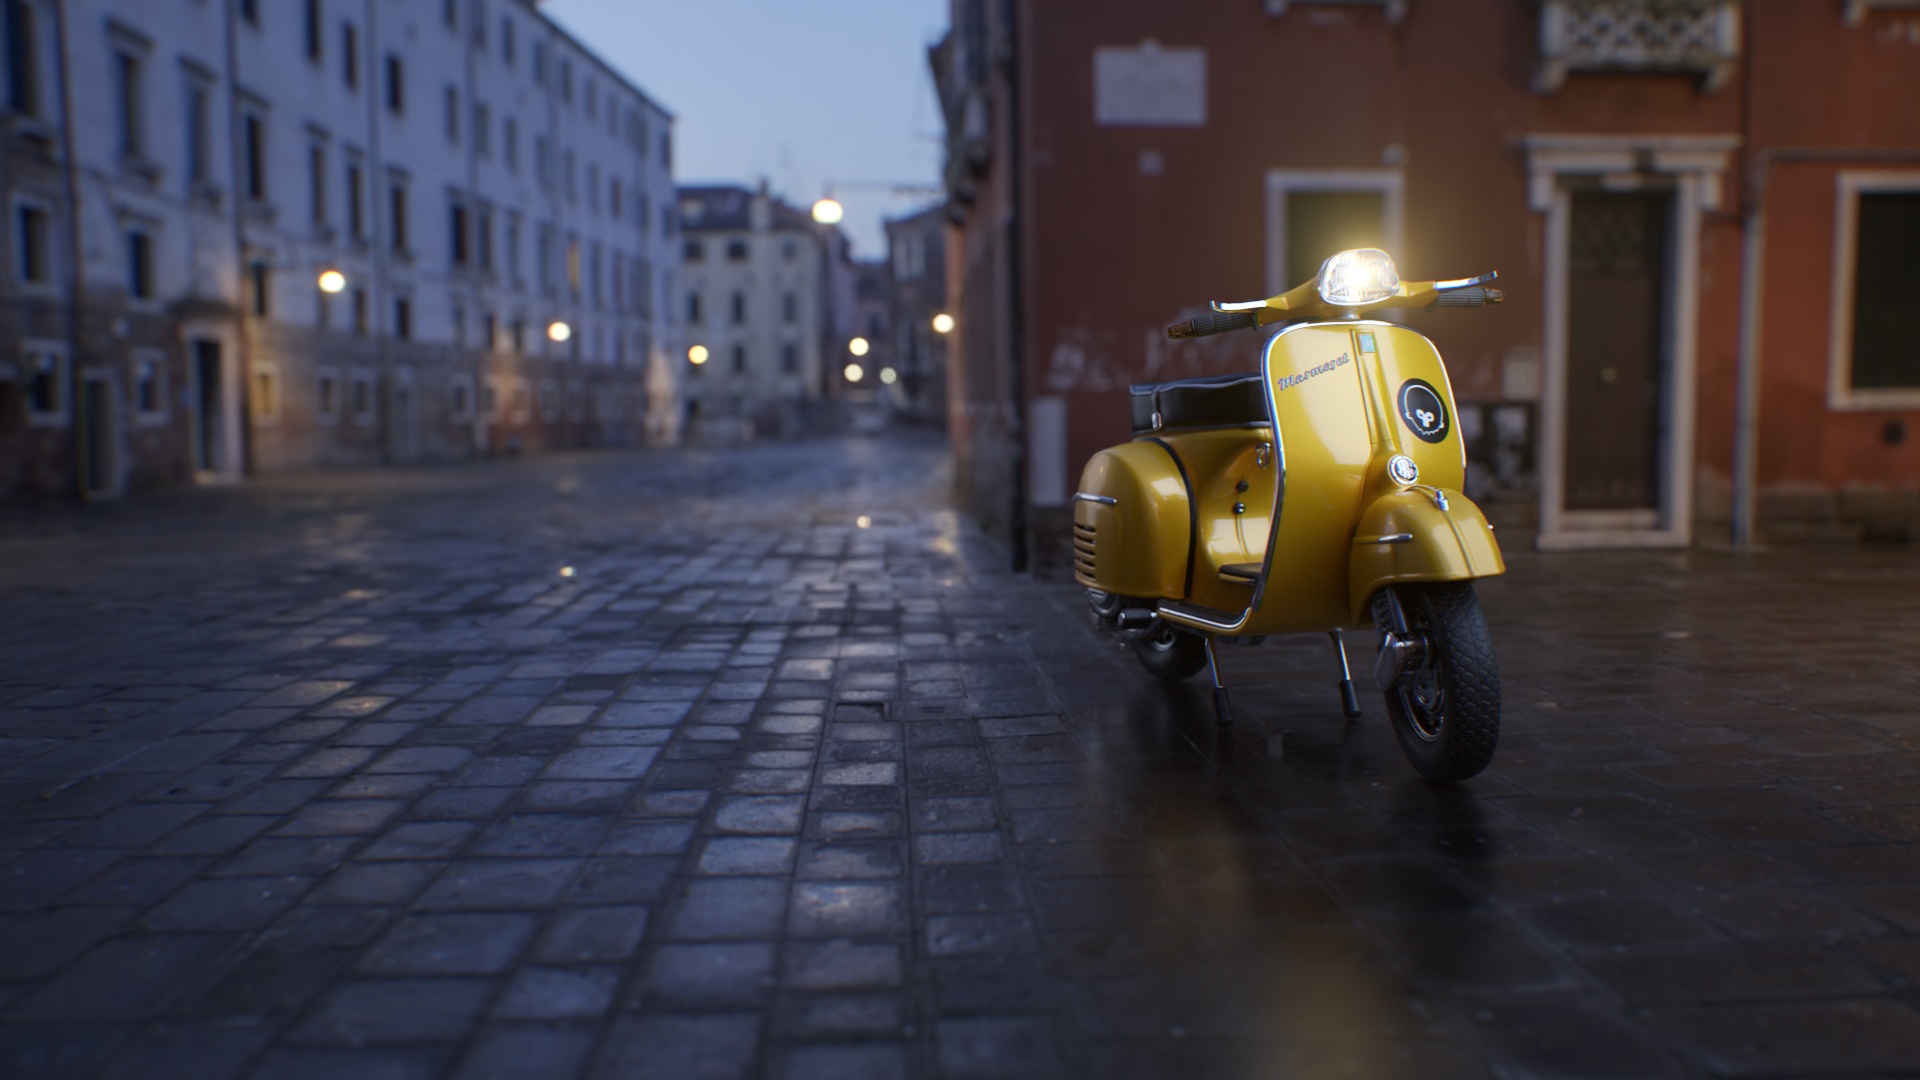
Another way to create shadows in Toolbag is through the Shadow Catcher object. It allows you to display shadows cast by 3D objects in a scene and helps create realistic lighting effects by accurately representing the interaction between objects and their environment. You can define the shadow’s opacity and texture and apply a roughness and specular map to create specific characteristics such as wetness and reflections.
You can learn more about using Shadow Catchers in the Marmoset Toolbag Documentation site [link] or our Shadow Catcher Quick Guide.
Animating Your Shadows
Any scene with animated elements looks more appealing than a static image. Let’s explore how we can easily and quickly enhance our final result through Toolbag’s animation system.
First, we’ll switch to the Animate workspace or activate Timeline and Keyframes windows from the Window menu. Select the object you want to animate and choose the parameters in the Keyframes window. Set keys by using the add key button and change its value as desired.
Tip: In most cases, it’s enough to animate the Camera and object shadows to get nice results. Additionally, you can animate those Transform parameters, making the render much more alive.
You can learn more about animating in Toolbag through the Toolbag Documentation or our animation video tutorial.
Rendering the Final Video
After animating your shadows, you can render your scene into .mp4 or .avi via the Render object in your Scene hierarchy. The dynamic shadows will be captured in the rendered video, allowing you to showcase the full impact and beauty of your 3D scene.
Thanks for reading! To experiment with dynamic shadows and help add narrative depth to your own artwork, download and run the 30-day trial of Toolbag. For more Toolbag tutorials and quick guides, check out our Resources section.


