What are Emissive Materials?
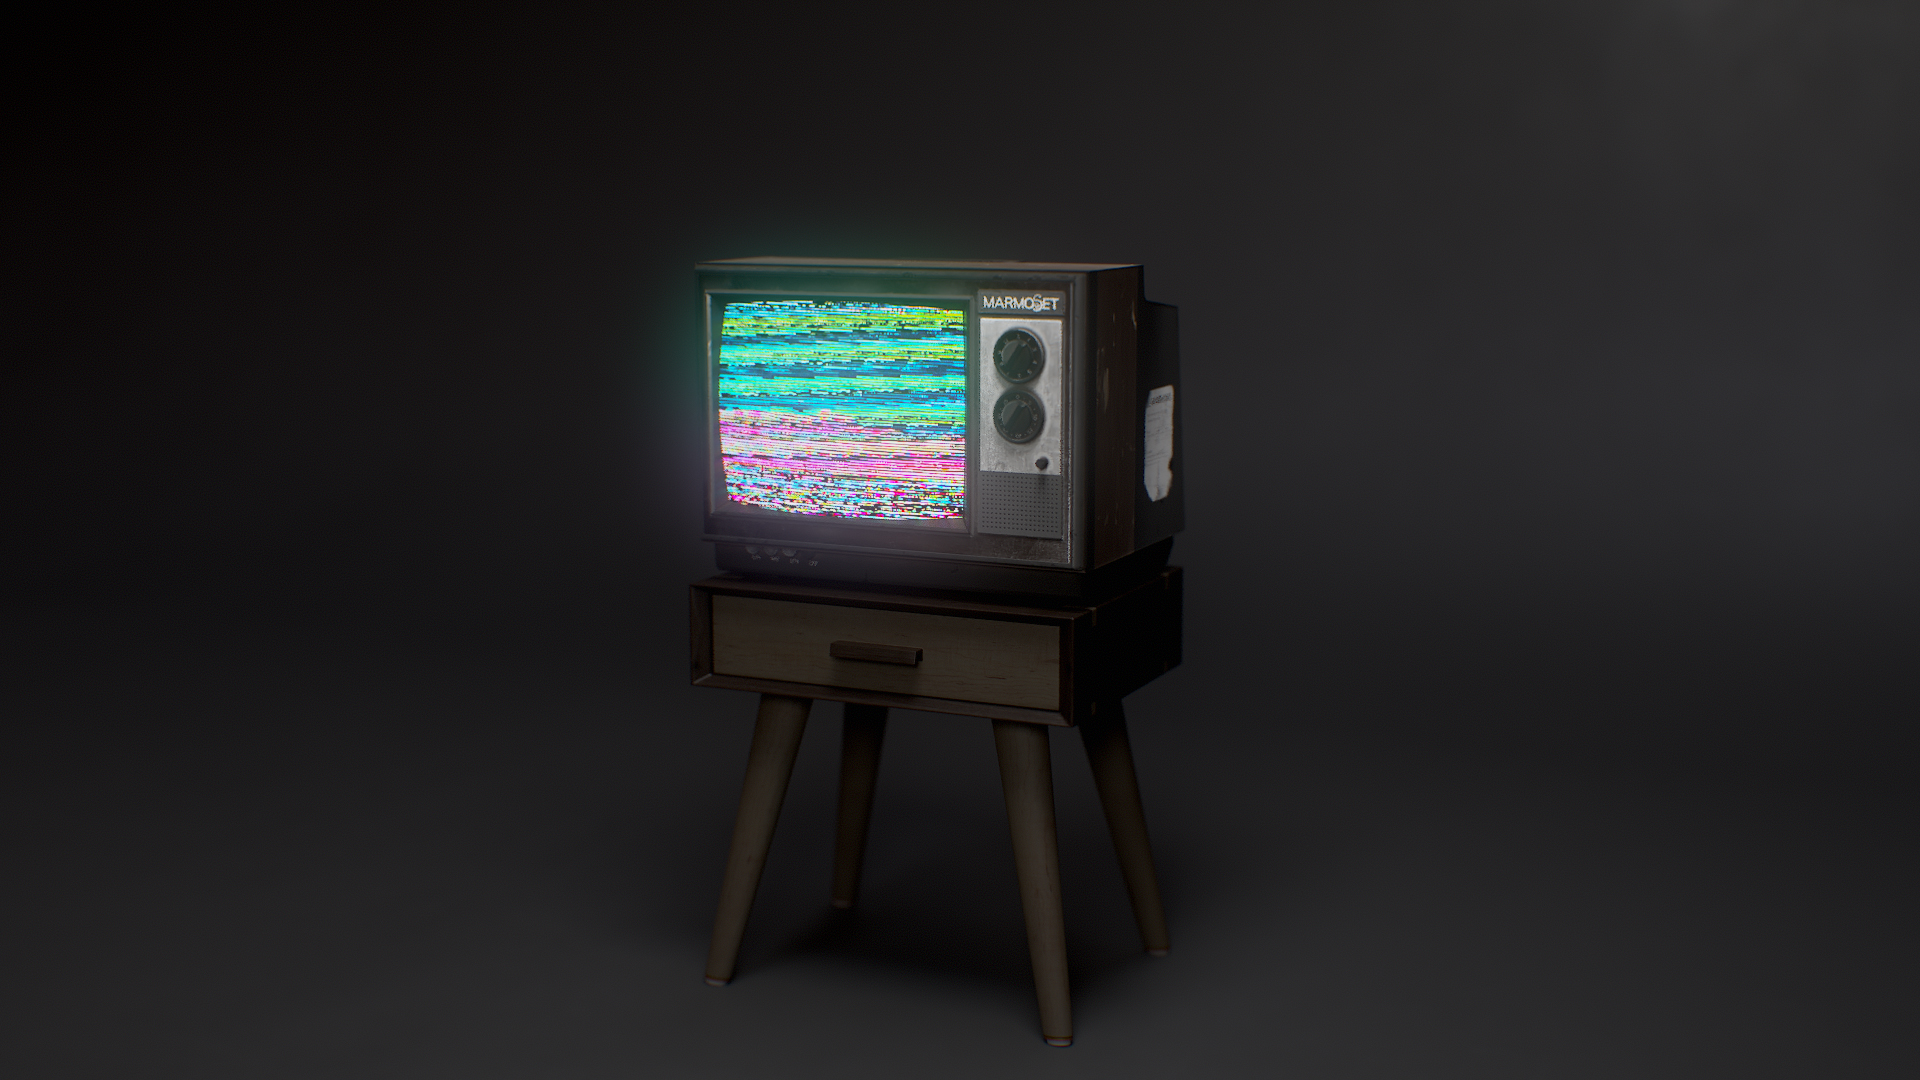
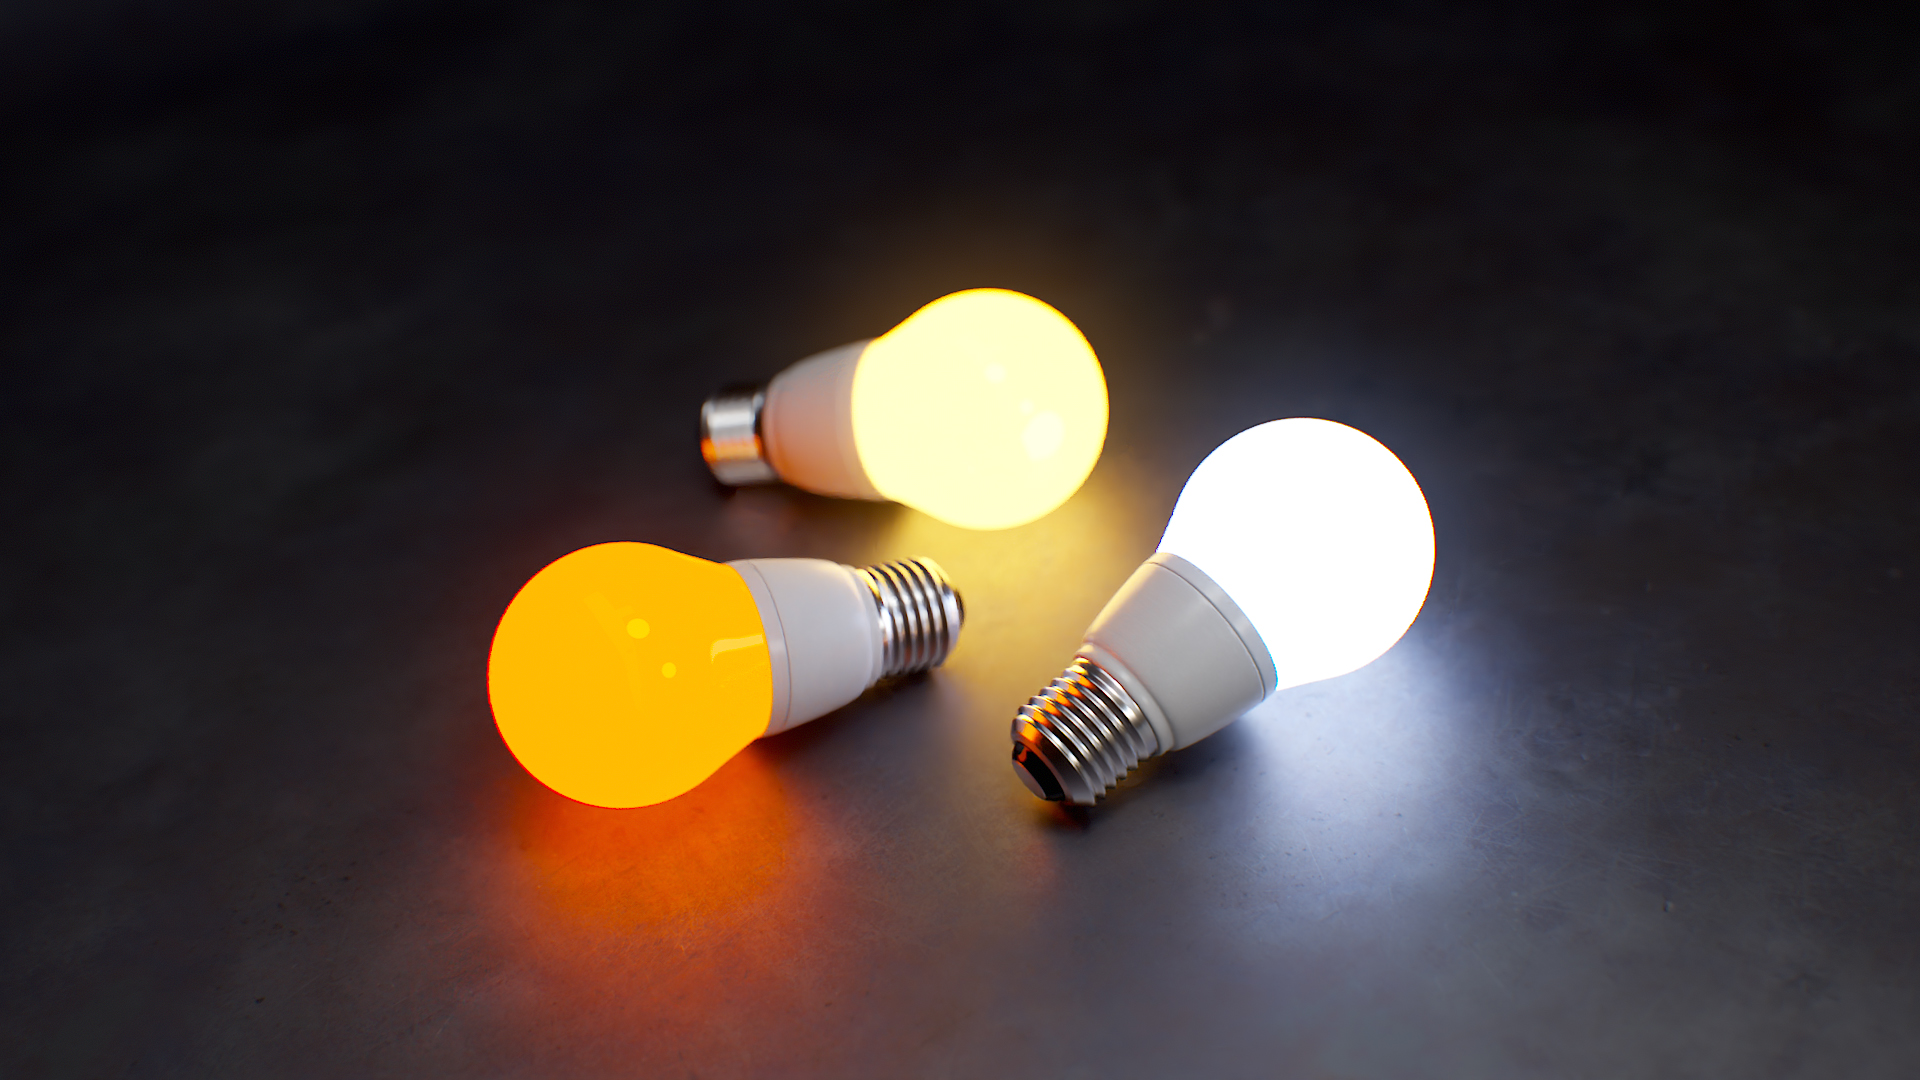
Emissive materials are surfaces that emit light independently of external light sources. Examples of emissive objects or surfaces in everyday life include light bulbs, TV screens, and lava.
Marmoset Toolbag’s material editor includes an Emission shading module that simulates different emissive surfaces. Since emissive materials are self-illuminating, they’re generally considered a visual enhancer rather than a source for illuminating a scene. In this quick guide, we’ll define each of Toolbag’s emissive shading modules and how you can add interest to your scene and animate emissive parameters to create dynamic video renders.
Emissive Material Types in Toolbag
Depending on your desired outcome, you can choose from three Emissive shading models found in the Emission module:
1. Emissive
Emissive is the primary shading model that emits light. This type is designed for minor light sources, such as the light emitted from screen displays, glowing gems, and neon signs. Emissive materials are generally used to create lighting effects and add a layer of realism. Settings include adding an Emissive Map, and adjusting the Intensity and Color, which multiplies over an emissive texture map, if present. The Glow parameter will overlay on top of the effect to create a brighter appearance.

2. Heat
Heat simulates materials that emit light due to high temperatures, such as lava, bulbs, red-hot metal, and more. The intensity and hue of the light match the real-world “glowing-hot” behavior of heated objects. Settings include Intensity, Temperature (K), and Minimum Temperature (K). The Heat Map, if present, will blend between the minimum and maximum temperature settings.

3. Fluorescent
Fluorescent emulates the behavior of fluorescent materials, which emit visible light when exposed to UV rays. This shading model is good for retroreflective materials such as reflective vests and traffic cones. The fluorescence shader emulates UV light emitters by creating additional light emission in response to the Sky object; the brighter your Sky, the more the material will fluoresce. There are settings for a Fluorescence Map, Color, and Strength of the effect.

How to Set Up an Emissive Material
- Create a new material in the Material window (Window → Materials).
- Change the Emission shading module dropdown from None to Emissive.
You can adjust the Color and add a glowing effect via the Glow color parameter. The difference between the two is that the Color is used to tint an Emissive Map, while the Glow is used for a global emissive effect. You can add a texture to the Emissive Map to highlight specific areas of a model, LED panels, for example.
Ramp up the Intensity slider to achieve a stronger emissive effect and enable Ray Tracing in the Render settings to achieve a more realistic outcome. You can also add Bloom to the Camera settings to make the effect more noticeable.
Using Emissive Materials in Texture Projects
The Emissive Project Map is enabled by default in a Texture Project. Therefore, you can immediately adjust the emissive color and add some masks to the layer to achieve the desired result. For example, it’s easy to create Lava material using crack masks.
Animating Emissive Materials
All emissive values except the textures can be animated in the Timeline window. You can create multiple keyframes with the emissive material’s different Intensity or Glow values to achieve effects such as glowing gems, flashing lights, fluorescent sci-fi panels, etc. Or you can animate the Texture Offset parameters to achieve the effect of a flickering TV screen.
Thanks for reading! To try your hand at creating your own emissive materials, download and run Toolbag, and begin a free, full-featured 30-day trial.
For more Toolbag tutorials and quick guides, check out our Resources section.


