

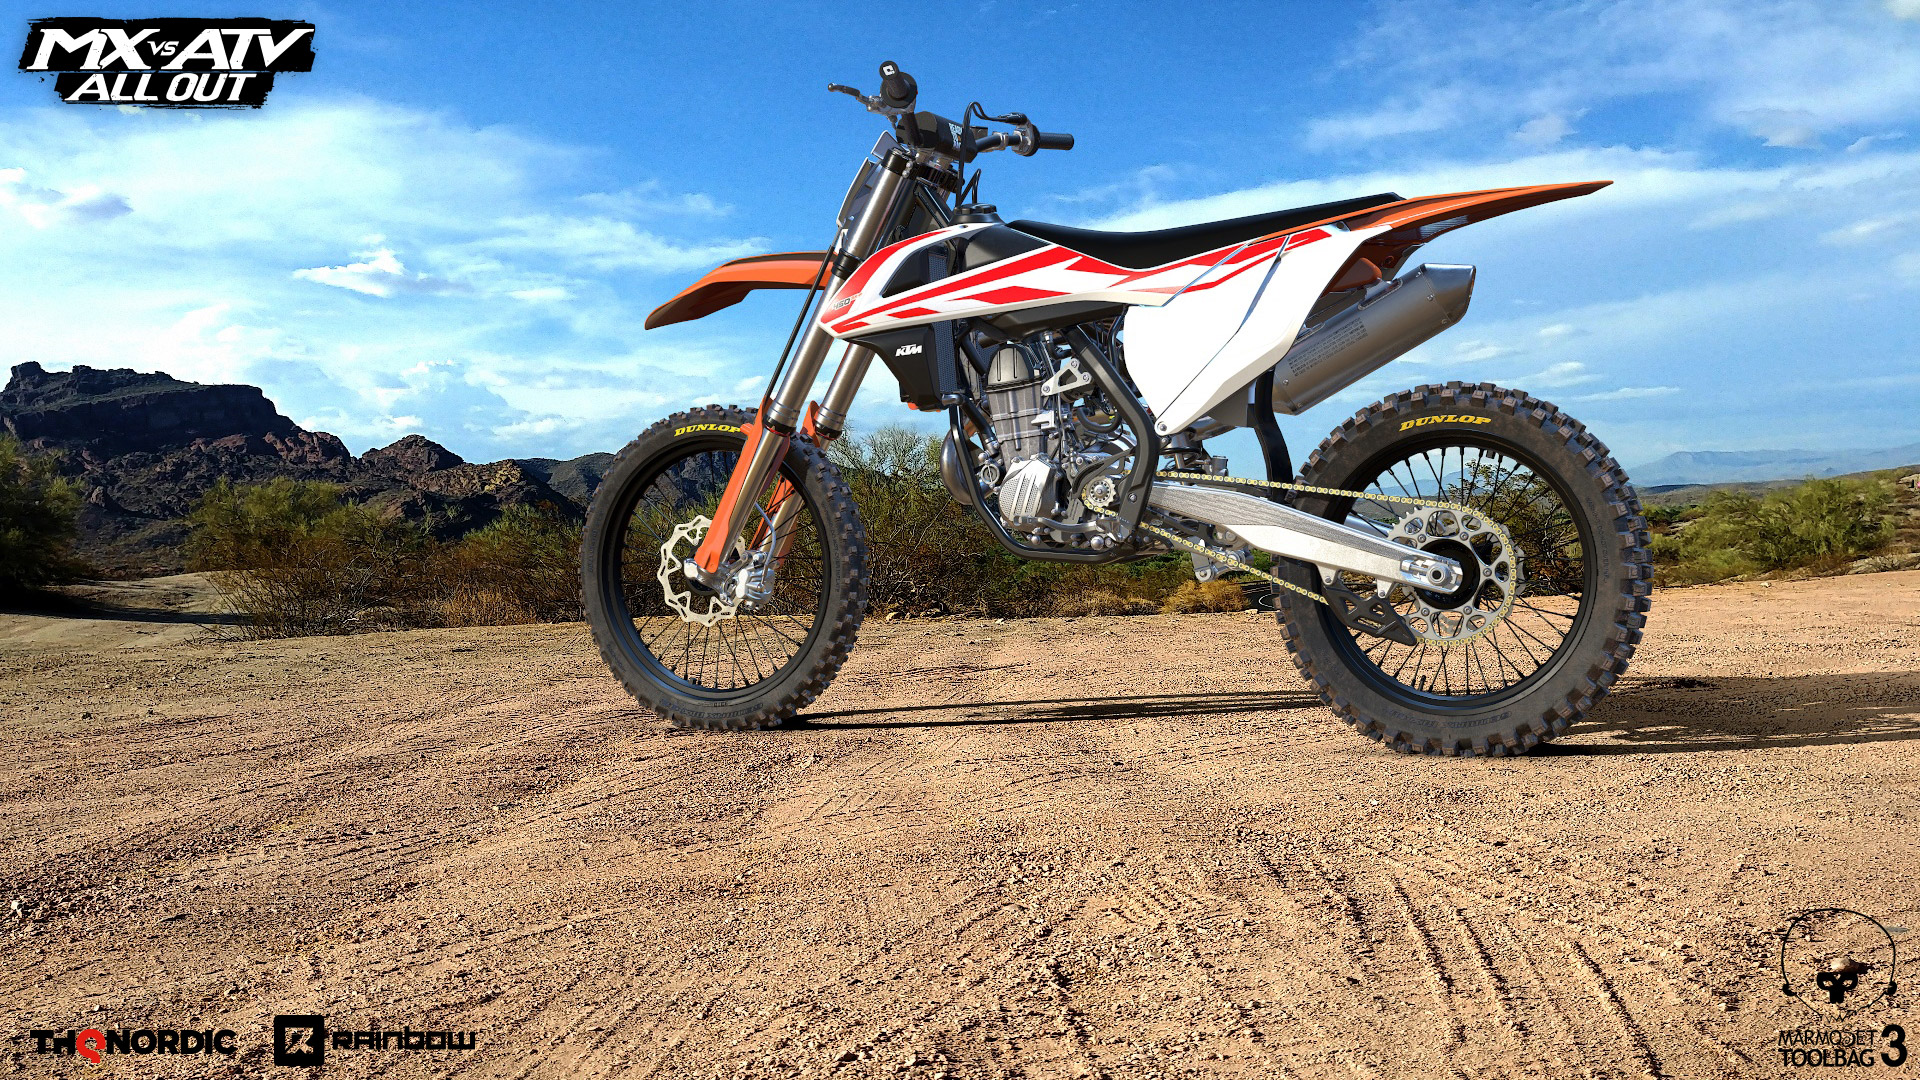
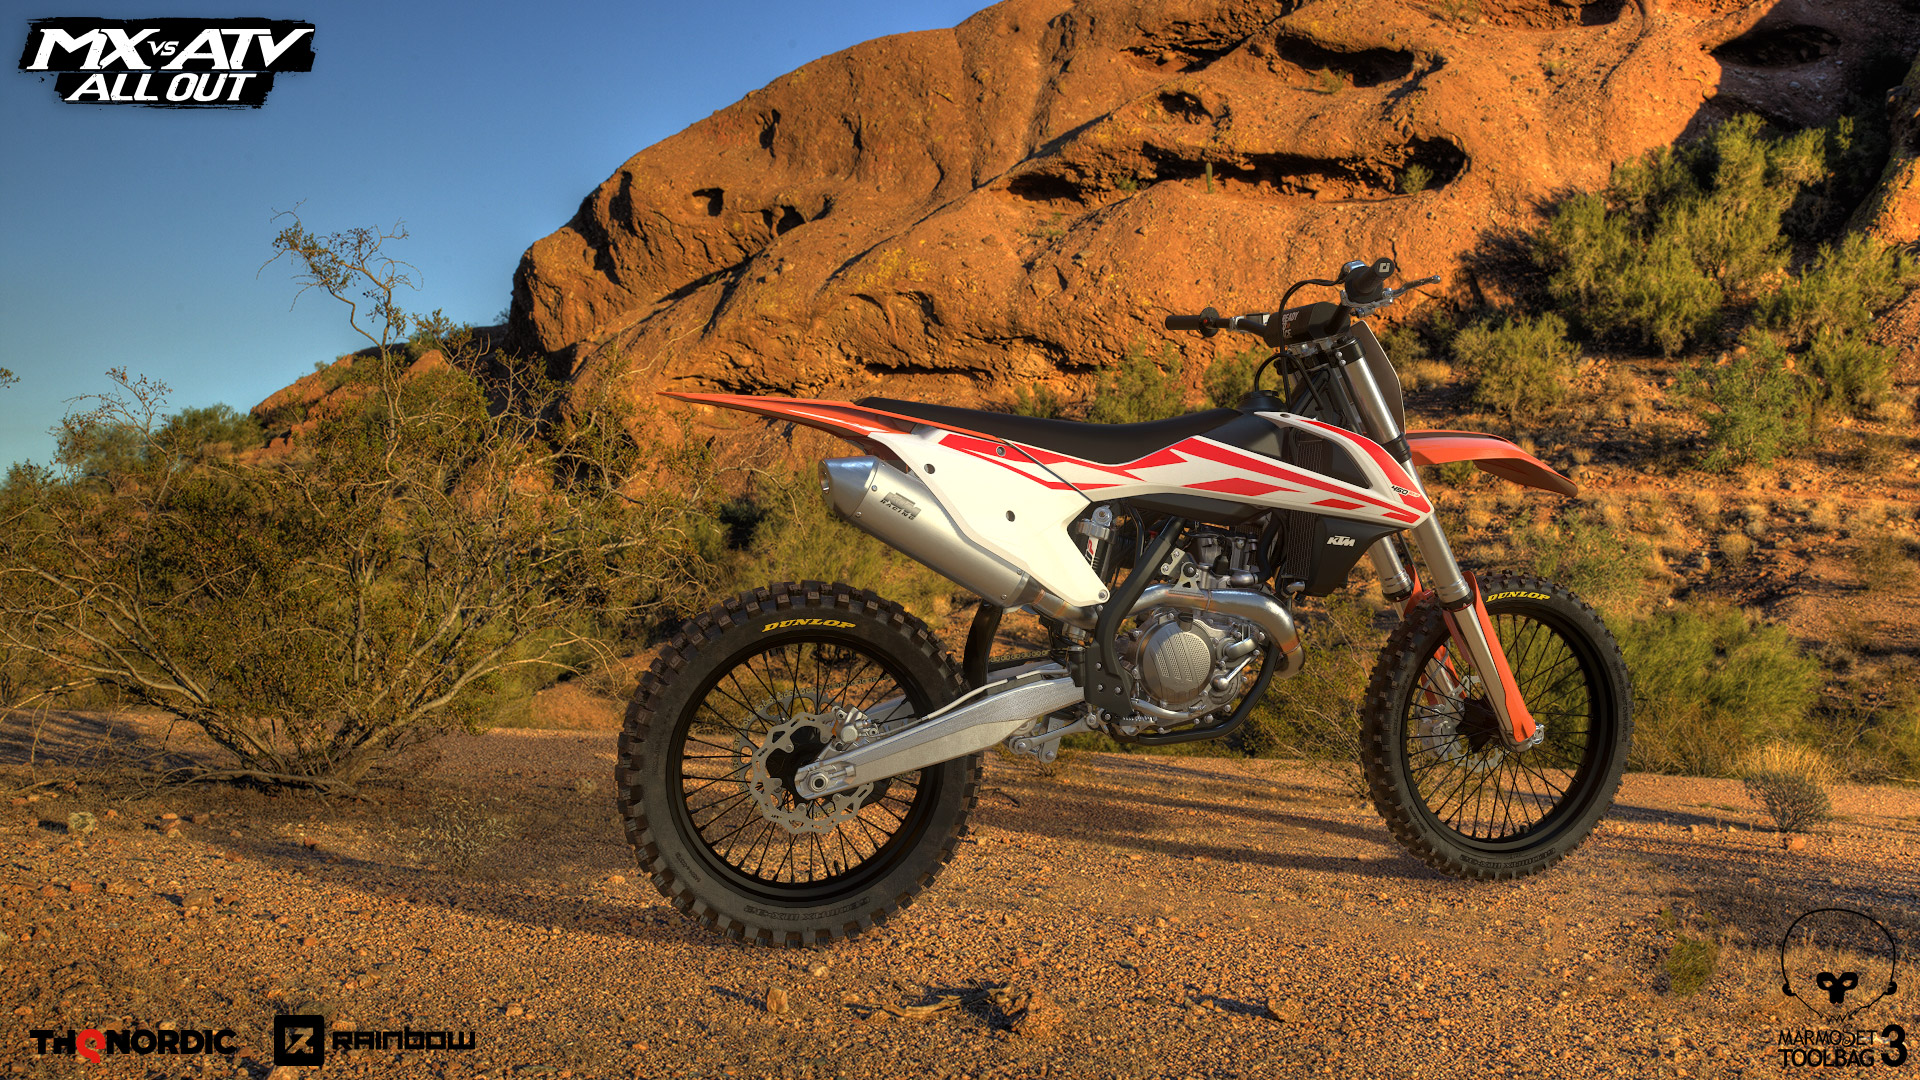
 (Backplate image overlooking the Rio Salado River Valley and Red Mountain in Arizona’s Tonto National Forest.)
Can you tell us a little bit about yourself and your experience in the games industry?
Of course. First, I would like to thank you for the opportunity to share my game industry experience. My name is Gregory McDonald and I am a Senior 3D Artist at Rainbow Studios in Phoenix, Arizona. I hold a Bachelor of Science in Industrial Design from Arizona State University. I have been working for 15 years as a 3D graphic artist with 11 of those years specifically in the games industry. My education and experience have made me fortunate to have worked on a multitude of console and mobile games. My latest game credit is with THQ Nordic’s “MX vs ATV All Out” which just released on March 27th for the PS4, Xbox One and Steam Platforms.
I specialize in game quality hyperreal 3D models, ranging from vehicles and vehicle parts, to characters and gear for the characters. My preferred modeling program for these type of game assets is Maya.
What is the history behind the MX vs ATV series and the team behind it?
MX vs ATV is an off-road racing game franchise created by Rainbow Studios, and has a long 14-year history with its fans. In 2004, Rainbow Studios first released MX Unleashed. MX Unleashed was the spark to create MX vs ATV Unleashed in 2005. This was followed by 3 more titles: “MX vs ATV Untamed”, “MX vs ATV Reflex” and “MX vs ATV Alive”.
In April 2013, Nordic Games bought the rights to the MX vs ATV Franchise and other THQ Intellectual Properties. Since acquiring the MX vs ATV franchise, Nordic Games has been determined to reboot the franchise for the fans. They brought a lot of the original team members back to release MX vs ATV Supercross in Fall of 2014. This was followed by MX vs ATV Supercross Encore in Fall of 2015. I joined the team in late 2014 to help with DLC and then work on Encore.
After Encore’s release, the decision was made by the team to start from scratch for the next title. This first started with THQ Nordic reopening Rainbow Studios as an official studio in 2016. In the end, we went with the new Unreal 4 Engine platform to build our game around. It was a hard decision to make since we had our previous game engine around for more than a decade. With Unreal Engine, we had the new rendering technique of using Physically Based Rendering (PBR). This required a whole new production pipeline to pretty much start from scratch. This was, and still is, an exciting time. We have a really talented team at Rainbow that took on the challenge.
What was your role on the project?
As the lead modeler for the bikes, riders and gear, a lot of the models had to be designed from scratch to match the quality of the real-world vehicles, parts and gear that would be in our game. My industrial design background helped me to get our generic bikes, parts and gear to hold up to the real models being licensed for our game.
I helped establish our production pipeline utilized to approach the PBR Metal Rough materials for Unreal Engine 4. We knew we had to use new software and learn new procedures and techniques. I also had to prep production documents and training videos for in house and outsourcing production. While doing so, I trained Junior Artists as I was learning new techniques myself.
What was the biggest challenge during the creation process?
For a lot of us, the biggest challenge was wanting to make something look better than our previous games whilst staying on schedule. With rendering capabilities of Unreal Engine 4, we were able to push our models to a very realistic quality. As an artist, you want to do your best and blow away the fans with a good visual product.
We also had to learn when to step away and realize that this is as real as we can go without taking to long to make a model. With that, we learned where a lot of our bottlenecks were in production and adjusted accordingly. With so many parts on the vehicles being exposed, one of those bottlenecks was the texture baking process.
As a senior 3D artist on the project, how did you establish the pipeline for vehicle creation?
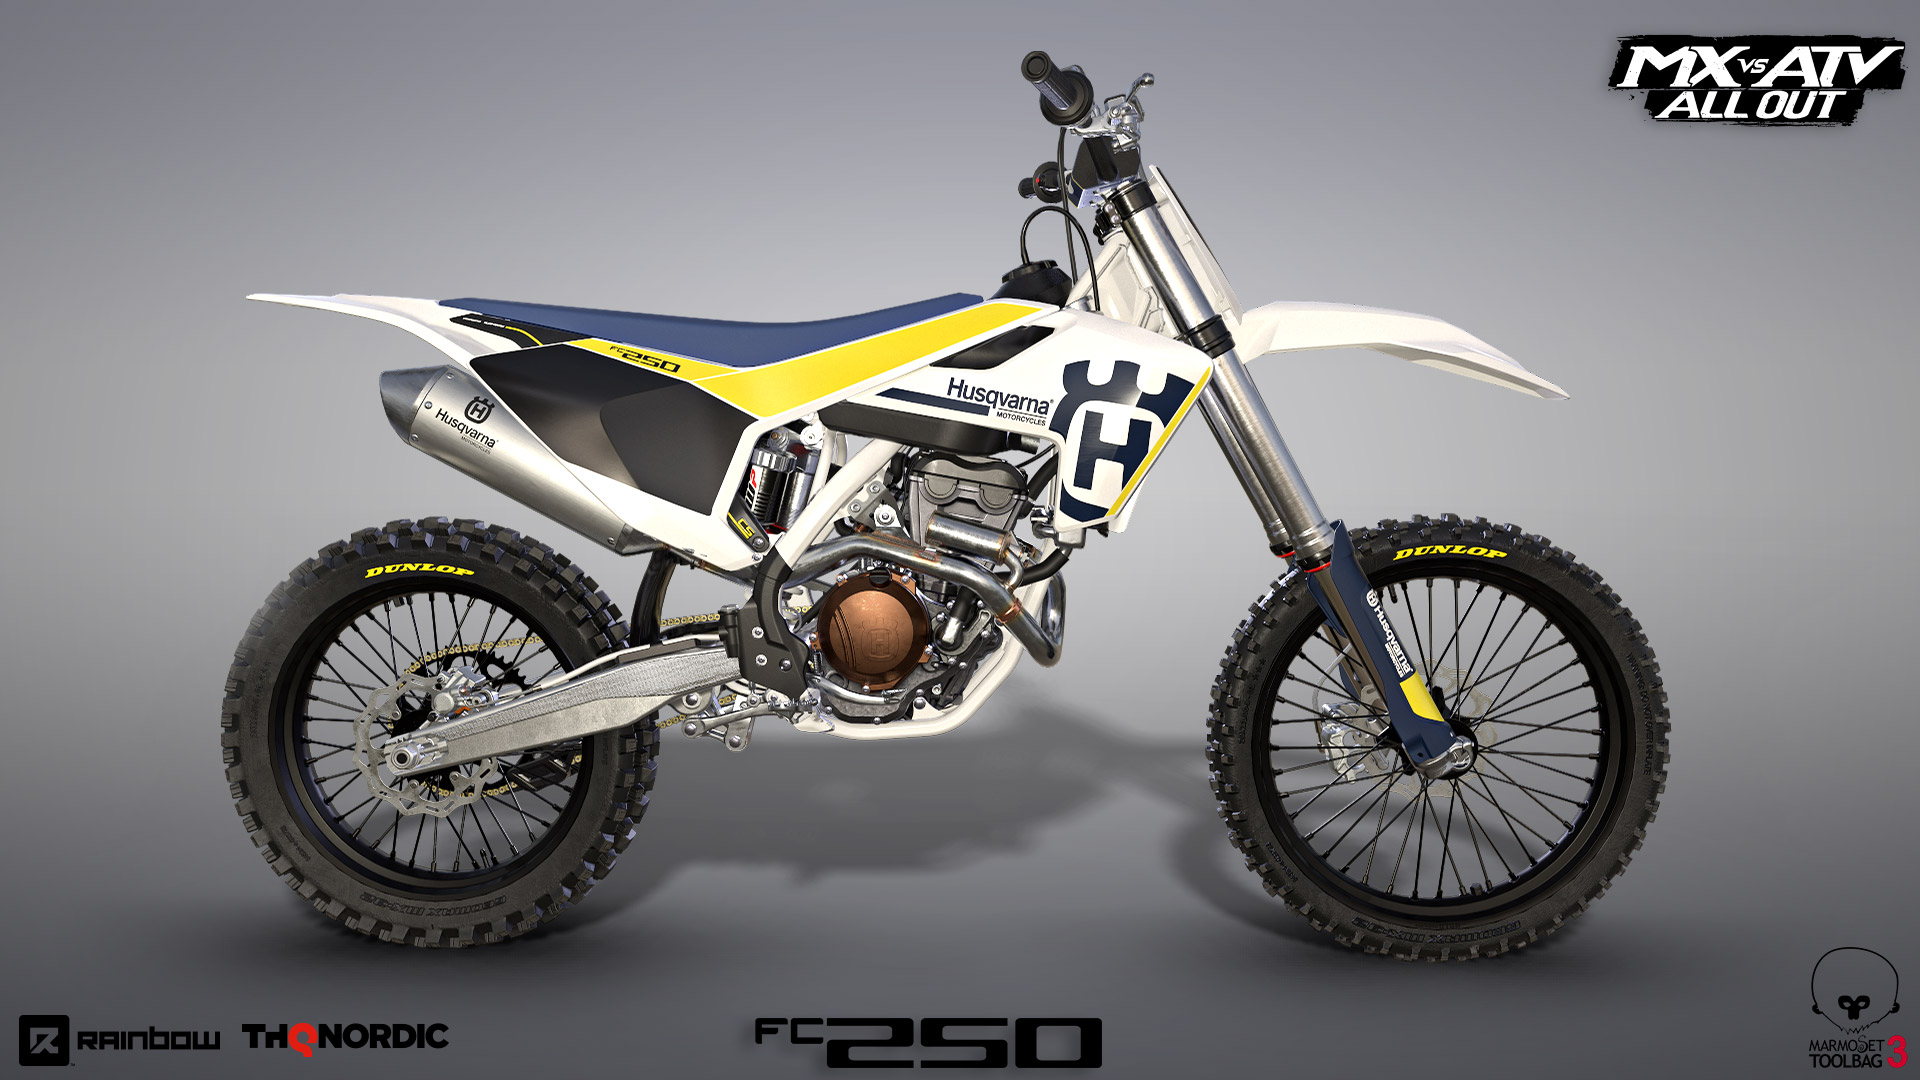
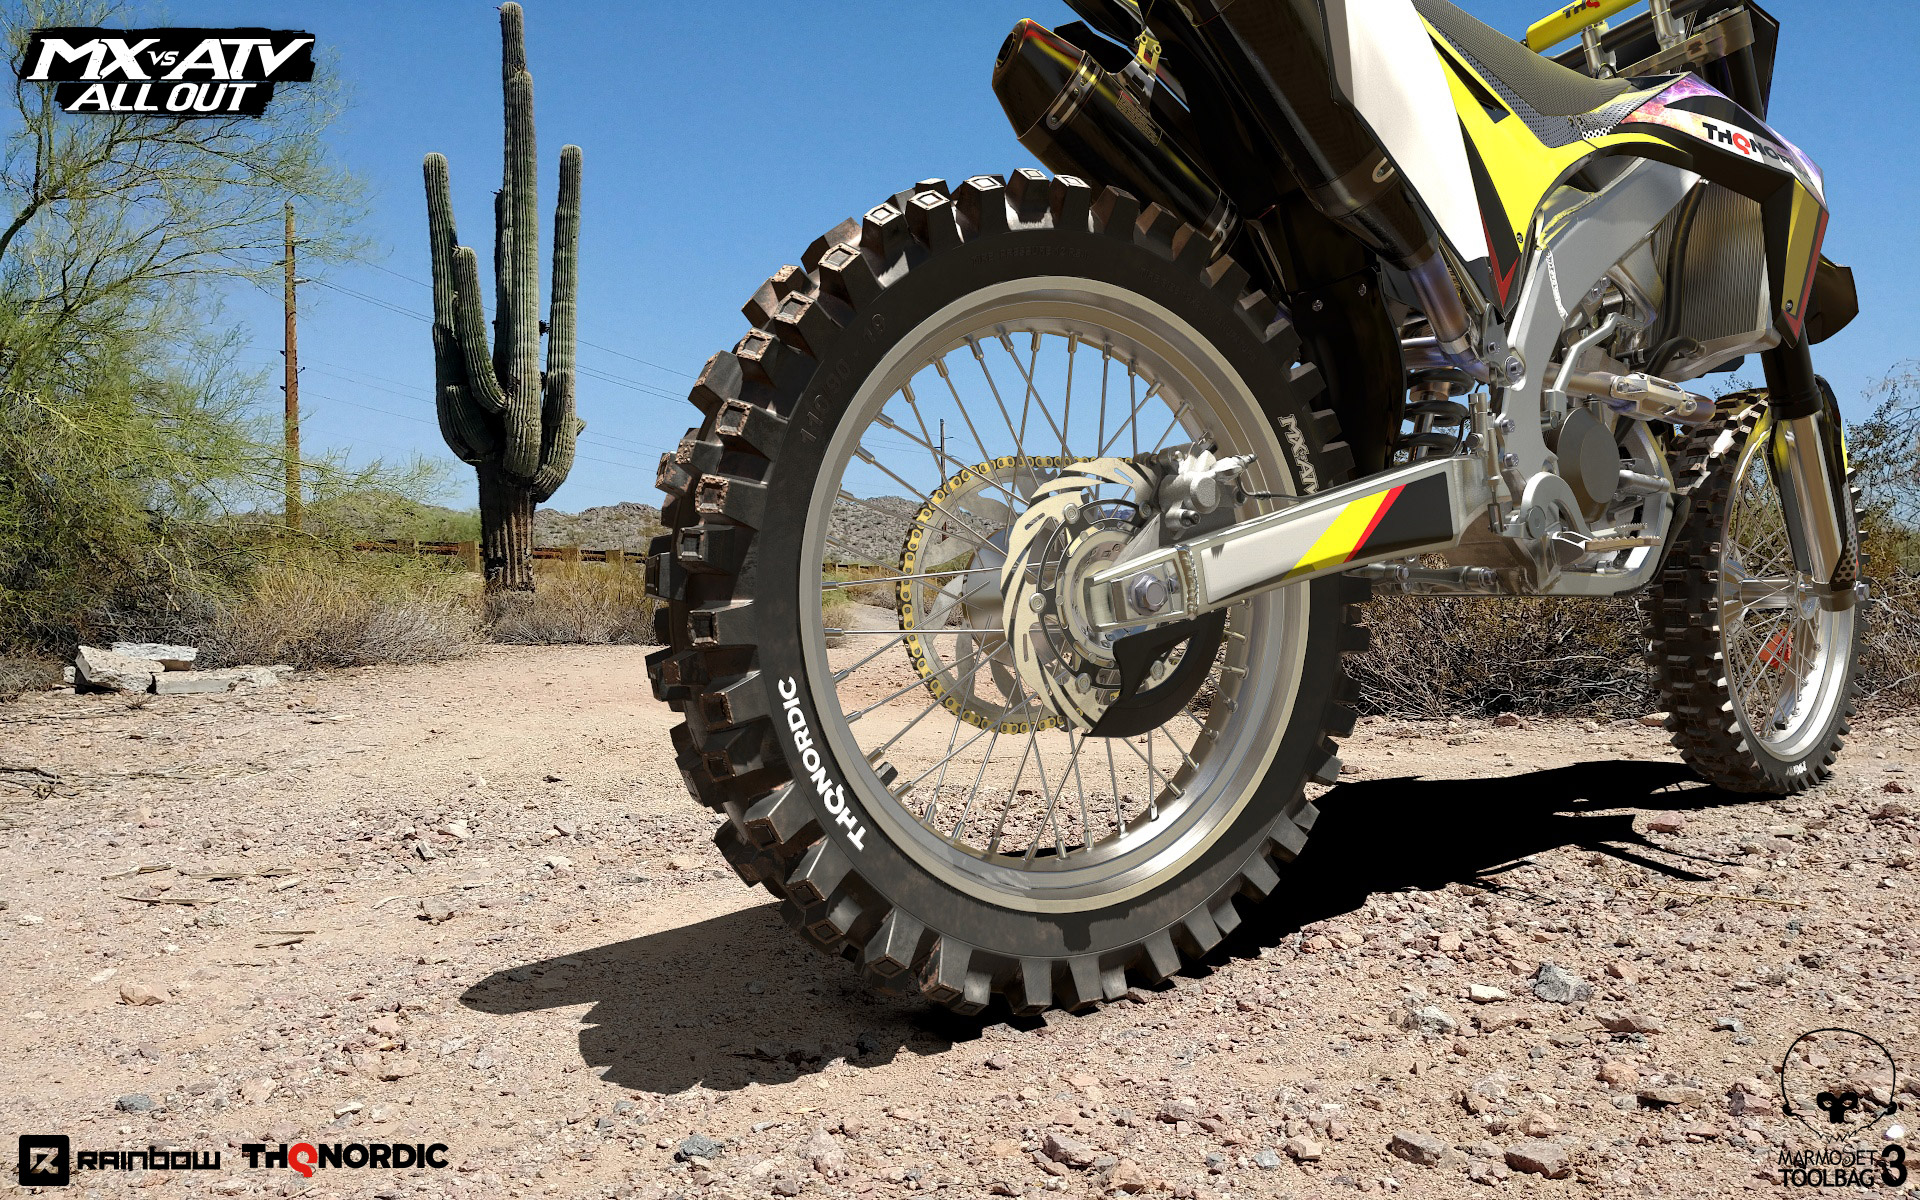
The bikes in this game are some of the most complex models I have ever worked on. I have been modeling for racing games since I started my career, modeling all kinds of vehicles ranging from off-road buggies, trophy trucks, all the way to the sleek modern McLaren P1 supercar. When it comes to calculating modeling difficulty, a lot of people’s first instincts are that cars are harder to model because they are larger in scale or sleeker in form. Cars can be very hard to model, but after modeling these bikes, a car has a lot less work involved. With all of the parts exposed on the MX bikes, even the brake calipers can be a single modeling and UV map challenge. The complex engines can easily become a modeling black hole of detail with all of the cut ins, bolts, hoses, and cables.
We needed a pipeline that could support all these parts when it came to baking supporting map textures to take to Substance Painter for final PBR painting. We tried all of the bakers out there, but in the end, Marmoset Toolbag 3.0’s baker was the way to go.
When did you start using Toolbag?
I have been using Toolbag since version 1.0 and have always been a fan of its rendering capabilities for game models. We were already using Toolbag 2.0 when we started production, but mainly used it for look dev renderings. It was the only real-time rendering tool that allowed us to take our PBR Metal Rough textures from Substance Painter and render them for visualization approval before moving to Unreal Engine 4. Some of our vehicles could have up to 13 different texture sets because of the part swapping capabilities for the player. Marmoset Toolbag was pretty much plug and play for that. We could use the same HDRI light probe in Substance Painter, Marmoset, and Unreal Engine to make sure we were matching our lighting model. We were thrilled to just be able to do that.
In early summer of 2016, I signed up to participate in the Alpha for version 3.0. I was mainly interested in testing out the new baker being integrated. Myself and a few other teammates participated in the Alpha all the way through Beta and put the baker through some fun tests leading up to release. The main aspect we loved was all supporting maps we needed could be baked utilizing bake groups. Once Marmoset Toolbag 3.0 went live Nov, 2016 we couldn’t go back to anything else in our production pipeline for baking. It gave us so much instant iteration flexibility with our bakes it saved us so much time!
How does Toolbag fit into your workflow?
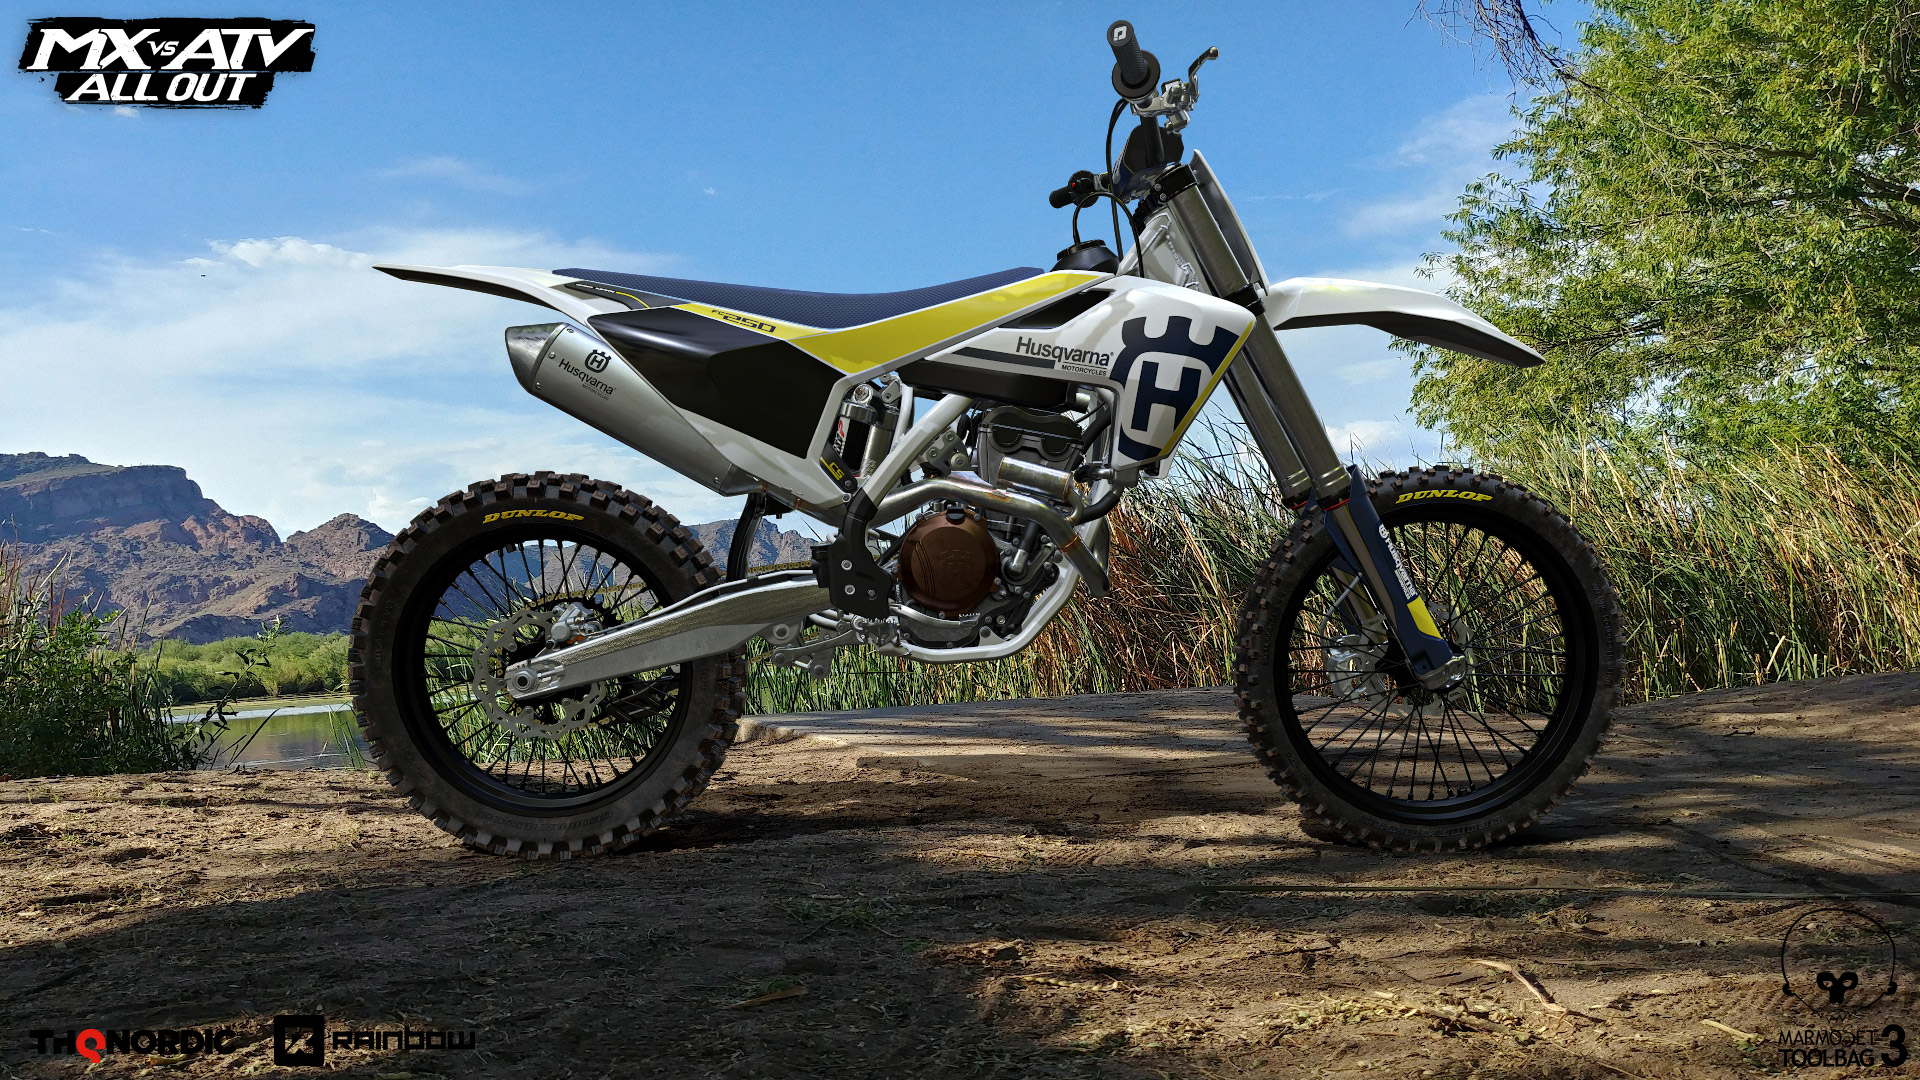
At first we used Toolbag to visualize and render or vehicles because of the PBR Metal Rough support, but since version 3.0, it’s been part of our production pipeline for baking as well. We’ve also been using the Global Illumination feature to create our final renders for marketing and store DLC renders.
It makes it so simple. We can import FBX and Targa files that go into Unreal Engine with zero manipulation, render out perfect renders and video turntables. This now takes mere minutes when it used to take hours of setup, configuration and waiting! I can now have a render from Marmoset with Global Illumination at 400x samples in about 30 seconds. This paired with the viewport already giving a live close 1 to 1 example, I know it will look good.
 (Backplate image of Tempe Papago Park in Arizona. Photo credit Robb Rinard.)
What made you choose Toolbag’s baker for your project?
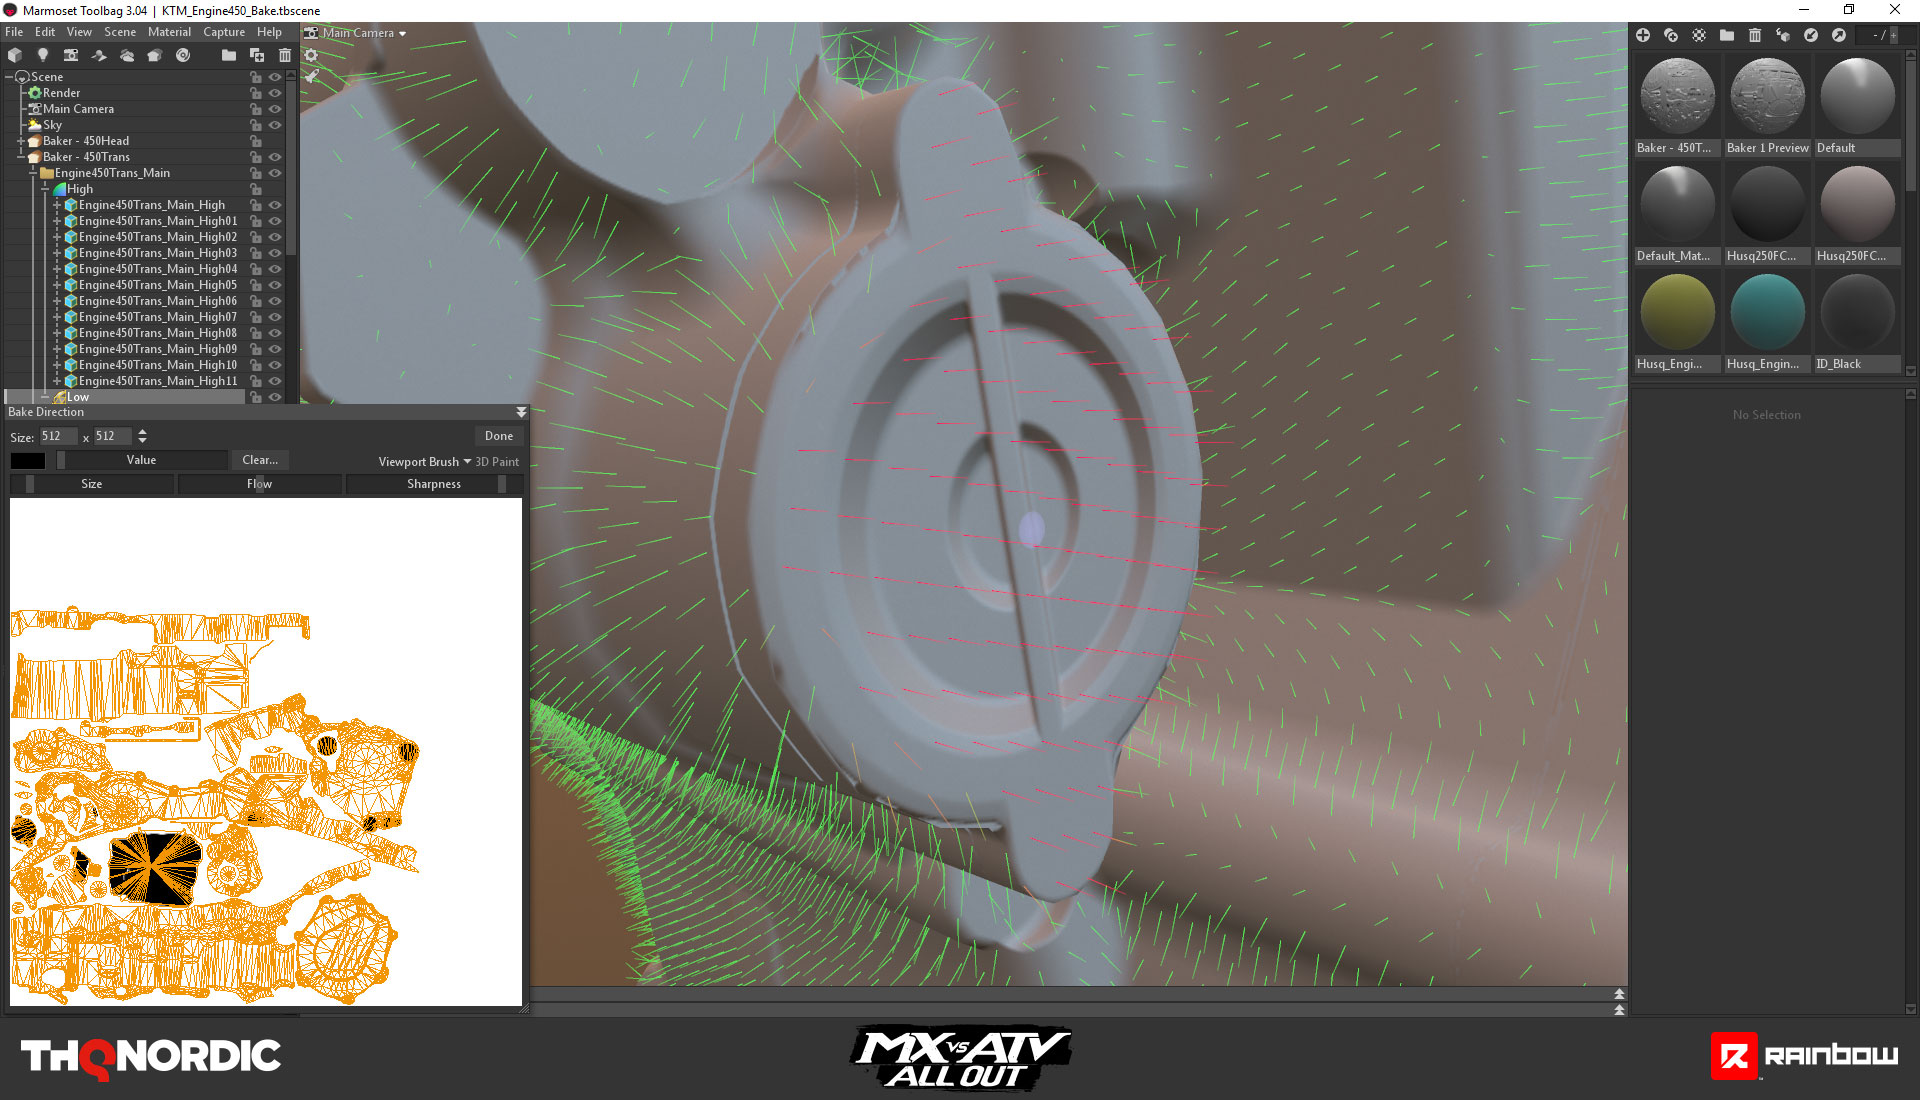
First, because it bakes using the GPU instead of the CPU, drastically reducing bake times by a factor of 10 or even more. It also has baking groups, 16x Anti-Aliasing, 16-bit texture output, and 4096×4096 textures. Most other bakers take forever to bake at that size.
The main bonus was the iteration capabilities with the average and non-average normal paint skewing. We used to have to bake two different normal maps and blend them together via a mask to prevent skew distortion. Now with the paint skew capability in Toolbag 3 we can do that on the fly and see instant feedback with the quick bake function. A lot of the bike parts have recessed and raised parts that we try to bake in as detail. The paint skew allowed us to get the normal vector angle just right. I cannot live without it now. Another function is being able to manipulate the cage in or out with per vertex painting. This allowed us to visually see and pull the whole cage in closer for the bake and then only have to adjust a few vertices where the cage envelope didn’t completely cover the high poly model. I must stress, when it comes to baking textures, being able to see this visually with instant feedback from the quick bake feature makes this a must have tool for any production pipeline.
Can you describe how you work with CAD data?
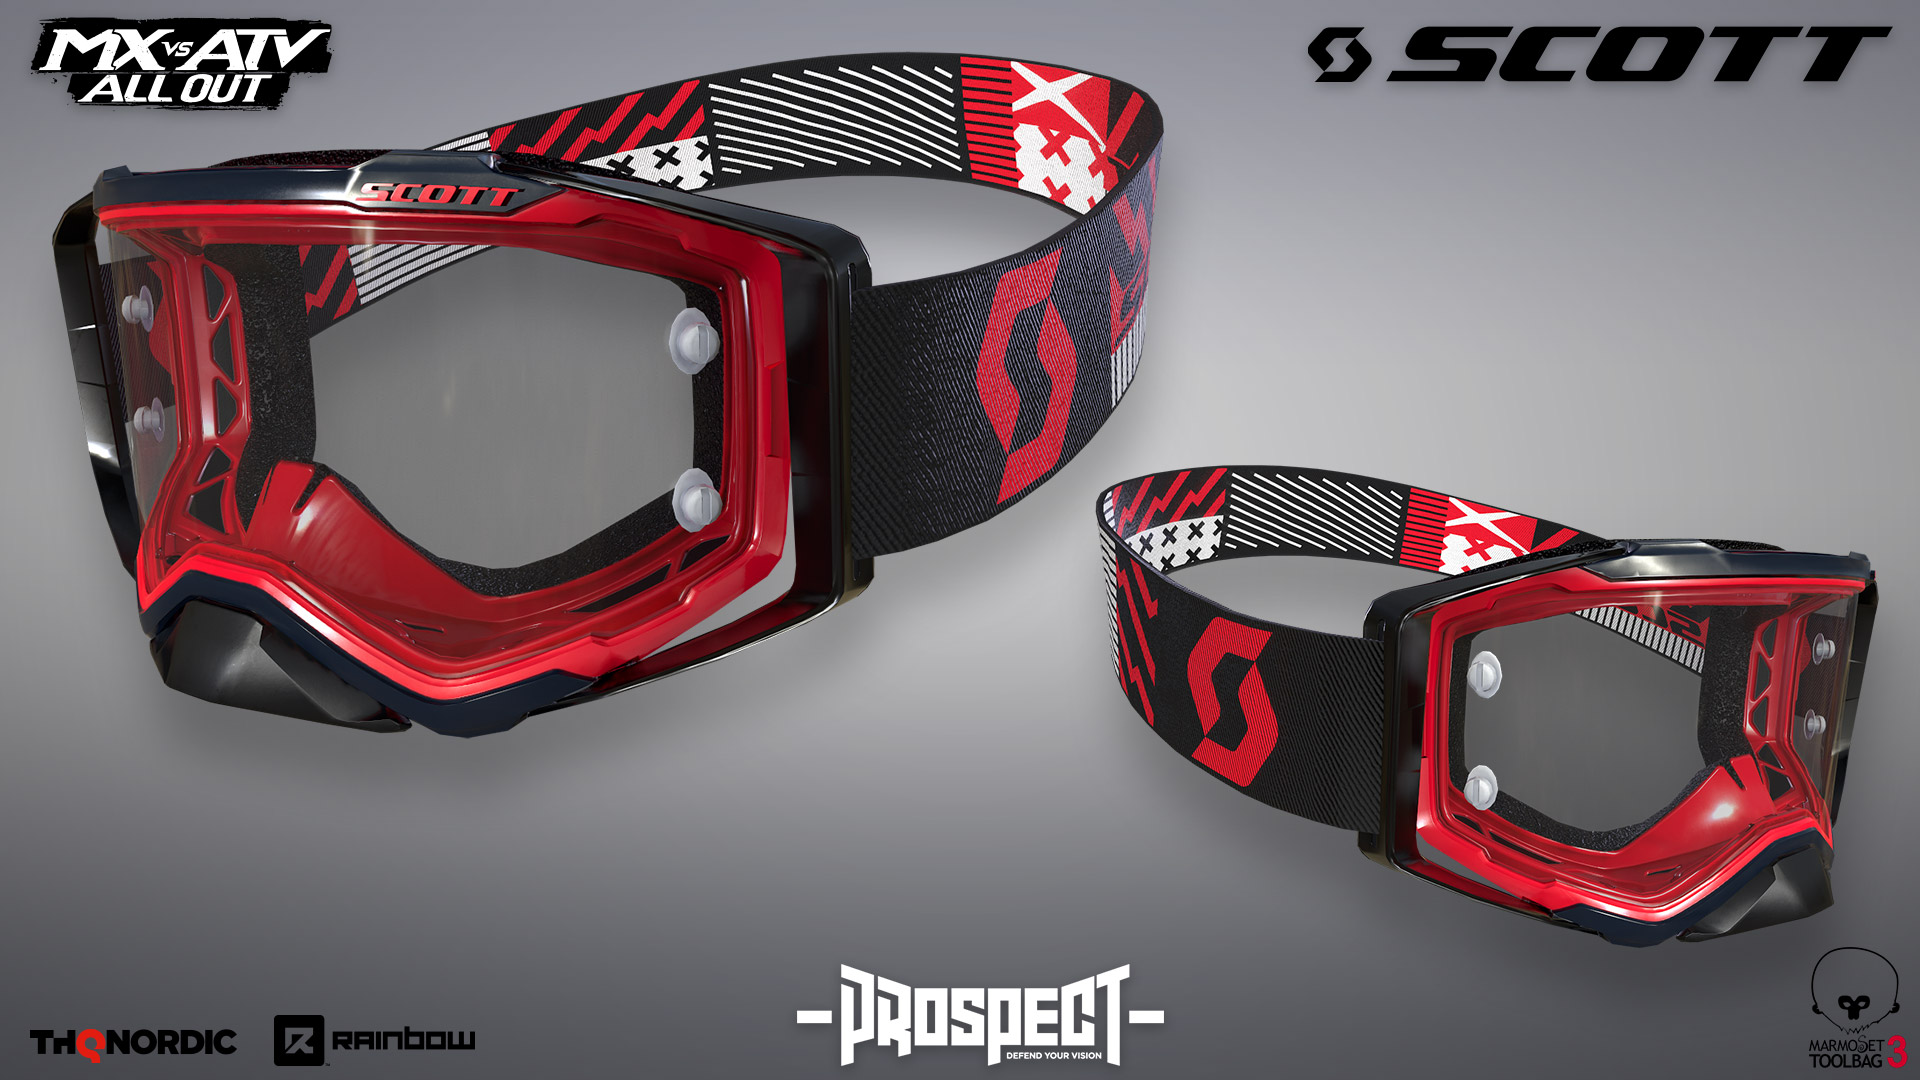
Sometimes a manufacturer of a product that will be in our game provides the CAD data. For example: bikes, exhausts, handlebars, helmets, goggles and boots. The model is usually from a program like Solidworks or Creo-/Pro-E, which are solid engineering cad modelers. This is very helpful for us to get an accurate representation. We convert the model to a polygon triangle model.
A conversion can give us a model with millions of triangles. After the conversion, we bypass the high polygon modeling phase of our workflow and it gives a more accurate model to represent their product to bake from. We then retopo a low poly game model over the conversion. From there we take the high and low poly models to Toolbag for baking. With the CAD model and the low poly model, it’s super easy to setup the bake groups and material ID’s. I could even bring in other influencing models with a simple drag and drop for AO bakes. For example, a bike engine would be influenced by the frame and plastics. I was able to bake and adjust for a lot of the complex models a lot easier this way. This helped me iterate quickly and know I had a good quality bake before I moved forward to texturing.
How do you approach rendering and presentation?
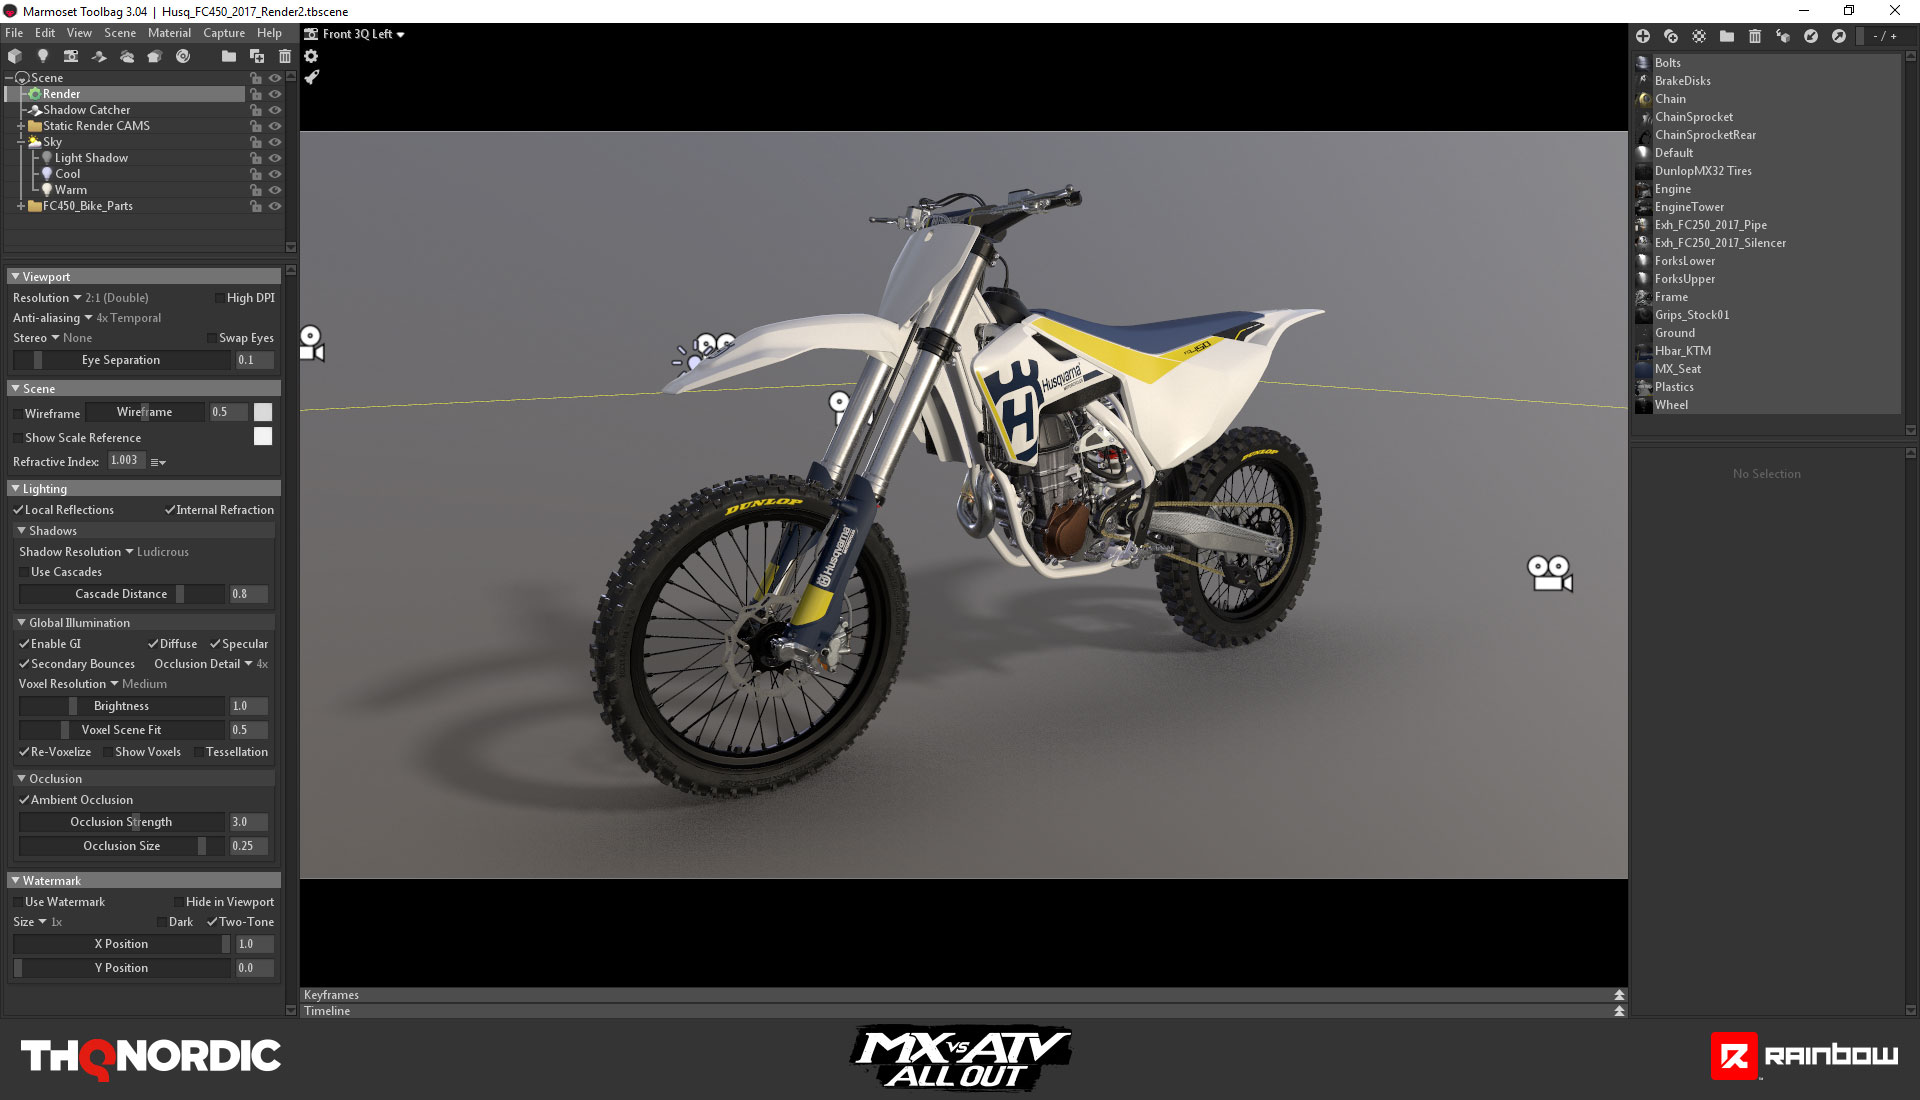
With the new global illumination feature added in version 3.0, Toolbag made this so much easier. We always author our textures out of Substance Painter for our bikes and gear at 4096×4096. Even if they were going to be compressed down to 512×512 in engine. This allowed us the have quality textures for rendering of our vehicles and gear. We didn’t need to do any texture conversions either.
We then use a simple two point light setup with warm and cool values to simulate the sun light and sky reflective color. I then add another independent spot light that has zero intensity with cast shadows checked. That way, it will only cast shadows without lighting the scene, line it up with the sky probes’ main Sunlight source, and I have independant control of the shadow. Once they’re lined up where we want them, we child the lights under the sky probe. This allows us to keep the same lighting setup when we shift click to rotate the sky light probe. We usually keep a simple template scene setup for this so we can bring in our models quickly to render. I would also like to thank my coworker Derek Edwards for his input with assisting me in setting up this light rig.
 (Backplate image off the bank of the Rio Salado River in Arizona’s Tonto National Forest.)
What’s the most enjoyable aspect of working on motocross games?
The reaction of our fans of off-road sports and games. A lot of the people who play our games take our product to heart. After our game released, it has been amazing watching people play and enjoy the game we worked on. With recording software technology today, so many people post their experiences via video capture and live streaming on Youtube now. It is fun to watch the whip montages and multiplayer races. It is very gratifying knowing that a vehicle and character that I worked on is on the screen doing the double backflip a player is so excited about.
 (Backplate image near Bush highway entering Arizona’s Tonto National Forest.)
You can find more of Gregory’s work on Artstation and learn how to utilize Toolbag 3’s baking and render features for your next project.
Interview conducted by Mira Karouta


