

3D Model by Eugene Lukashevich
What is the Library?
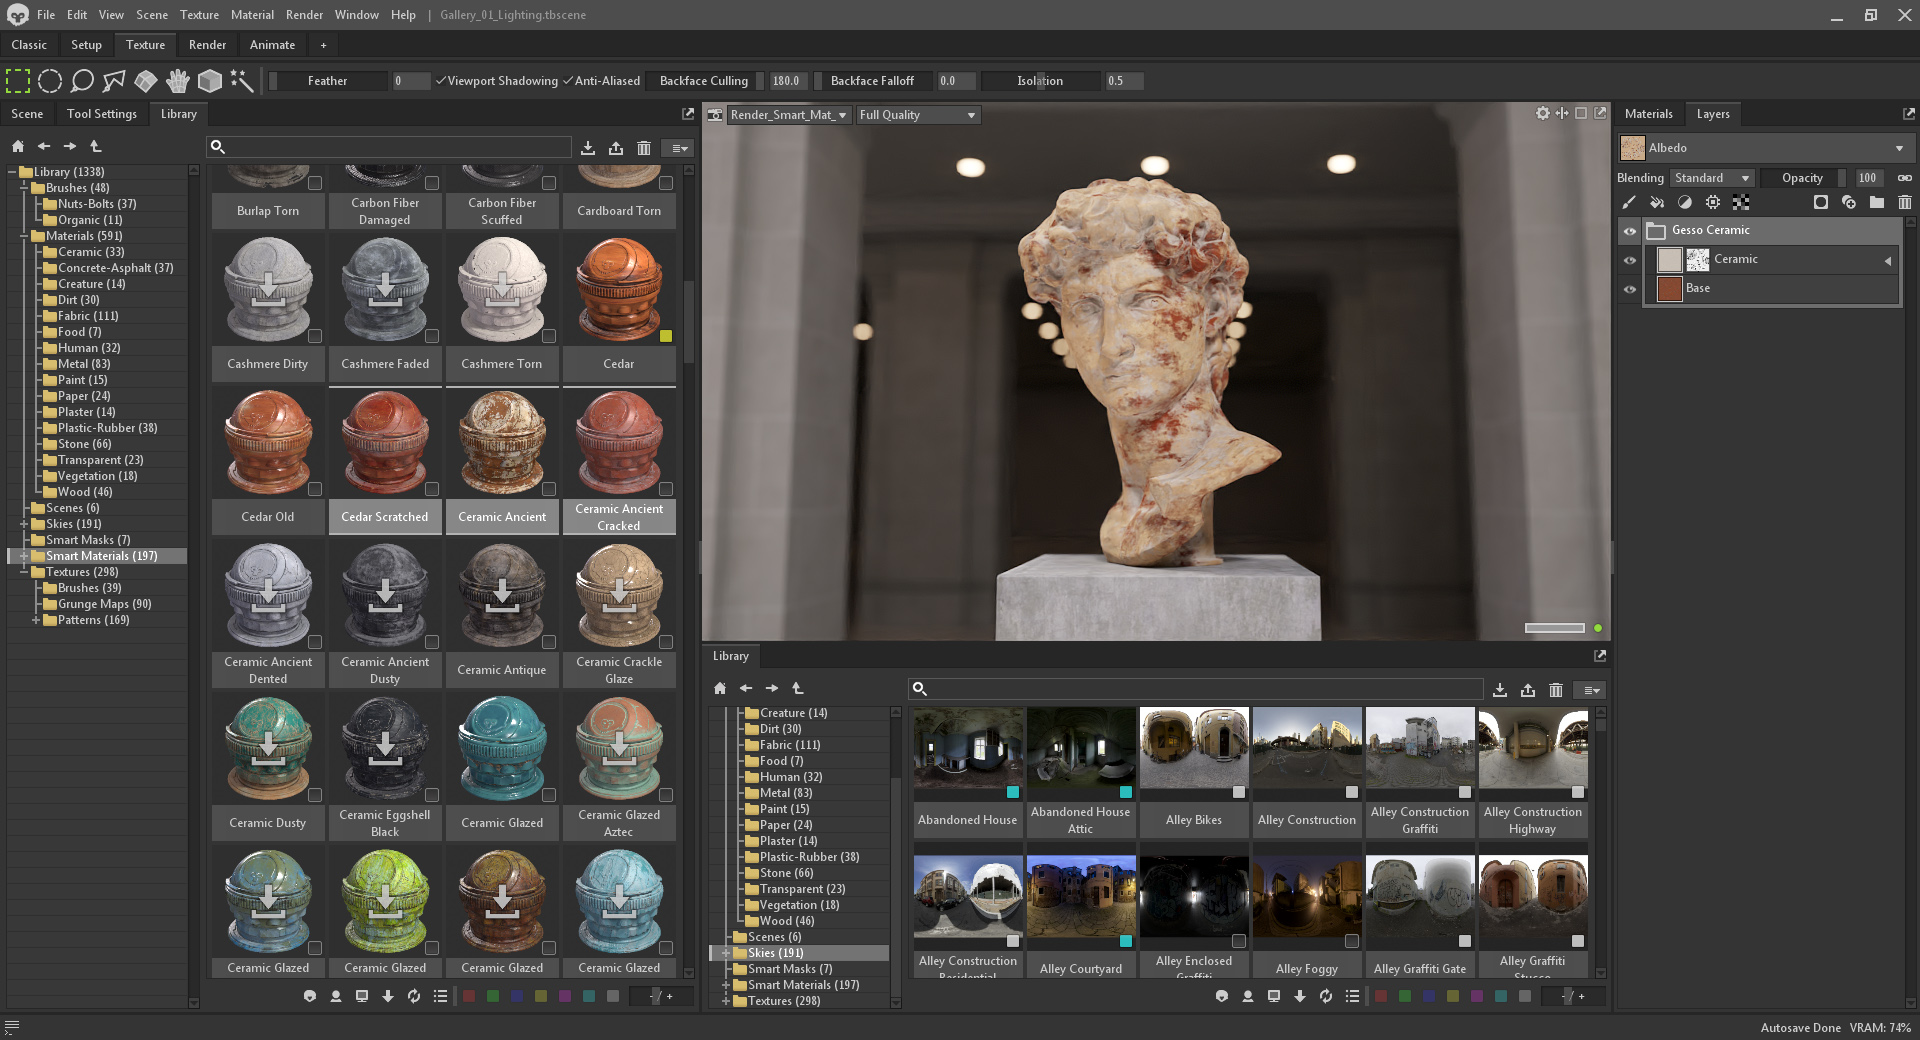
As an asset management service integrated directly into Toolbag, the Library offers an abundance of benefits to all facets of a 3D artist’s workflow. This Toolbag quick guide gives insight into all you need to know about the Library and its utilities, from downloading free assets to saving custom assets and even syncing shared repositories for you and your team.
Free Downloadable Content
One of the Library’s greatest benefits is the 100% free and regularly updated collection of Marmoset-made assets to help streamline your workflow. This collection includes a wide selection of HDRI skies, materials, textures, and presets to assist in creating high-quality artwork.
Skies
Skies in Toolbag are 360° high-dynamic-range panoramic images that produce image-based lighting for your scene. This technique can generate a detailed real-world lighting environment from your chosen image. The Library offers hundreds of Skies set at different times of day, both interior and exterior, rural and urban. Rapidly switch through different skies to find the right look and feel for your rendered scene.
Adding a Sky to Your Scene
- Double-click a Sky’s thumbnail to download the asset.
- Double-click again to auto-apply the sky to your Sky object in the scene hierarchy.
- Select the Sky object in your scene hierarchy to adjust brightness levels and Backdrop settings, and even add directional Sky Lights using the Light Editor for easy placement with natural color values.
Materials
There are over 500 unique materials in the Library. They range from ceramics, fabrics, metals, and even gory human materials for your inevitable zombie project. You can use Materials from the Library in two distinct ways: blocking out materials in your scene for speedy look-dev or as part of your texturing pipeline with Toolbag’s Texture Projects.
Using Materials in Your Scene
- Double-click a material swatch in the Library to download the asset.
- To apply the material to your desired mesh (chunk), drag-and-drop the material onto the mesh in your viewport. You can also add a material by right-clicking a material in the Library and hitting Load in Scene, or simply drag the material into the Materials window.
- Click on a material in the Materials window to view and edit its shader settings and surface properties.
Using Materials in Texture Projects
- Select your Texture Project, then double-click the material swatch in the Library to add it to the top of your layer stack.
- You can also drag a material directly onto your mesh. Note: If you have a Material ID map assigned as an Input Map, ID colors will display as you drag the material into your viewport in order apply the material to isolated sections of the mesh.
- Open the Layer Settings window to change the surface of your material. The Projection Method, Tiling, and Material Properties settings give you maximum flexibility to change the material’s appearance.
Smart Materials & Smart Masks
Note: The following content types only work within a Texture Project.
Smart Materials are a preset bundle of layers that, when applied, conform and react to the unique surface qualities of any mesh to create weathering effects dynamically. They can be used in your texturing pipeline to help speed up your content generation and apply natural wear and tear. Smart Materials can also be customized or created from scratch and saved to the Library.
Keep in mind that Paint Layers in a texture project will not be saved into a Smart Material or Smart Mask due to that layer type’s dependency on each mesh’s unique UV layout.
Using a Smart Material
- Navigate to the ‘Smart Materials’ folder of the Library and select your asset.
- Drag and drop a Smart Material onto the Layers window of your texture project.
- Adjust any layer settings to suit your desired effect.
Conceptually speaking, Smart Masks are similar to Smart Materials, except their functionality strictly lies in the masking portion of your texturing workflow. You can use them to apply common scratch effects or create the appearance of dirt buildup. Like Smart Materials, Smart Masks can also be saved as custom content.
Using a Smart Mask
- Navigate to the Smart Masks folder of the Library and select your asset.
- Drag and drop the Smart Mask onto a layer mask in your Layers window.
- Adjust the mask layer settings according to your needs.
Textures
Note: The following content types only work within a Texture Project.
Textures are used for creating various wear-and-tear effects in your texture project. You can find textures for Brushes, Grunge Maps, and Patterns. Learn more about how to make use of each of these assets below.
Using a Brush Texture
Brush Textures are made up of sprite sheets, meaning that every painted stroke can give subtle, natural variation to your mark-making. You’ll look to your Tool Settings window to customize your brush settings and apply a unique texture as your Brush Tip.
- Select a texture project in your scene hierarchy and create a Paint layer in your Layers window.
- Drag and drop a texture from the Library’s ‘Textures > Brushes’ folder into the Brush Texture input of the Tool Settings window.
- Paint across your mesh in the 3D viewport. Adjust the brush settings along the way using the numerous Brush Tip and Projection options available in your tool settings.
Using Grunge Maps
Grunge Maps are tiling textures that are used to add wear, grime, scratches, and age to your textures. To use Grunge Maps in your texture projects:
- Add a Fill or other layer type with a texture slot, such as a Dirt or Scratch processor.
- Navigate to the Textures > Grunge Maps folder in the Library.
- Select a Grunge Map and drag and drop it to a texture slot in your Layer Settings window.
Using Patterns
Patterns are useful for quickly adding decorative, seamlessly-tiling detail to your texture project. Some fabric-based patterns, such as camo and plaid, include multi-color information and can be converted to grayscale when used as masks. Patterns can be used in a variety of ways, but one use case to try:
- Download a pattern of your choice from Textures > Patterns.
- Add a Fill Mask to a layer.
- Drag your pattern from the Library window onto the Mask input of the fill mask’s Material Properties.
Brushes
Note: The following content only works within a Texture Project on Paint Layers.
Unlike Brush Textures, Brushes are tool presets with pre-saved functions and material properties. The Library includes greeble brush presets such as nuts, bolts, and screws, and ready-made organic brushes for quickly painting wear-and-tear. Any custom brushes you make are saved in this section of the Library.
To use Brush Presets:
- Create a new Paint layer in your Layers stack.
- Load a brush from the Brushes folder by double-clicking it.
- Adjust your brush settings through the Tool Settings window and start painting.
Navigating the Library Window
This section will help inform you on efficiently navigating and managing assets in the Library.
Filtering and View Options
A handful of filtering options are available to help speed up your search and management process when working with the Library.
- Generate multiple Library windows from the main toolbar by going to Window > Library (or holding down Shift+Ctrl+L). This would create a new instance of the Library window, which is useful for having multiple asset folders open and in view. There’s no limit to how many windows can be generated.
- You can multi-tag assets with a color label by selecting several thumbnails and clicking the small grey icon in the bottom right corner of the asset thumbnail. Be aware that you’ll need an asset downloaded to color tag it. You can then filter by color using the row of colored icons at the bottom right of the Library window.
- Filter the Library to only show assets used in the current scene by hitting the bullet-list icon.
- To filter content that has updates available to download, hit the refresh-arrows icon. Tip: Enable “Automatic Updates” in your app preferences to keep all Library content up to date.
- The downward arrow will display assets that have not been downloaded to your local Library.
- Hit the screen icon to show locally-stored assets.
- The humanoid icon will display custom assets that have been saved to your User Library.
- The Marmoset icon displays first-party content created by our awesome in-house asset Library artists.

Searching the Library
Searching for assets is as simple as typing a keyword into the Library’s search bar and hitting Enter. Be mindful that the search considers which folder you have selected in the hierarchy. Typing “Dirt” at the Library root level will show all the library’s dirt-related assets. However, you’ll only see material-based results if you’ve chosen the Materials sub-folder.
All assets in the Library have tags associated with them, which means that you can enter a description of what you’re looking for at the Library root level, and it will show related results.

Managing Custom Assets
Importing and saving your own custom assets to the Library is as easy as a drag-and-drop operation. All custom-saved assets will be saved locally to the “User Files” directory as specified in your application preferences.
This section covers how to import most asset types, and it’s worth noting that multiple assets can be mass-imported by dragging them into the Library from the file explorer.
Saving a Custom Material
- Drag a material from the Materials tab into the Library window.
- A Material Properties window will appear and give you a few description fields to fill out, such as Name, Category, and Tags.
Saving a Custom Smart Material
- Select the Layers window of the relevant texture project.
- Right-click and hit Save As Smart Material, or drag the layers into the Library window.
- A Smart Materials Properties window will appear and provide description fields to fill out.
Saving a Custom Smart Mask
- Select a series of mask layers in your texture project.
- Right-click and hit Save As Smart Mask, or drag the layers into the Library window.
- A Smart Mask Properties window will appear and provide description fields to fill out.
Saving a Custom Sky
- Select your Sky object from the Scene hierarchy.
- Import your new sky image from disk by dragging onto the Light Editor thumbnail, the Library window, or clicking the Image button in your Sky object to import using the file explorer.
- If you’ve dragged an image into the Library from outside of Toolbag, categorize the Type as Skies and specify the Category.
- A Skybox Properties window will appear with relevant description fields. Hit the Save button to save it to your Skies folder. You can also save a sky by right-clicking the Sky scene object in the scene hierarchy and selecting ‘Export to Library.’
Saving a Custom Texture
- Drag a texture image from your file explorer into the Toolbag Library.
- An Import Assets window will appear and provide description fields to fill out.
- Make sure to categorize the Type as Texture and specify the Category.
Editing Your Custom Content
You can edit the properties of a saved asset by right-clicking a custom asset’s thumbnail and selecting View Properties. You can update an asset’s attributes in this window, including its name, type, category, author, and tags.
Sync Custom Repositories
If you’re part of a team working on the same project, Toolbag’s Library can provide shared access to custom assets synced to your own repository.
To sync a local repository:
- Go to Edit > Preferences.
- Set the User Files path in the Library section to a locally shared directory or version-controlled location.
- You can now save content to the Library, which will be accessible to other team members. Note: When a user saves or edits custom assets in a synced repository, other team members must re-launch Toolbag to ensure changed assets appear and work correctly.

Working with Python
Python can be used to automate the process of importing, exporting, and saving custom content into the Library. Check out our Python Scripting for Toolbag tutorial for more information, and review Toolbag’s full Python API Reference manual, which is also linked in app: Help > Python API Reference.

Thanks for reading. To explore the Library, download and run the 30-day trial of Toolbag. For more tutorials and quick guides, check out our Tutorials & Resources section.


