
What is Clear Coating?
Traditionally speaking, a clear coat is a transparent layer of paint applied over color painted metal surfaces. A clear coat’s primary use is to prevent corrosion and rust, prolonging the resistance of the metal surface. An extra benefit is the exaggerated glossy finish, which is especially appealing on cars and other vehicles.
Clear Coat in Toolbag
So how do clear coats translate in 3D, and how can we make use of Marmoset Toolbag’s new Clearcoat shader? Like our real-world scenario, it can mimic the reflectivity of car paint using an additional parameter. Many other surface types include a “second coat” of sorts, such as oily skin and lacquered wood.
Follow this step-by-step guide to set up Toolbag’s Clearcoat shader and learn more about its various use cases.
Clearcoat Shader Basics
The Clearcoat shader modules define the shading parameters for a secondary coating layer. Here’s a simple example showing how the two reflectivity passes are layered on a Lambertian Material.
To use Clearcoat, you’ll need to enable 3 modules in your Material settings.
- Clearcoat Reflection: generally you’ll want to set this to GGX, however, if you’re creating hair or brushed metal, Anisotropic would be a better choice.
- Clearcoat Microsurface: this can be set to Gloss, Roughness, or Advanced Micro. It gives you a dedicated texture input to control the microsurface of the clearcoat effect. This can be used to vary the roughness in different areas.
- Clearcoat Reflectivity: Specular and Index of Refraction are currently supported. You can create a map specifically to control the reflectivity if you want to isolate the clearcoat effect to certain areas.
Clearcoat Use Cases
Lacquered Wood
Here’s a lacquered wood example. You can use the base roughness layer to add detail to the wood grain and then add Clearcoat to represent the smooth outer layer.
Cloudy Glass
Here’s a similar example, this time using the refraction shader. You can create a cloudy glass effect by using a rough first layer and then a glossy clearcoat layer. In this case, Refraction takes the place of Diffusion.
Oily Skin
You can use clearcoat for skin, for instance, to mimic oil or sweat. To take things a step further, you could create a dedicated Clearcoat Roughness map to define oily or sweaty areas. Or, you can use a Cavity Map to reduce the glossiness and/or reflectivity.
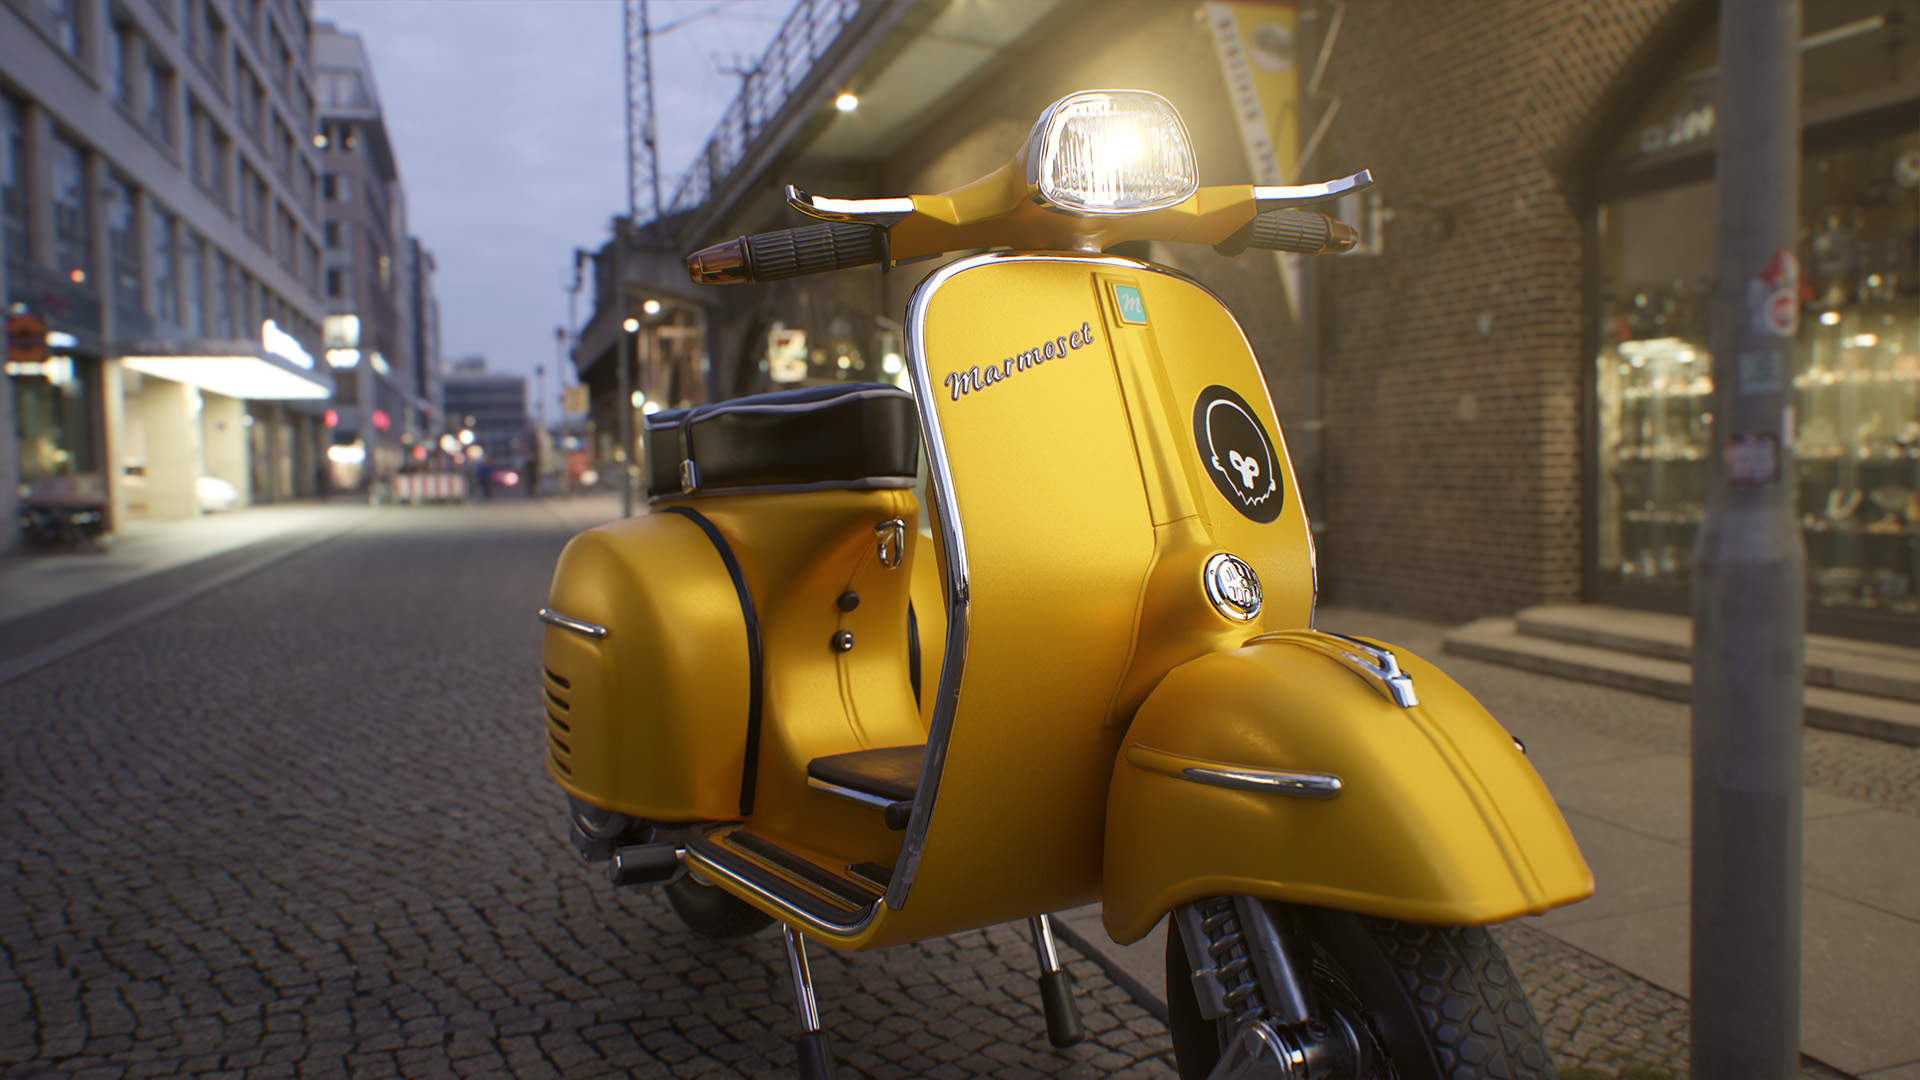
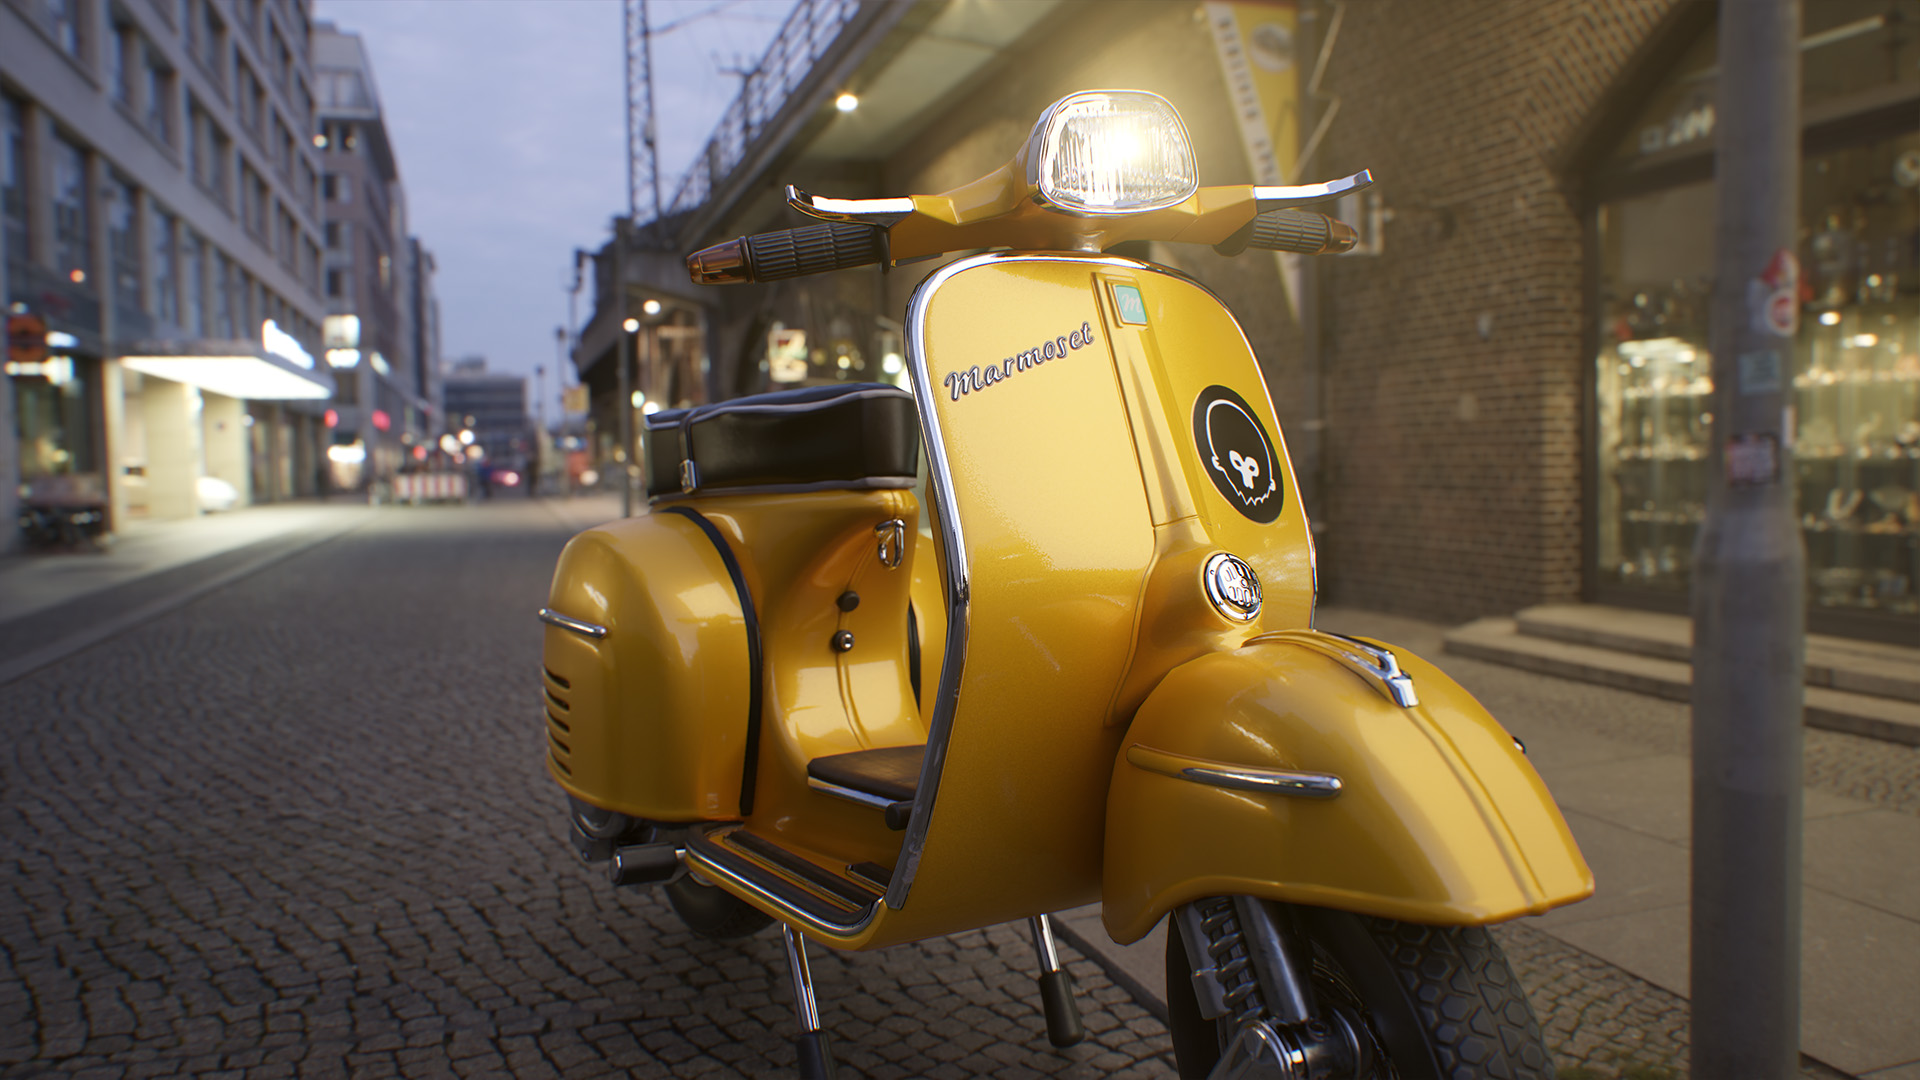
Car Paint Texture Project
Mimicking car paint is easy too. Here’s a simple Texture Project and with a Perlin procedural layered in the Roughness and Metalness maps to give it a speckled effect. Then, enable Clearcoat Microsurface and increase the Gloss value to add the glossy effect.
Learn More
Learn about Clearcoat shading along with other advanced shaders in this episode of Learn Toolbag 4.


