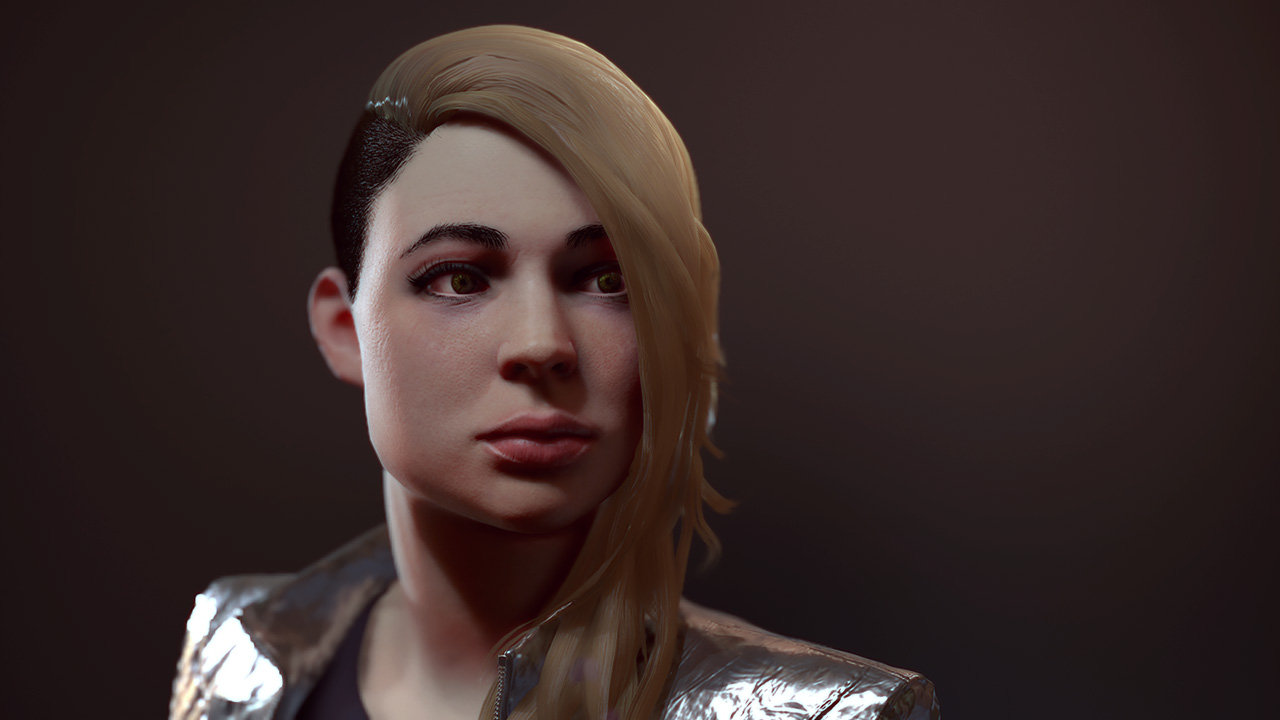
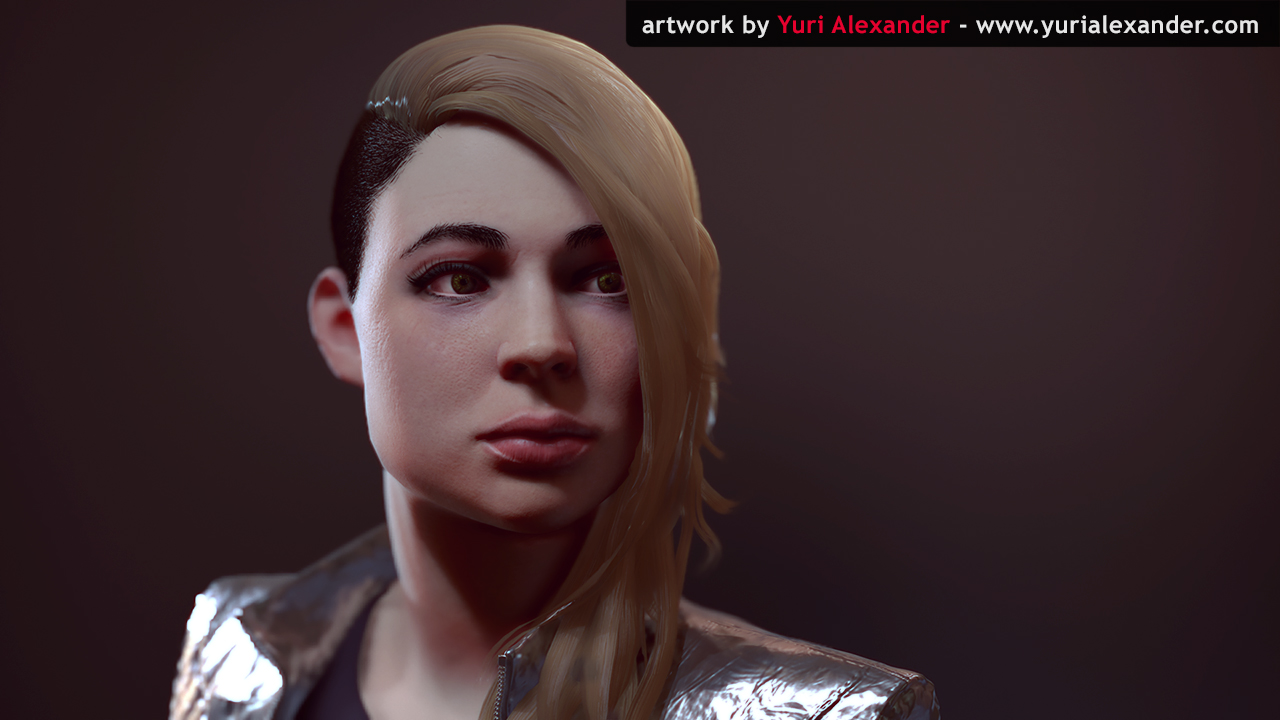
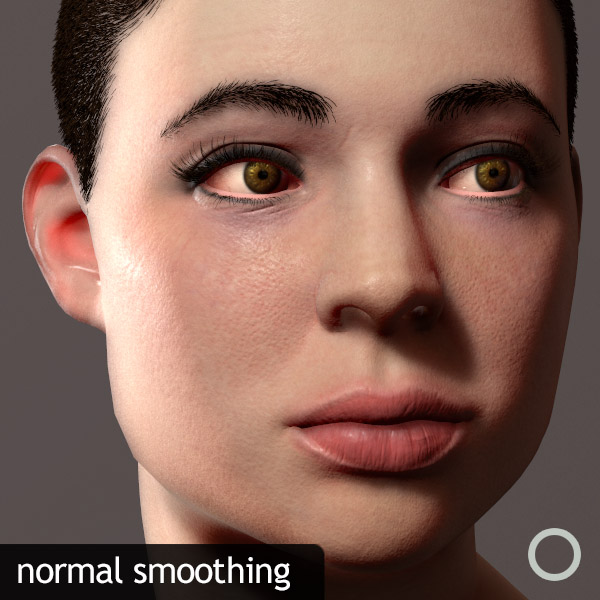
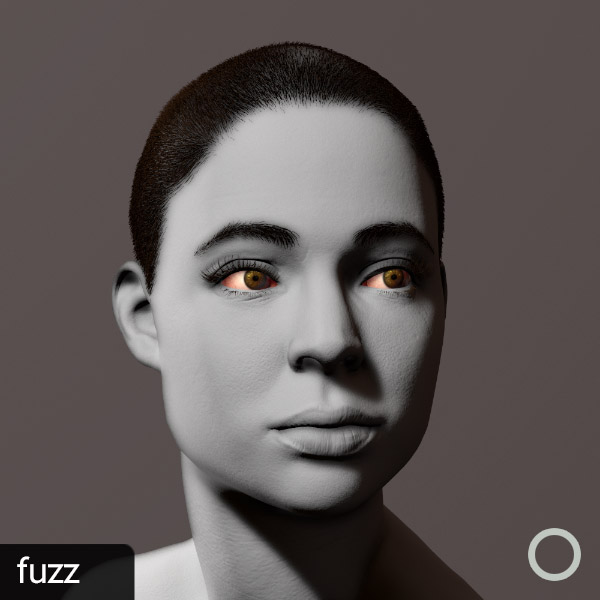
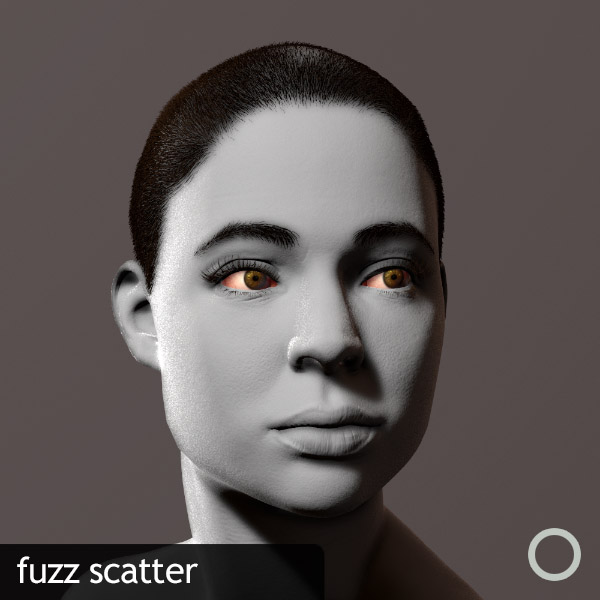
Watch as Joe Wilson and Lee Devonald demonstrate how to set up a character, including the skin shader, eyes, hair, lighting, camera, and depth of field.
Thanks once again to Yuri Alexander for allowing use to his art content. Download the scene featuring Yuri’s girl here. All rights reserved; Yuri’s content is being provided for educational use only.
Thanks to Ryan Jackson as well for allowing us to use his sweet alien guy.
Quick Reference
By Joe “EarthQuake” Wilson
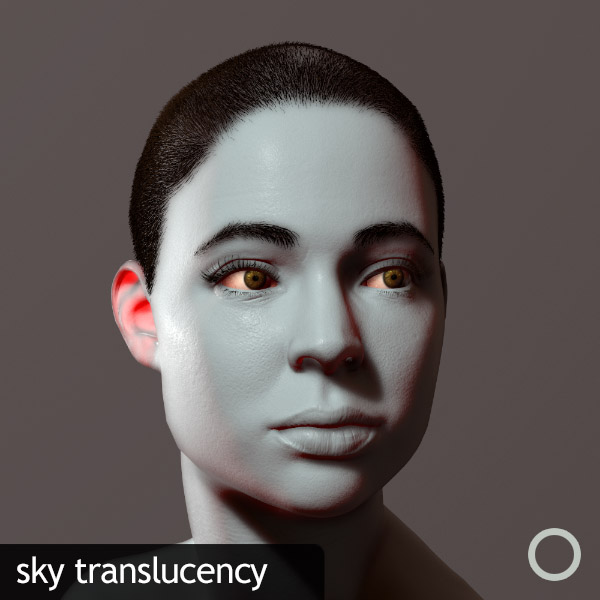
I realize you may not have time to watch a long video, so I’ve also put together a quick reference guide. Mouse over the thumbnails to view a quick demonstration, and click for an enlarged view.
Skin Shader
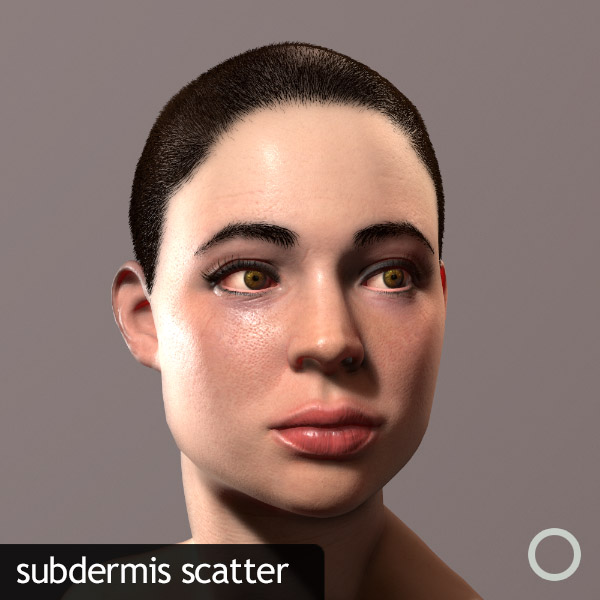
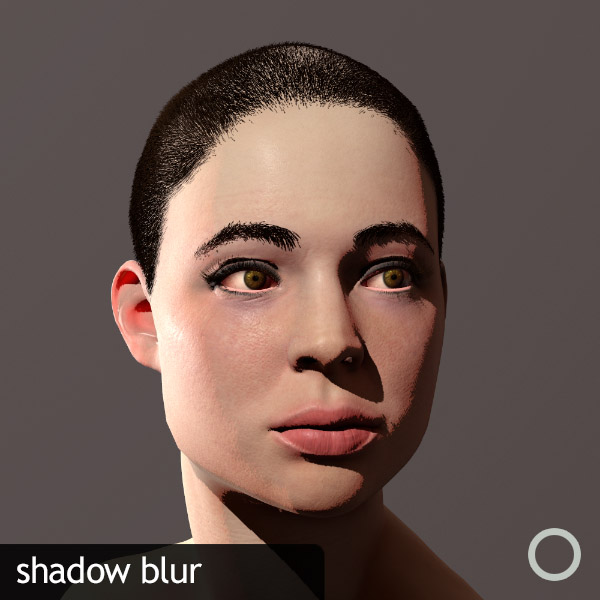
Its important to note that human skin is rather dense, so you may want to use fairly low values for some of the skin shader parameters. For instance, values which are too high for the subdermis scatter and shadow blur settings may make your character look waxy.
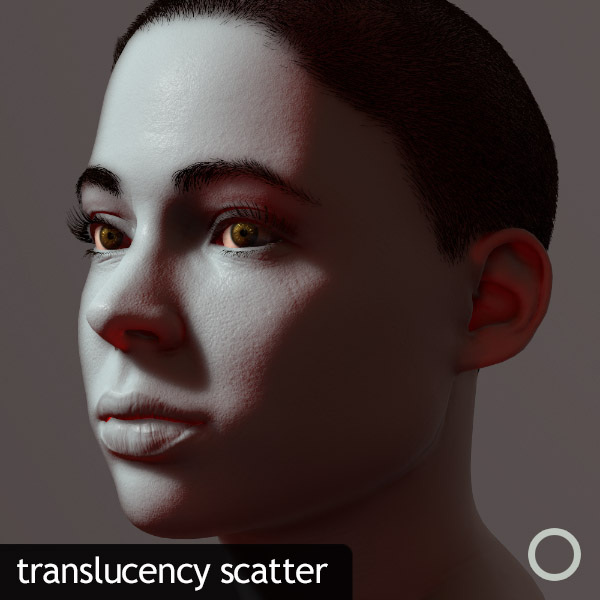
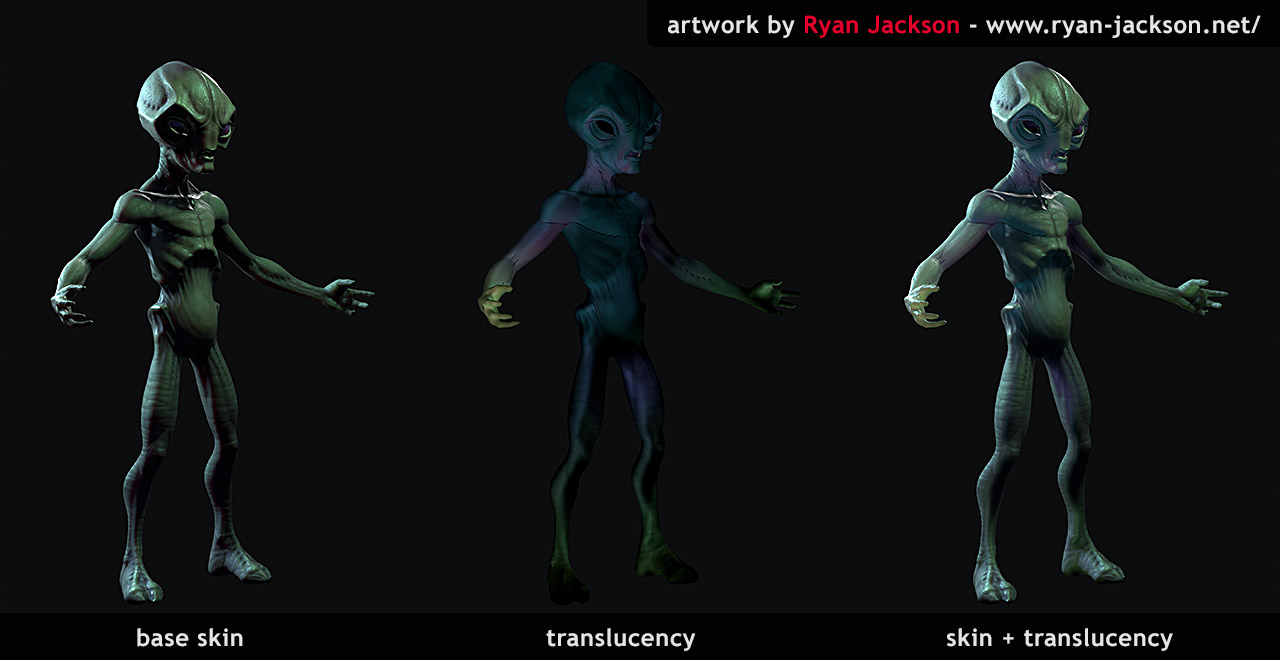
 Translucency defines how much light scatters through the surface. Brighter values in map define thinner surfaces (ears, nostrils). Use Knald to bake a base map.
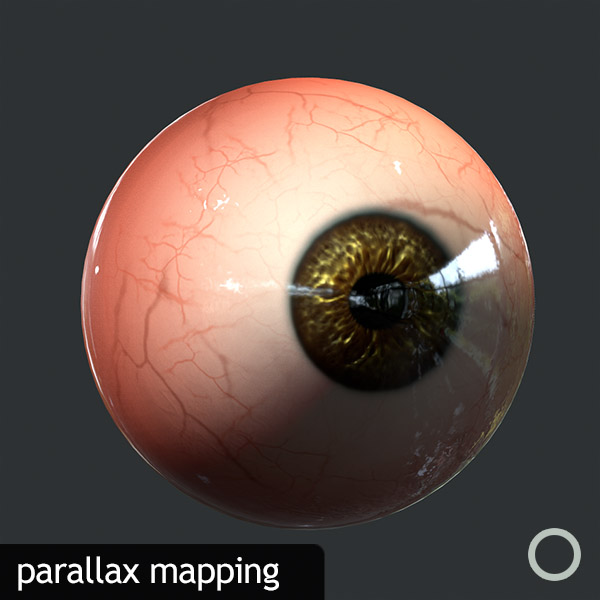
Eyes, Additive blending and Parallax Mapping
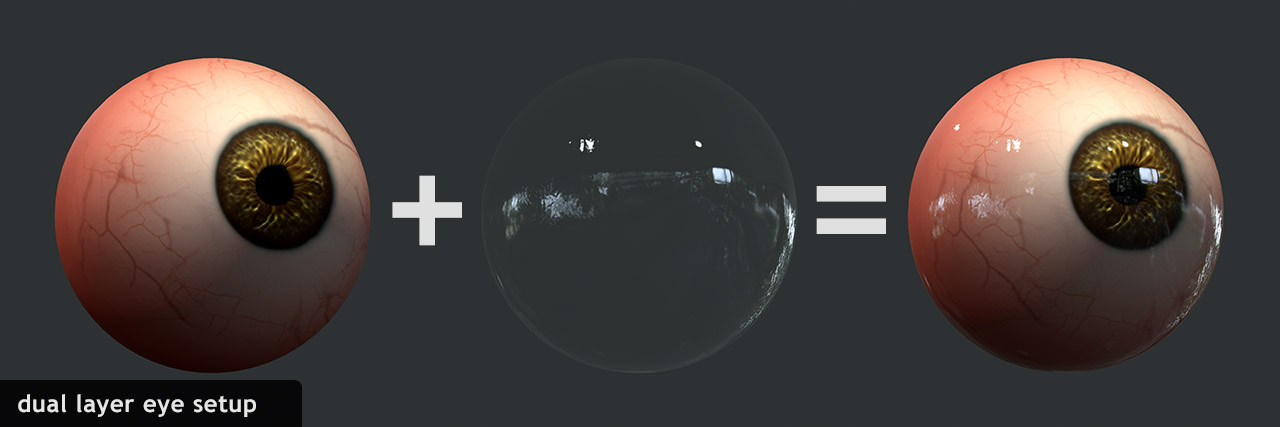
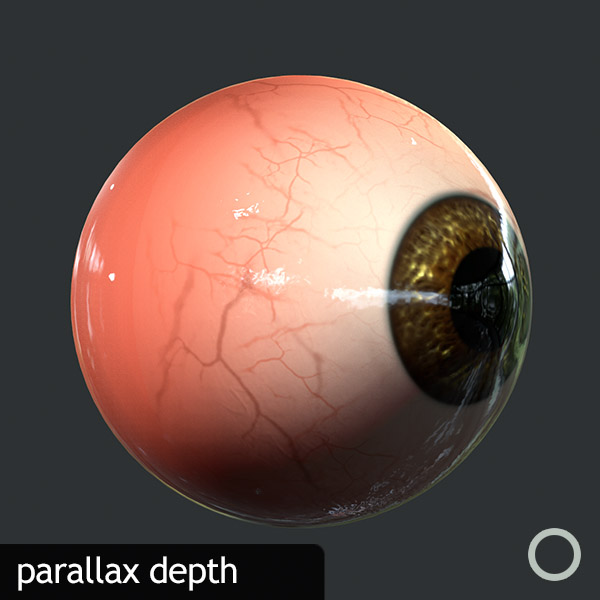
The best way to create convincing eyes in Toolbag 2 is to use the dual layer method, which involves creating a base mesh with a standard material, and a duplicate mesh with an additive material. This allows you to use unique normal, gloss and spec maps for each layer.
Note: Something I failed to mention in the video is that the wet layer normal map should be perfectly smooth for the lens itself (some variation on the rest of the eye is a good idea though).
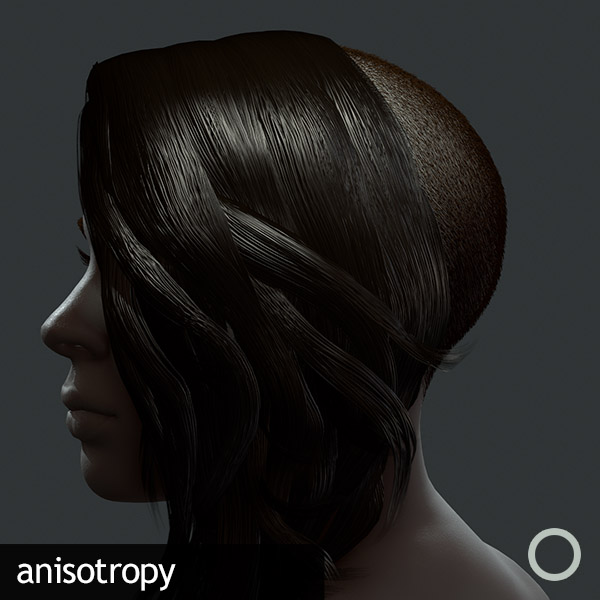
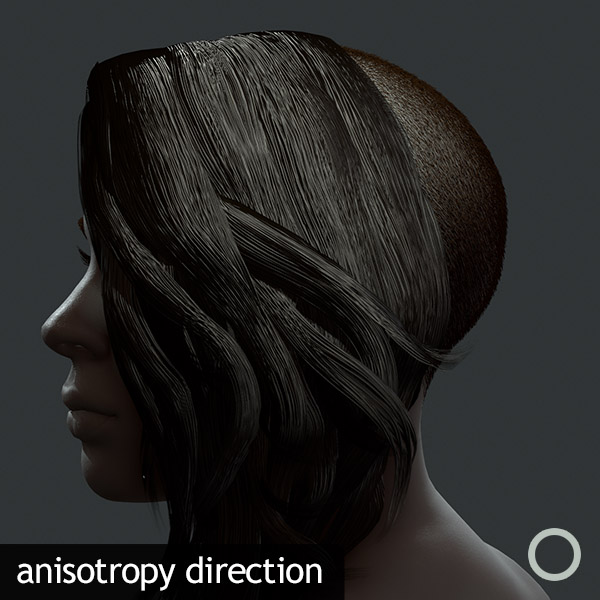
Hair, Transparency and Anisotropy
The first thing to do when setting up hair is enable transparency in your material. The transparency map is automatically loaded from alpha channel of your albedo map.
- Cutout, a.k.a. alpha test provides basic on/off transparency, black values define fully transparent areas while white values define opaque areas.
- Dithered provides soft blending, and is the best method for hair. It will look noisy in the viewport, however it looks much better when rendered out (render at 2x to further improve quality).
- Additive, shown above in the eye section, renders the specular pass additively, which is great for eyes, glass, etc.
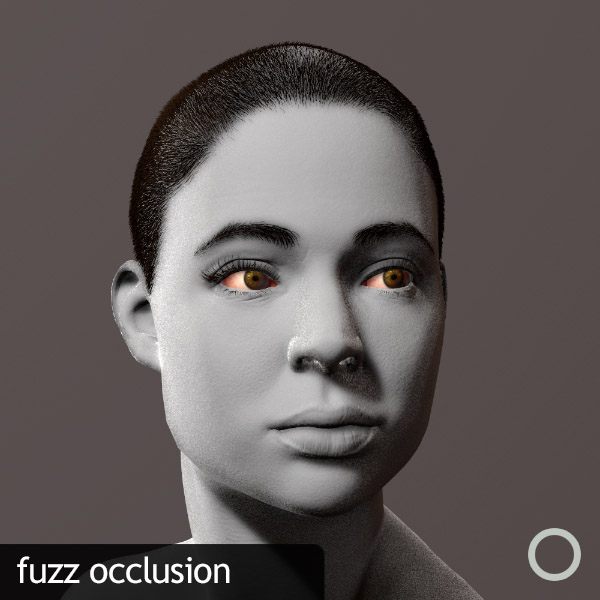
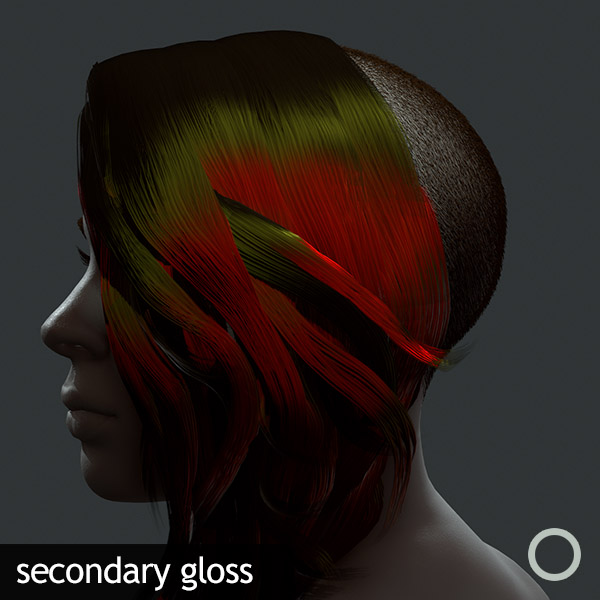
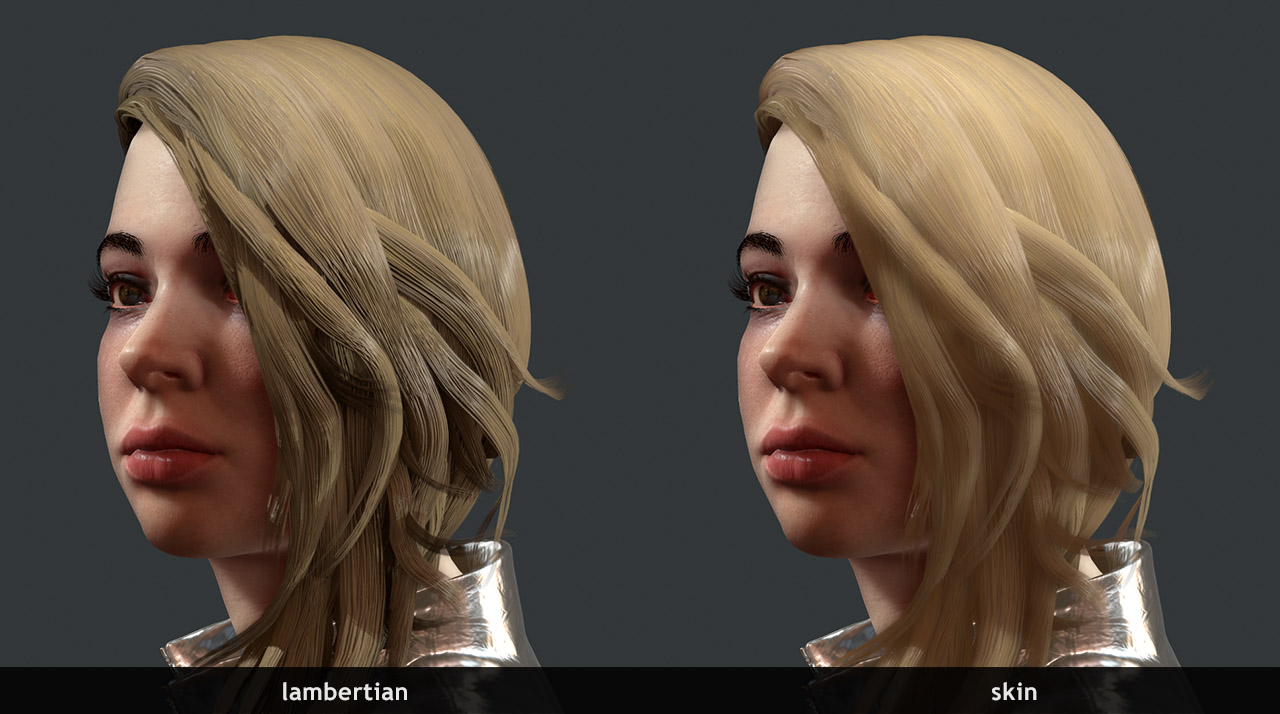
The skin shader can be used to soften the overall lighting and shadows, and the secondary specular slot can be used to add an additional offset specular highlight (generally tinted the same color as the albedo).
Other Uses
Stylized, unrealistic and otherworldly effects can be achieved by by cranking up the skin shader settings and using strange colors in the subdermis and translucency maps.
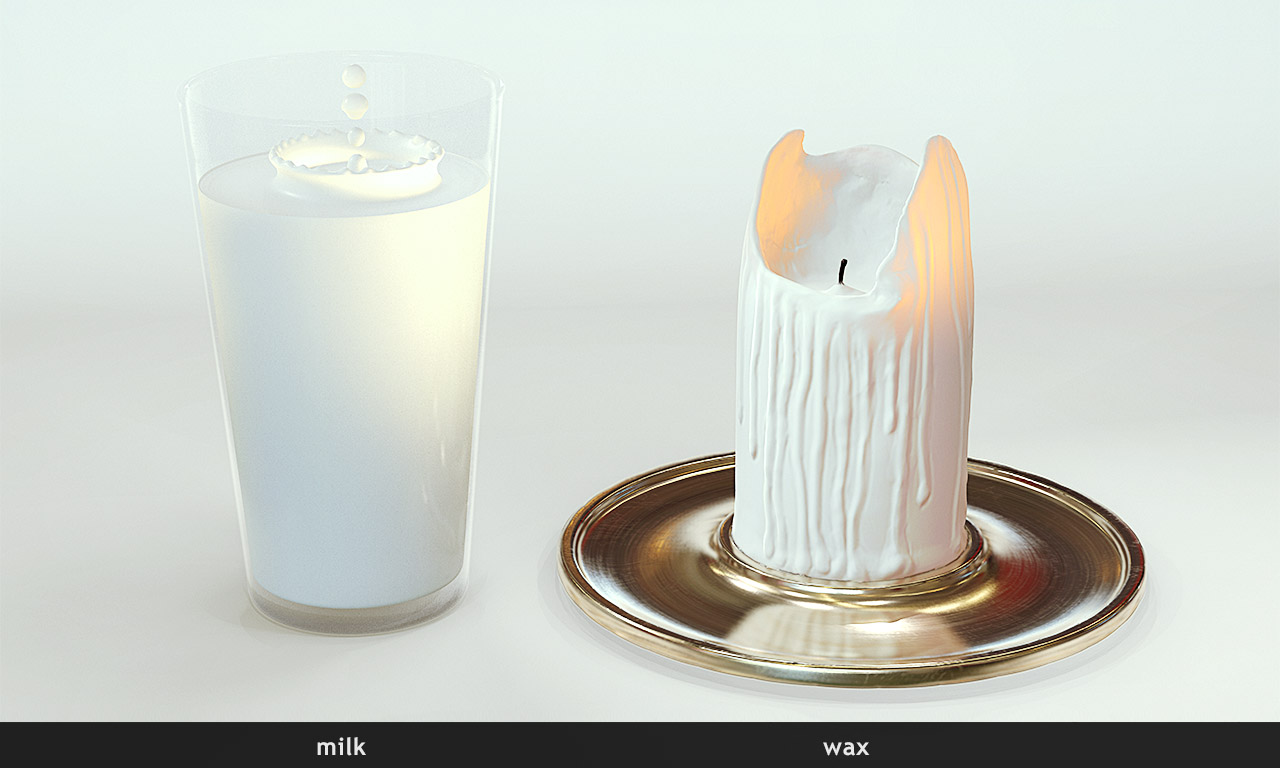
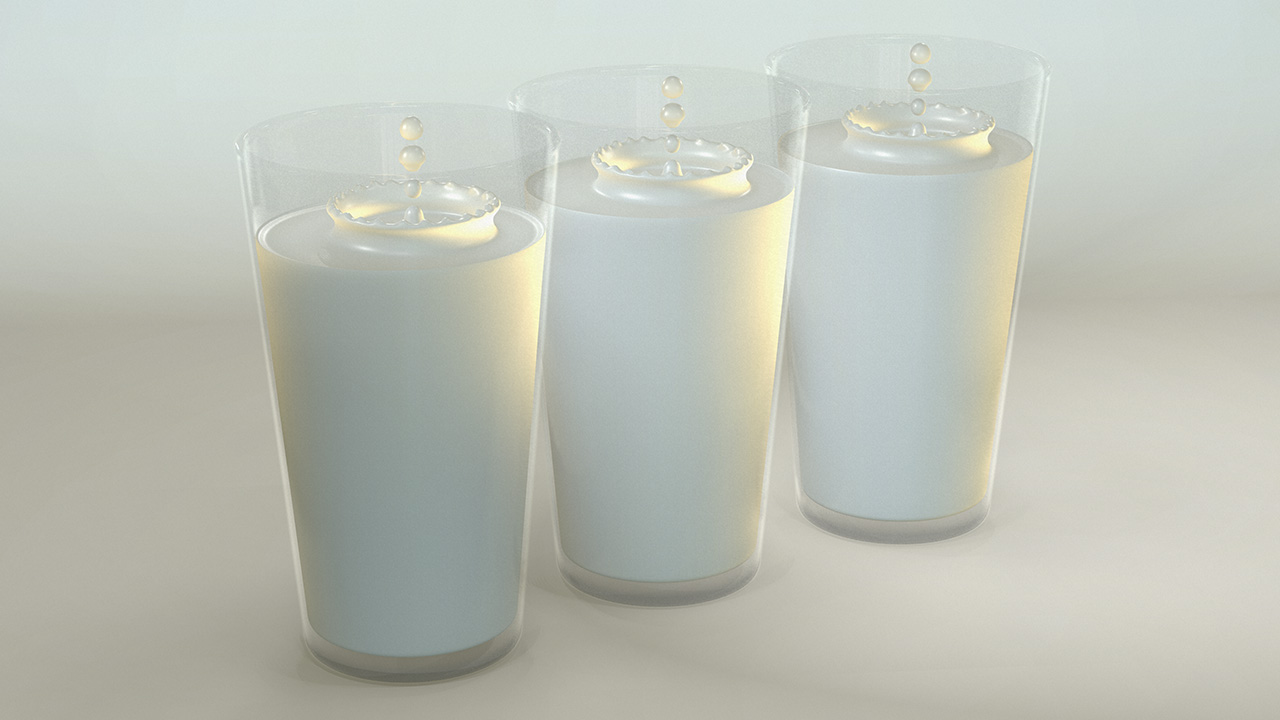
The skin shader can also be used to create translucent materials other than skin, such as milk, wax, and certain plastics. The possibilities are endless, so get creative and come up with your own unique effects using the skin shader!

