By Mark Knight
I’m Mark Knight from Marmoset and I have experimented with animation in various mediums for many years. Using animation to accent or embellish previous Hexels creations made me realise that it would be possible to create a short film using Hexels.
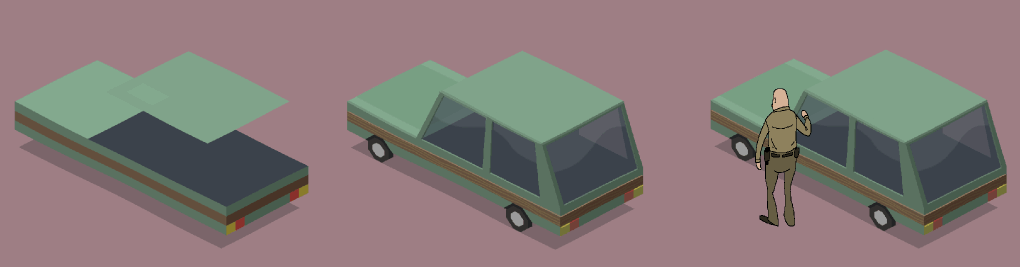
(left to right) Trixel layer, pixel layer detail, pixel layer animation.
I began with a simple ‘proof of concept’ test. I created a stylised vehicle with trixel and pixel layers and combined this with a smooth 30 frame character animation.
With positive feedback from my initial test, I decided to develop the idea into a trailer that could be expanded into a short film at a later date.
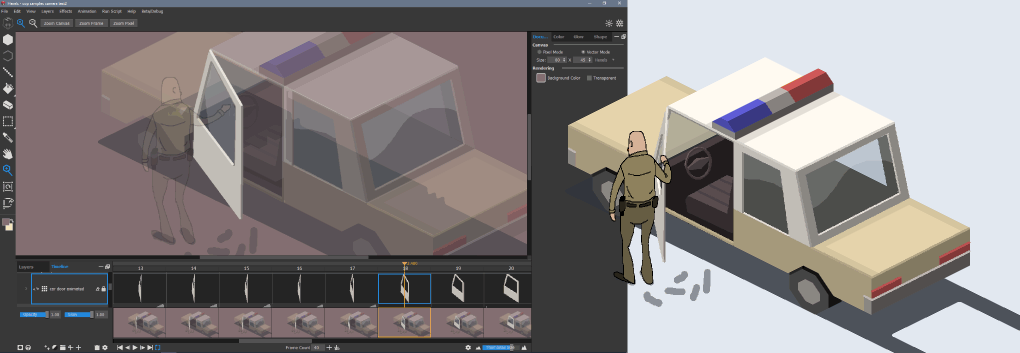
I developed my test scene further by having the trooper interact with the car door. The door was created with 8 cels of animation on a pixel layer (shown above left). I approximated the shape of the door at 3 key positions: open, halfway and closed. I added the in between steps until I was happy with the motion.
To create the glass, I animated a reflection across the window of the door by painting white streaks on another layer with opacity reduced.
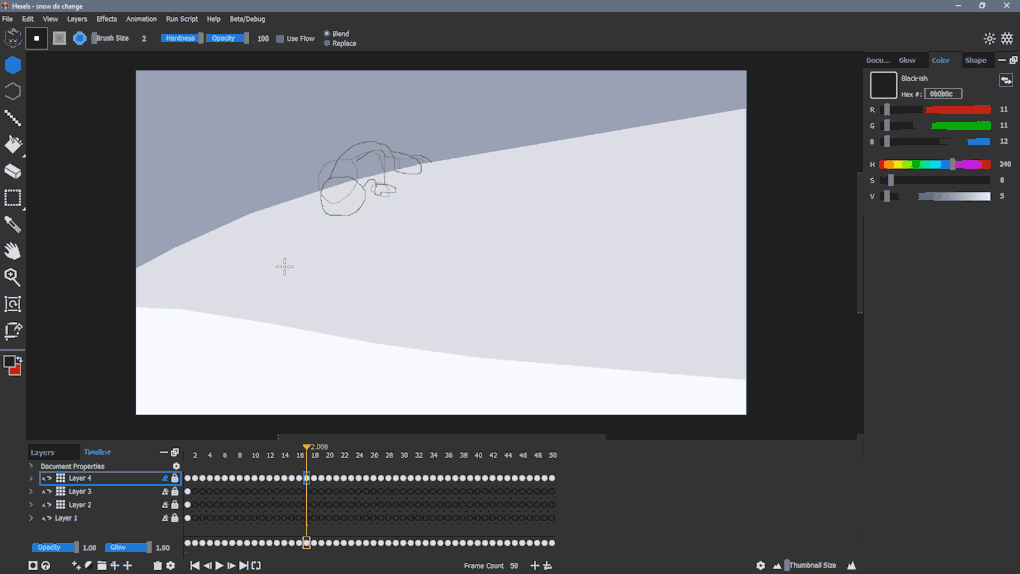
I drew the character animation outline with onion skinning enabled. This allowed me to see a faded representation of the previous and next frames. Onion skinning is really helpful for positioning, perceiving motion and direction.
I coloured my character by using the paint bucket tool to fill in the outlines. Each scene was created as a new document. For continuity purposes, I maintained the palette and brush sizes between each new document via file menu> save as template’.
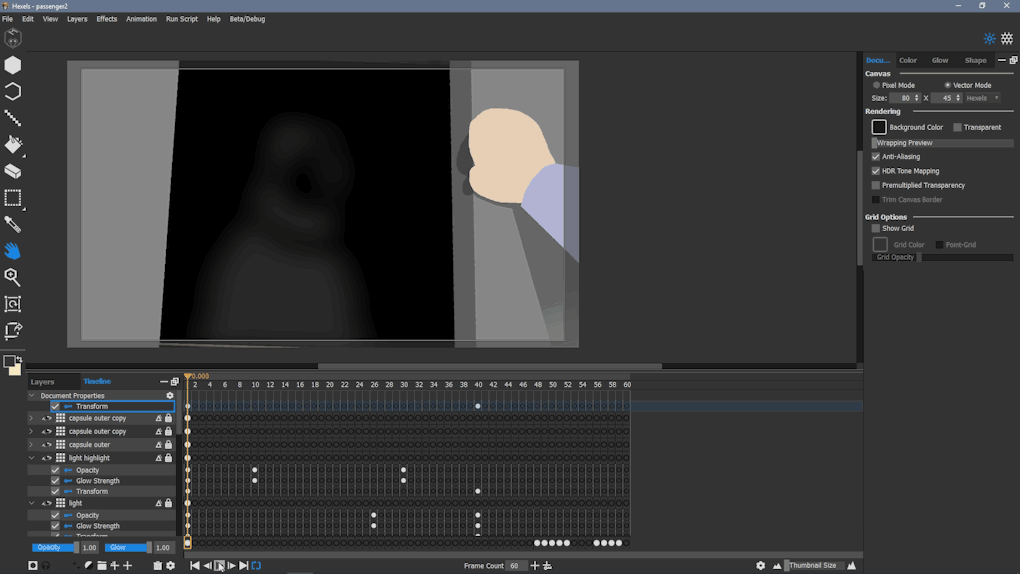
By using a Transform on the Document Properties layer, it is possible to create camera-like pans and zooms. For the ‘passenger’ scene (above), I used a transform to resize the entire document between frame 1 and 40 combined with an acceleration and deceleration keyframe tween (accessible by right clicking on a keyframe and selecting the tween type).
By using the frame tool with a fixed aspect ratio of 16:9, the exported images will only render whatever is inside the frame boundary.

Hexels allows dragging and dropping of images onto the canvas. For the introduction sequence and the United States capsule decal (above) I created transparent .png image files and lifted them into my scenes.

Another hugely versatile feature in Hexels is the ability to import an animated GIF. I recorded a short sequence on a mobile phone, converted it into .gif format and dragged the file onto my Hexels canvas. The frames of the .GIF were automatically added to the timeline on its own layer. This feature was indispensable when creating the above rotoscope sequence.
Watch ‘Ep 6 of Hexels Adventures’ for a speedpaint showing how I created the trailer and check out other episodes of Hexels Adventures.
Having used the animation system to create parallax animations, rotoscoping, and motion blur effects, I’m excited to see what other artists dream up using Hexels 3.