

Redefining the High Poly Process
Creating high-quality hard surface models efficiently is a universal goal for 3D artists, whether creating art for game development, product visualization, or film and TV projects. One feature that’s making a striking impact across these workflows is Marmoset Toolbag’s Bevel Shader.
We spoke to three experienced 3D artists with unique backgrounds in games, CAD, and visualization about how the Bevel Shader transformed their pipeline.


Combining CAD & The Bevel Shader
Hey! My name is Dan Kenton, and I’ve been working in the video game industry for about 5 years now. My game development journey started around the time I was 13, when I began creating small games and tech demos in Unity. I attended college and earned a degree in computer science, but I slowly began to fall in love with 3D art in video games. My favorite game genre is first-person shooters, so it only made sense for me to try out making weapons. Over the past 7-8 years, I’ve been constantly striving to master my craft and find new ways to streamline my workflow.
After using Marmoset Toolbag’s Bevel Shader for about a year, I can happily say that it has significantly sped up my process. Previously, for portfolio work, I was using ZBrush to polish or add bevels to my high poly models. However, I can now use Toolbag to create a lightweight high poly model that is quicker and easier to iterate on. The ZBrush Dynamesh method can have its limitations at times. For example, if a piece you are trying to dynamesh is too big and you can’t increase the resolution, you end up with a “crust” on the edges.

This issue is unavoidable in some cases, as seen in my example above. This is also a time-consuming process, and dynameshing at maximum resolution can be cumbersome, resulting in massive file sizes that are difficult to manage.
Another alternative to avoid these Dynamesh issues is to work in Sub-D. However, working with topology on complex surfaces with many curves and booleans can take hours. And getting the mesh to shade properly and achieve nice, clean edge bevels at higher subdivision levels can take an insane amount of time in a production setting.

With CAD modeling, boolean operations and filleting become so easy that I don’t even have to think about them most of the time. If I want to boolean a sphere from a cylinder, I just do it. And depending on my CAD topology in that area, it’s still a very iterative process.
Take the examples above from 3DS Max and Plasticity. The shape on the left was set up in about 5 minutes by manually configuring the topology by using booleans, cutting, adding edge loops, and insetting faces. In comparison, the shape on the right was created in about 30 seconds in plasticity by using 3 simple operations, cut, boolean, and fillet, while also adding more complexity to the shape.
Admittedly, I’m not a sub-D expert, but you can see why CAD would be the better choice for hard surface shapes like these.

Ultimately, working with CAD is much faster and cleaner than working in Sub-D. Combined with Toolbag’s Bevel Shader, my CAD work has become even faster. Here are two examples of shapes and parts created in CAD that would’ve taken me a lot longer to create in Sub-D. I could export my entire project, bring it into Toolbag, and apply the bevel shader.

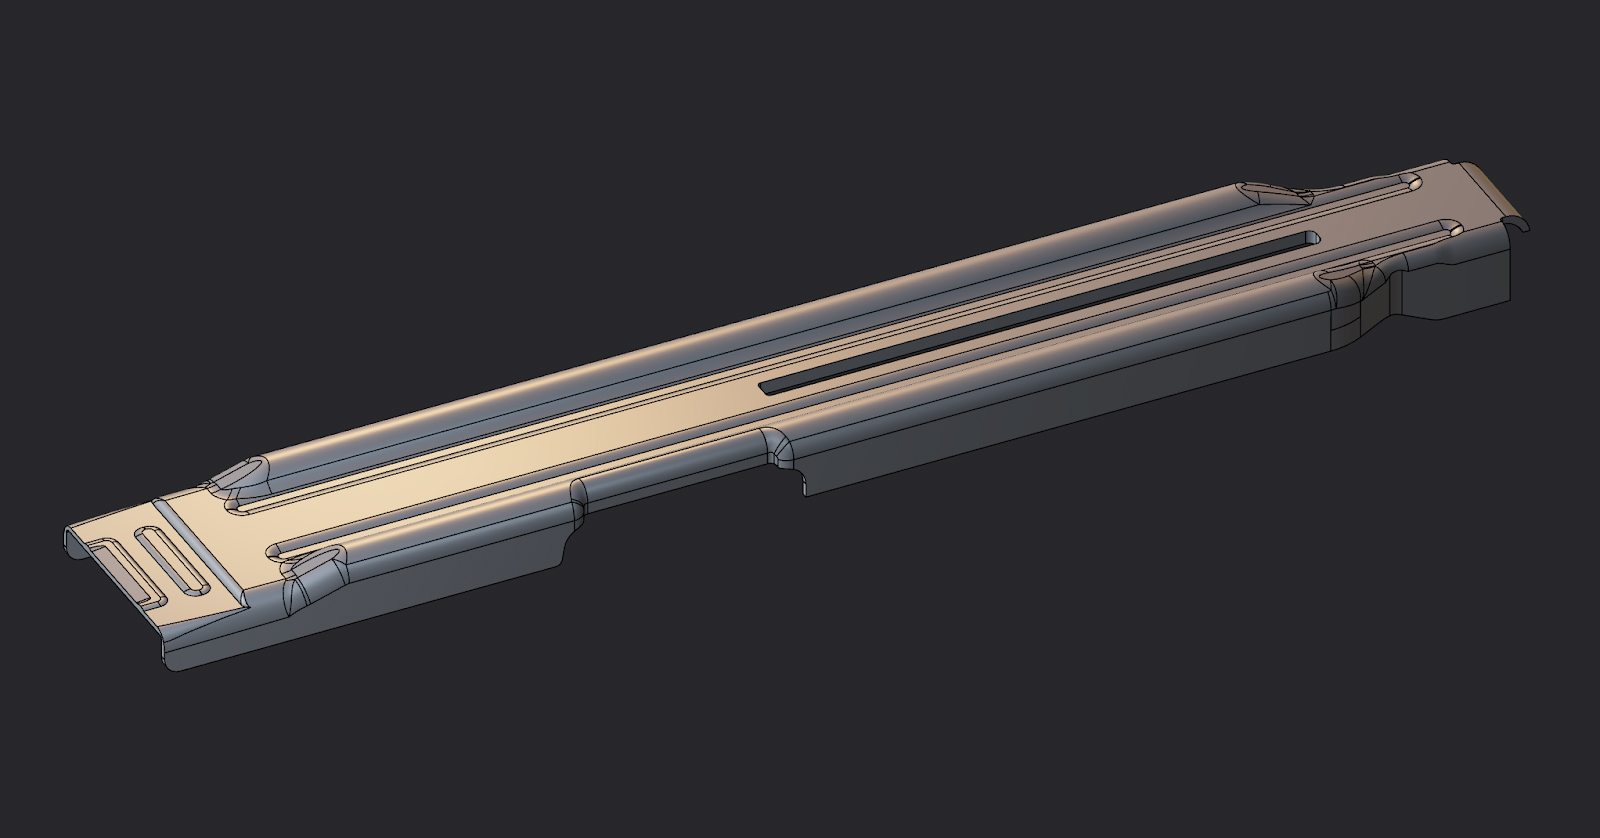
I added other materials just for stylistic choice, but you can assign different bevel widths to certain parts by applying a new material. It’s during this step that I like to separate bevel widths by material, making plastics softer than metals, as you would in ZBrush by polishing them more.
Learn how to configure Toolbag’s Bevel Shader

After this step, your high poly is complete! The bevel shader took about 2 minutes to set up, while the ZBrush Dynamesh method would probably take over a week, as each part needs to be exported and treated separately. This method for creating high polys works exceptionally well for maintaining consistent bevel widths across your project.

When using a single bevel shader material, every edge receives the same bevel width, which is sometimes not ideal. In some areas, you may want to have a larger bevel, while maintaining a smaller bevel in other areas. Toolbag 5.01 introduced bevel width masking using vertex colors to create varied edge widths, which I haven’t tried yet. For now, I manually add fillets in CAD to the areas that I want to have a larger highlight, as shown in the image above. For hard surface artists, this method is worth exploring. The time savings alone are hard to ignore.


Game Artist Perspective: From Days to Hours
Hello, my name is Mohammed Omar (AKA Ace). I am a 3D weapons and Hard Surface Artist with over 3 years of experience working in AAA games, most notably on the Call of Duty franchise. I also have a background in architecture and architectural visualization (archviz).
I do not exaggerate when I say that the most exciting part of every project for me is when I get to use Marmoset Toolbag. Since I was first introduced to Marmoset Toolbag 3 many years ago, it has become the cornerstone of every project I work on, whether it’s baking, rendering, or simply orbiting around my model like any other sane 3D artist.

I was super excited with Marmoset’s release of Toolbag 5 and the announcement of the Bevel Shader because I knew the team would deliver on this one, just as they have with any other aspect of the software, so I started testing and instantly knew that this feature would be part of every project I work on moving forward.
The ability to bake my models on the fly using Toolbag’s Bake Projects is a huge time saver, and the quality is incredibly high. At first, I wasn’t sure, but then I started creating comparisons of my own.
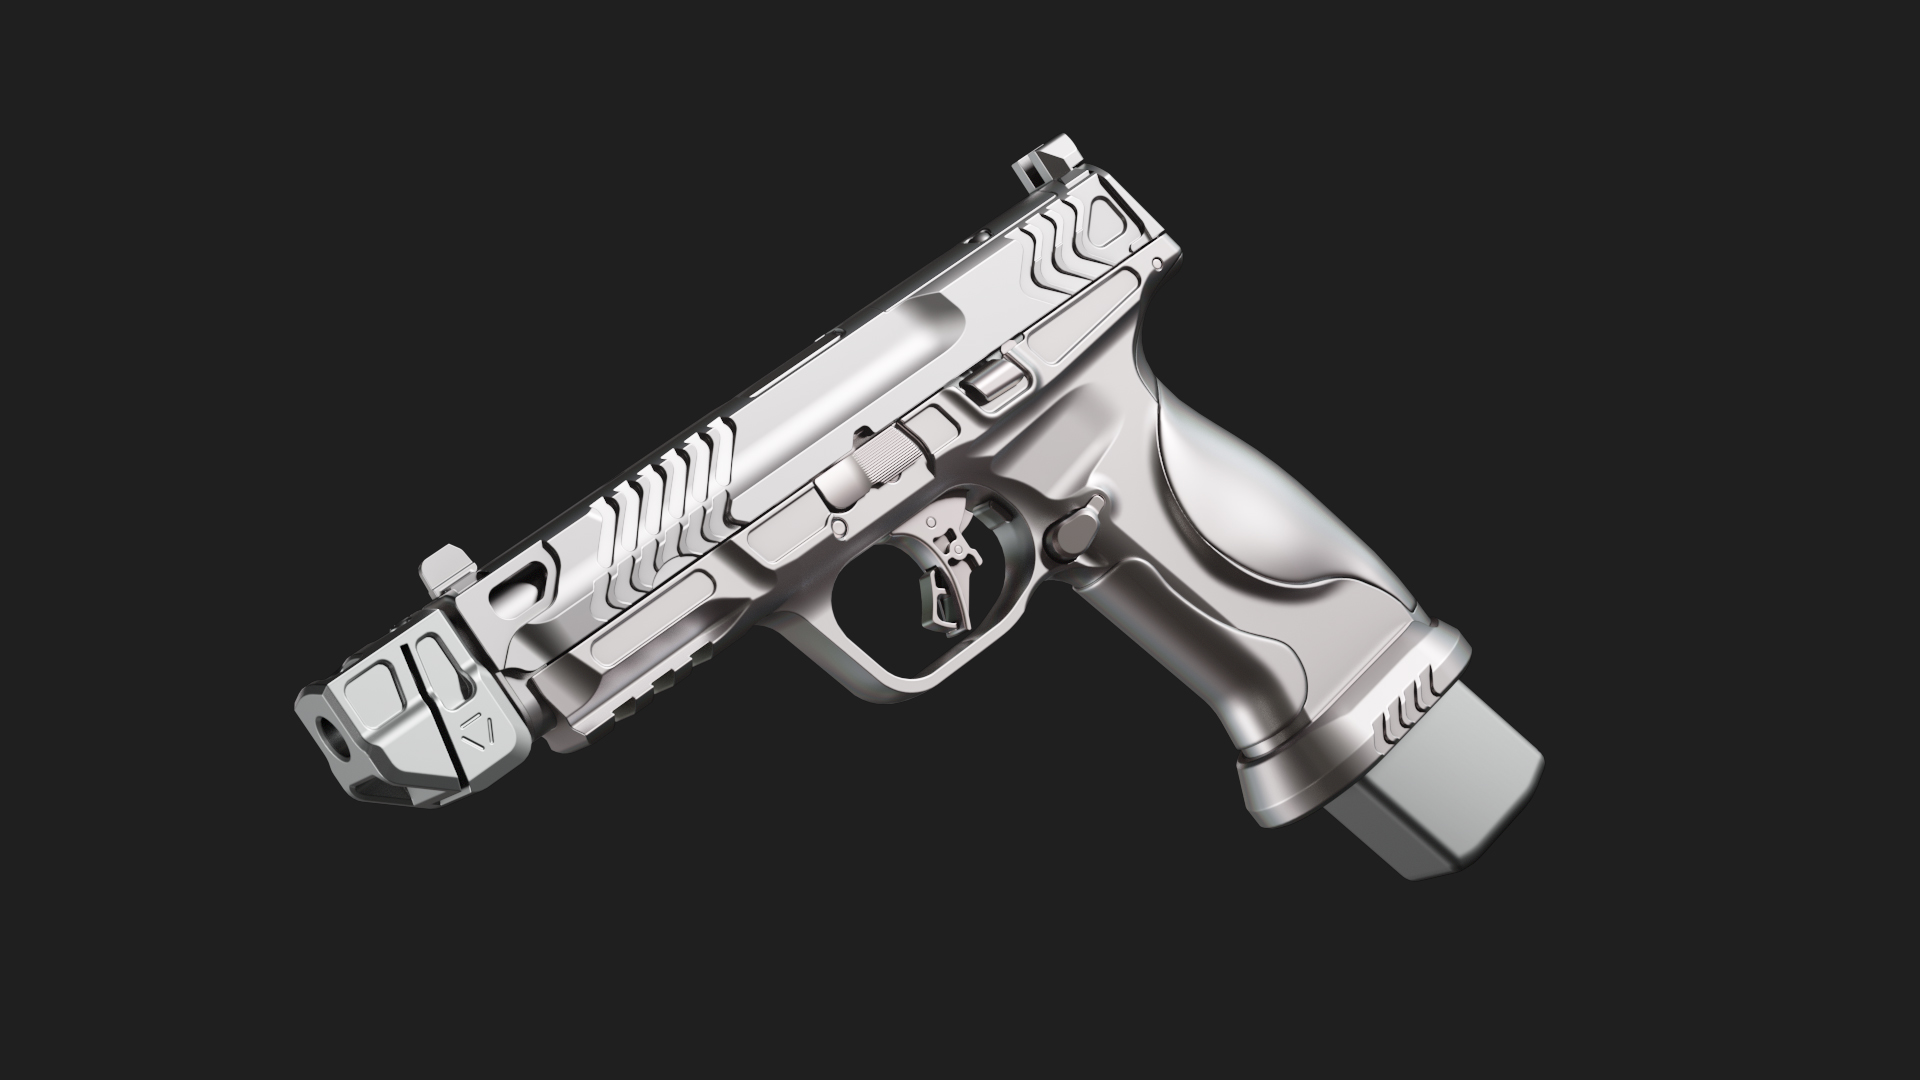

The render comparison above is from my latest personal project, which features baking textures onto the same low poly model using two different baking methods.
The image on the leftused was baked from a traditional high-poly model with polished edges, while the image on the right was the result of baking from a mid-poly model employing the bevel shader. The traditional method requires several hours of iterative work, whereas Toolbag’s Bevel Shader method takes less than an hour with minimal effort.
As you can see, the results are great. I had a hard time telling which screenshot belonged to which method. And after texturing, the differences become almost non-existent.
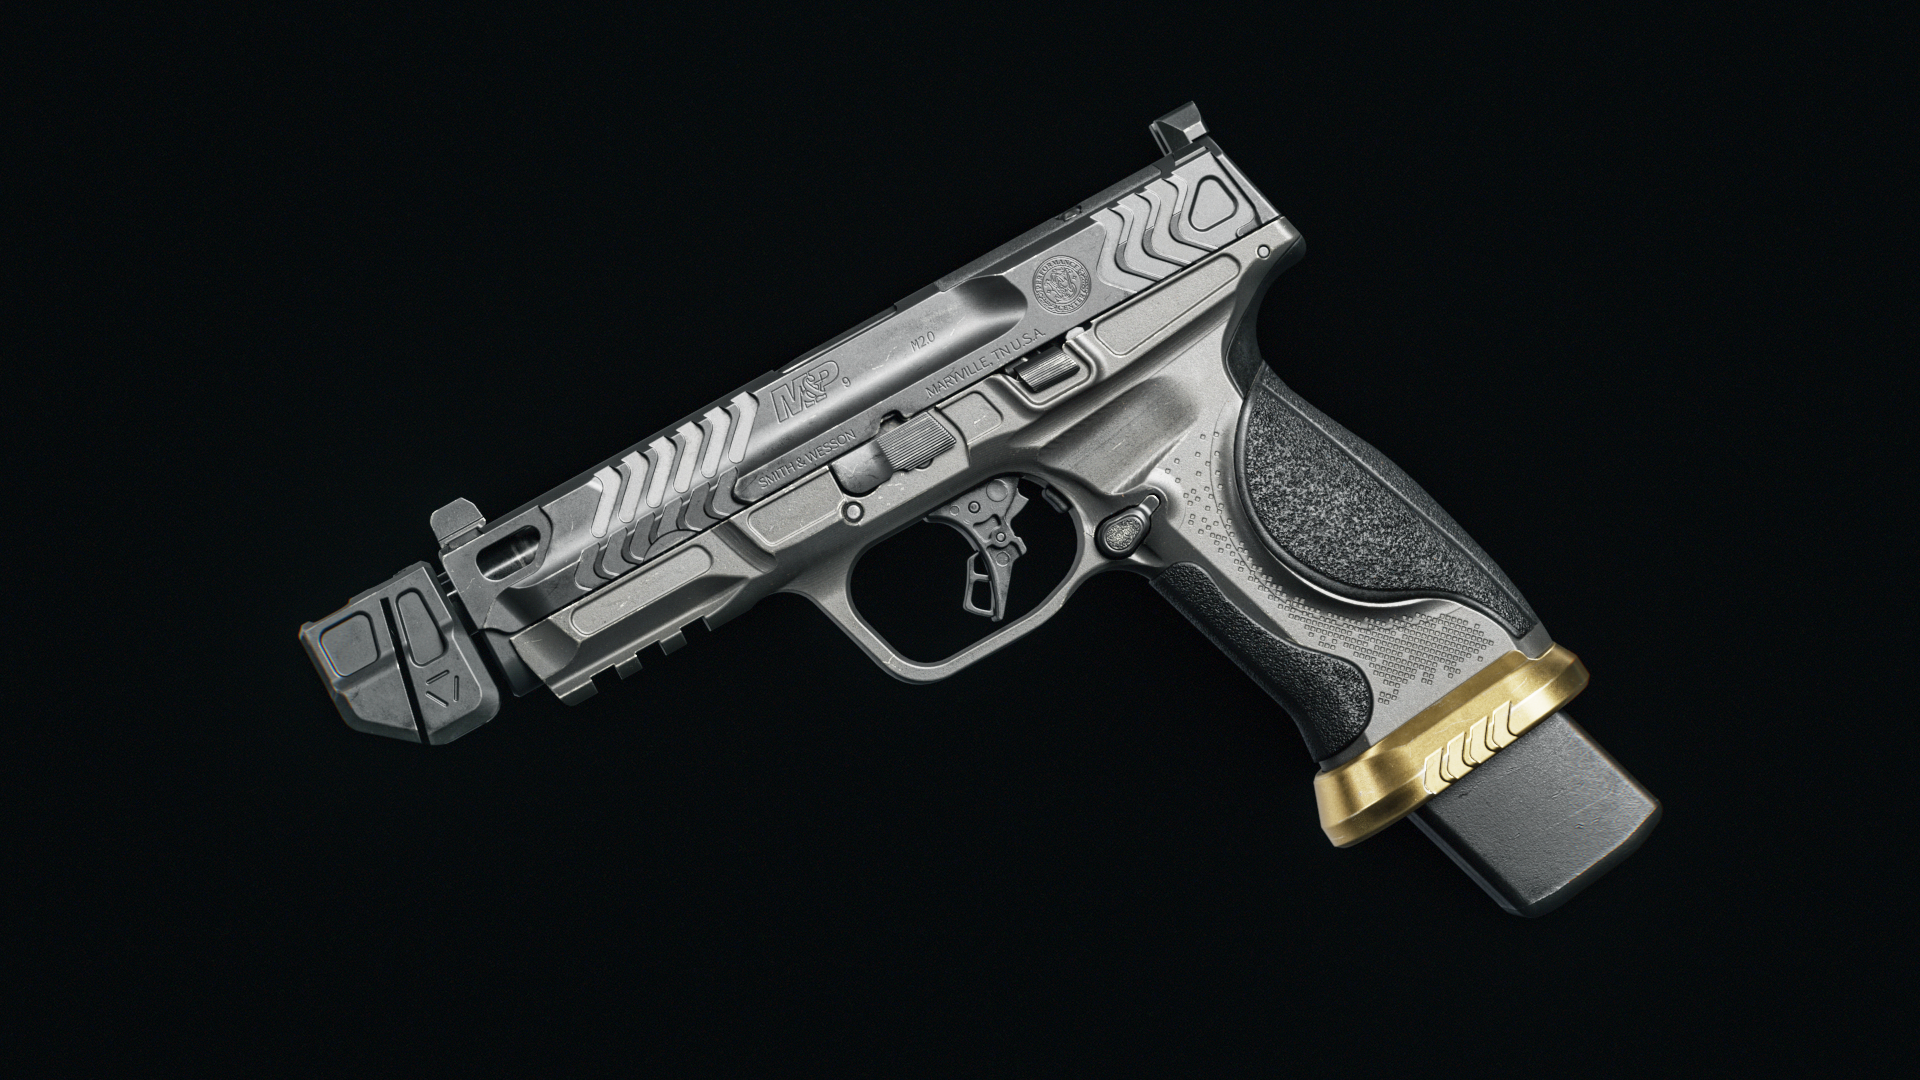
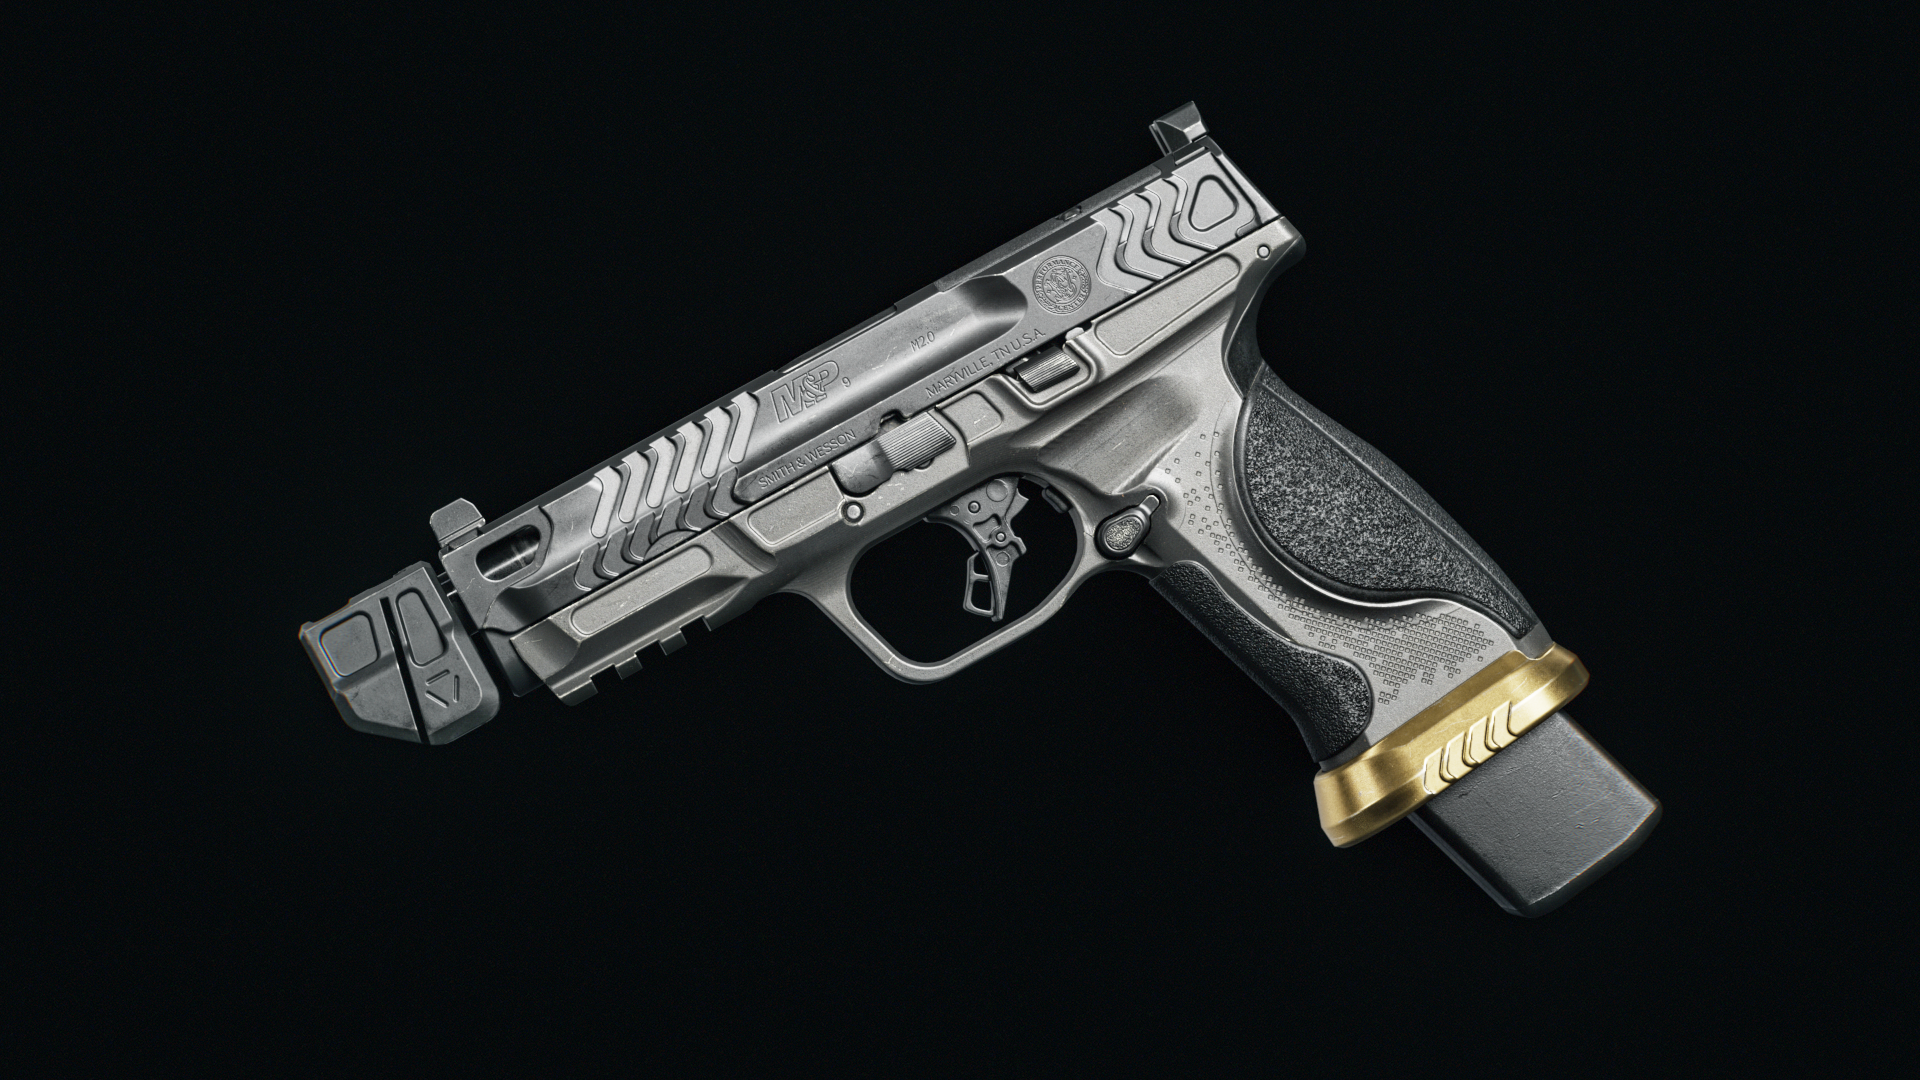
In some cases, I noticed that the bevel shader provides a better edge highlight than the traditional method!
Another application of the bevel shader that I love to include in my workflow is a quick showcase of my blockouts. Since I mainly use CAD software in my work, such as Plasticity and Fusion 360, I enjoy exporting my blockouts quickly with smoothing groups as an FBX file. I enjoy exporting my blockouts quickly with smoothing groups as an FBX file. This can be done either using the software exporter itself or using external software such as Pixyz Studio or Moi3D.
When working with CAD, the software sort of creates your smoothing groups/normals for you; it’s not perfect by any means, but it does the job for showing clients or supervisors what the model will look like when it’s smoothed with the high poly phase or baked with the Bevel Shader at a later stage. Keep in mind that smoothing straight out of CAD software can’t always be perfect. I use the Bevel Shader for this because it allows me to skip the high poly phase entirely and jump straight into cleaning up my low poly model. All I do is create a mid poly version of my model exported from CAD software and then use Toolbag’s Bevel Shader to showcase my model.
Creating a high poly would take a few hours (if not more), whereas using the Bevel Shader, it becomes a matter of exporting a mid poly, plus a few extra clicks, and you’re ready to showcase. This way, you save a lot of production time and can either proceed to the next step or iterate quickly on the feedback given

Marmoset Toolbag has been a crucial component of my workflow since I began my journey in 3D art during my college years, and I continue to use it in both professional and personal work.
The bevel shader has significantly enhanced my productivity, allowing me to focus on achieving high-quality results rather than spending an excessive amount of time creating high-poly models and baking them. I am really excited about the future of Toolbag and the continued support it will provide to artists in expressing their creativity with minimal technical difficulties.


Skip the ZBrush Sculpt, Apply Bevels Instead!
Hi, I’m Nathan, a 3D artist specializing in hard surface modeling and texturing. I wanted to share a quick overview of how I use Marmoset Toolbag’s Bevel Shader in my workflow. This method has helped me streamline production by eliminating the need for a high-poly sculpting pass in ZBrush, as long as no detailed sculpting is required, and significantly reducing file size in the process.
Once I’ve finished modeling my base mesh, instead of moving into ZBrush for a traditional high-poly pass, I duplicate the base mesh and designate that duplicate as my high-poly. I then begin working on the low-poly version and complete the UV mapping process. After both meshes are ready, I bring them into Marmoset Toolbag. Here’s where the bevel shader comes in. Most real-world objects don’t have uniform edge wear or chamfers. Manufacturing, aging, and use create variation. Applying a uniform bevel radius across a model will make it look unconvincing.
To simulate realistic edge variation without needing multiple high-poly meshes, I assign different materials to selected face groups in my modeling software on the high-poly mesh. This allows me to apply separate bevel-shaded materials with custom values to other parts of the same mesh. You can see examples and some before-and-after photos in the images I’ve provided.
Using the Bevel Shader has saved me a significant amount of time. If you’re looking to speed up your hard surface workflow without sacrificing quality, I highly recommend giving it a shot.
Whether you’re creating hard-surface models for AAA games, CAD-based blockouts, or product visualizations, Marmoset Toolbag’s Bevel Shader offers a highly efficient, modern alternative to traditional time-consuming high-poly workflows.
Thanks to Dan Kenton, Mohammed (Ace) Omar, and Nathan Young for contributing to this article. Check out our complete Bevel Shader guide to learn more and start a free 30-day trial of Marmoset Toolbag to begin working with bevels.


