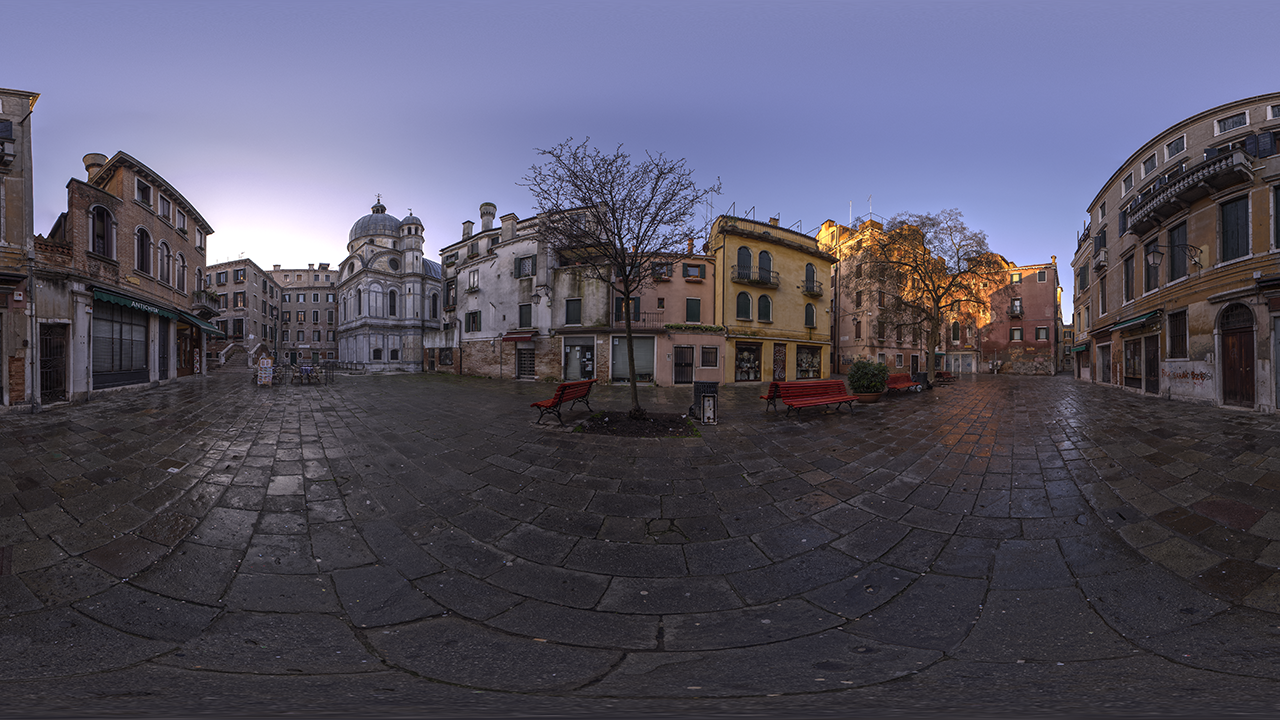
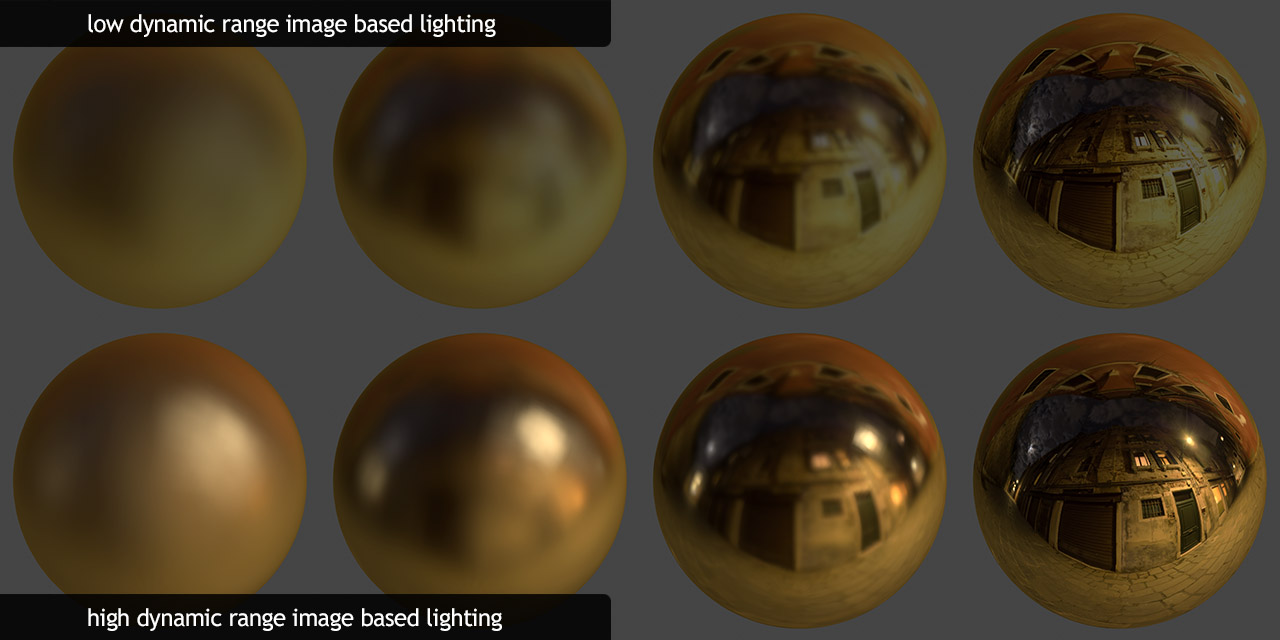
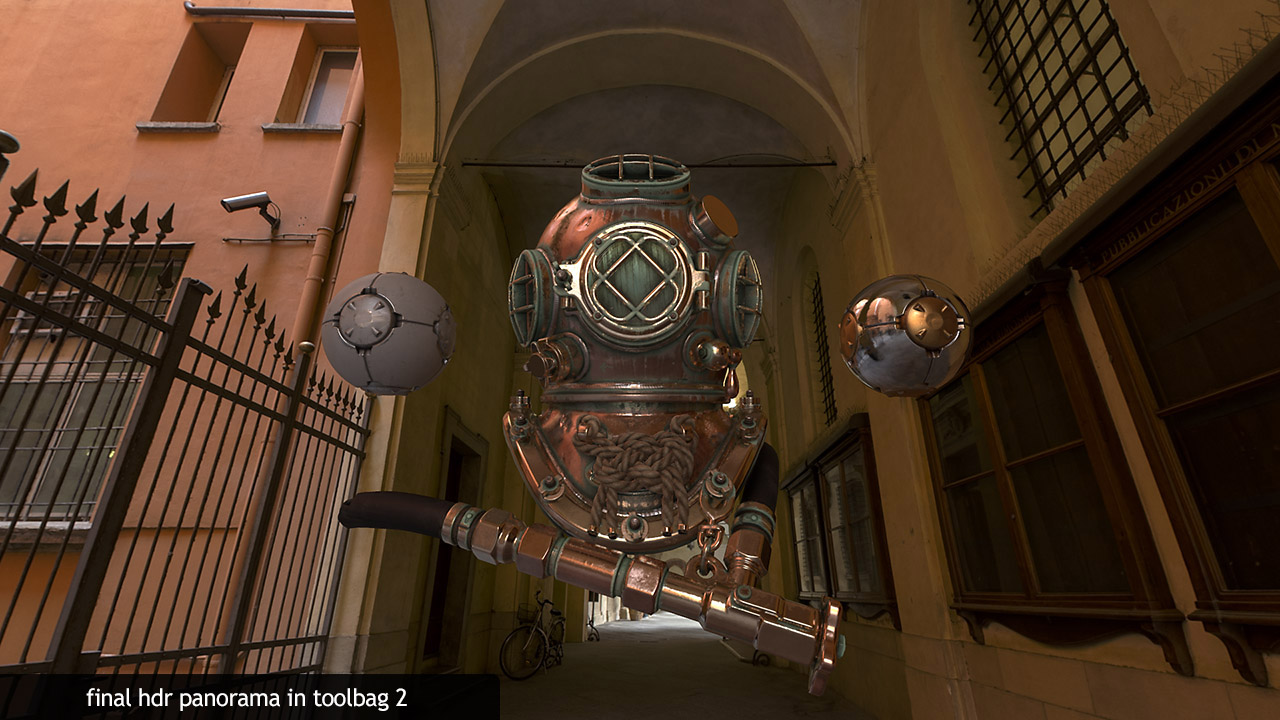
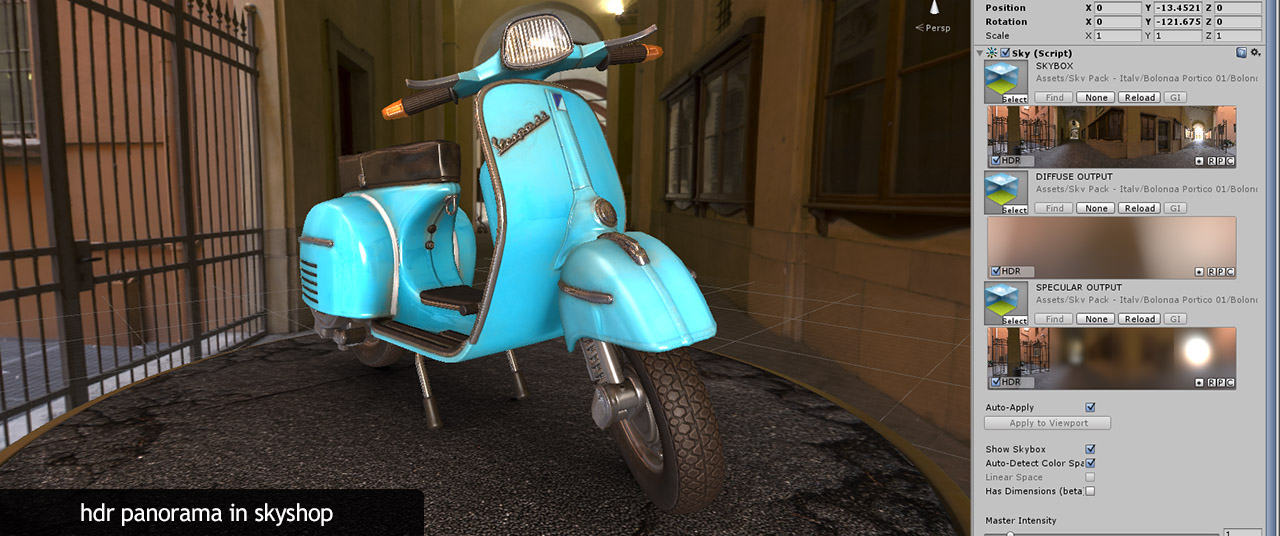
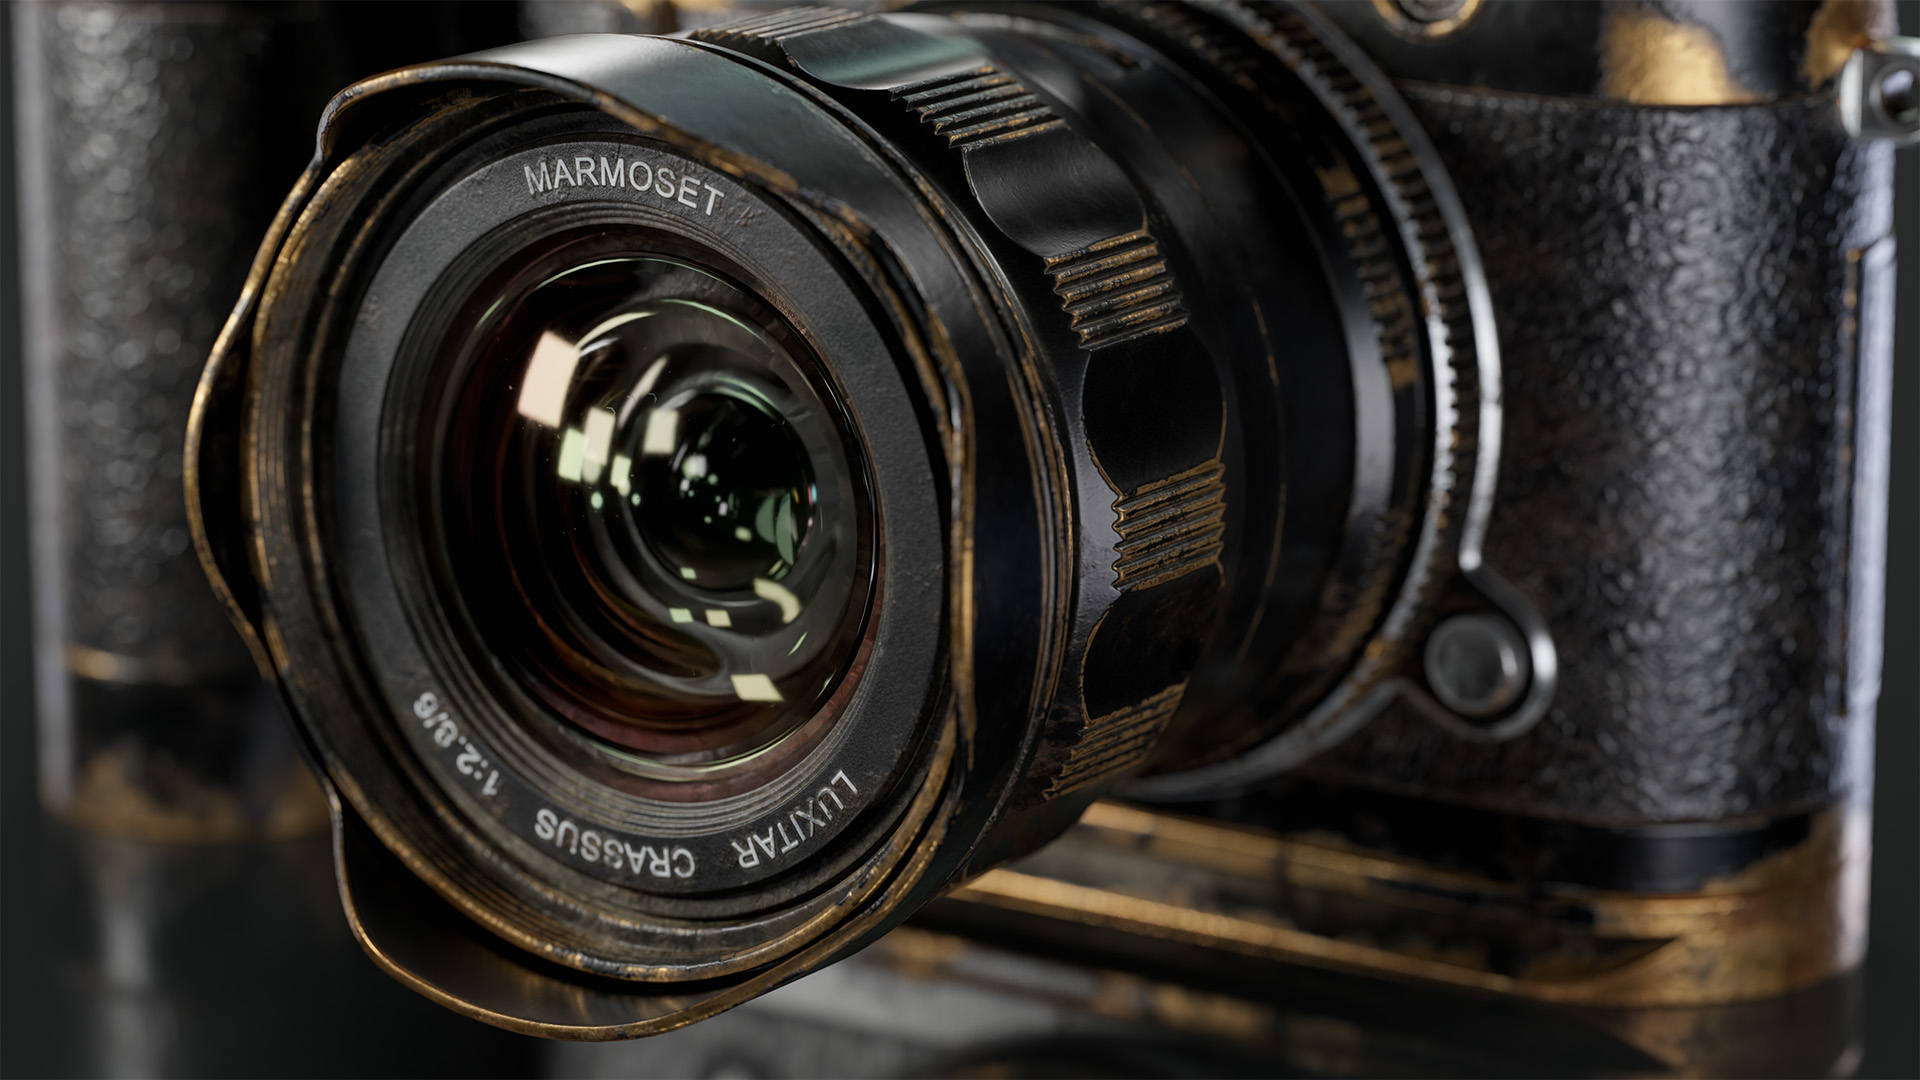
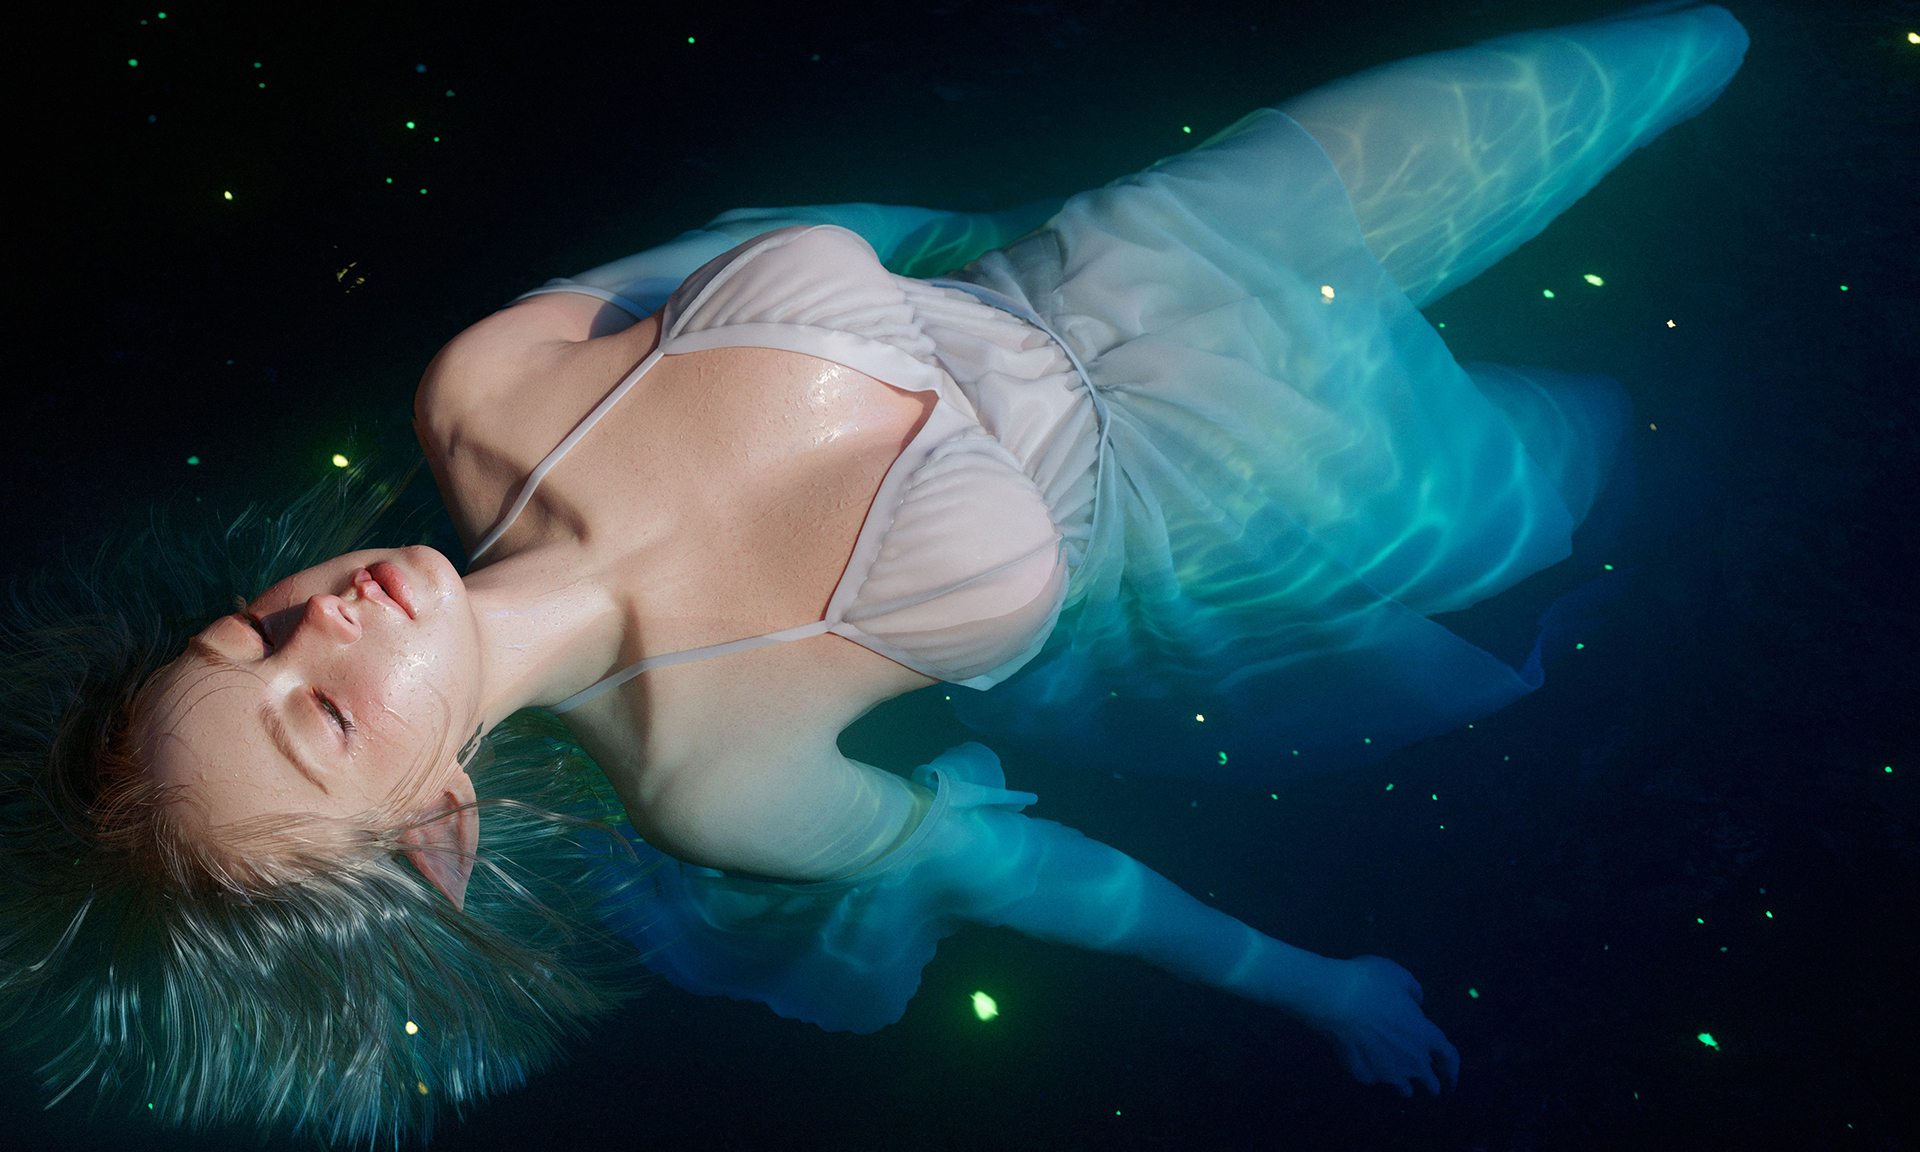
Image-based lighting (IBL) is a rendering technique that uses a 360 degree panorama to light a 3D scene. With IBL, each pixel in the panoramic image acts as a small light source, which provides a great deal of detail, variation, and realism to the lighting.
This tutorial will cover the process that I used to photograph environments for our Northern Italy Pano Pack and process them into HDR panoramas for use as image-based lighting data in Skyshop and Toolbag 2.
Optimizing for Range and Resolution
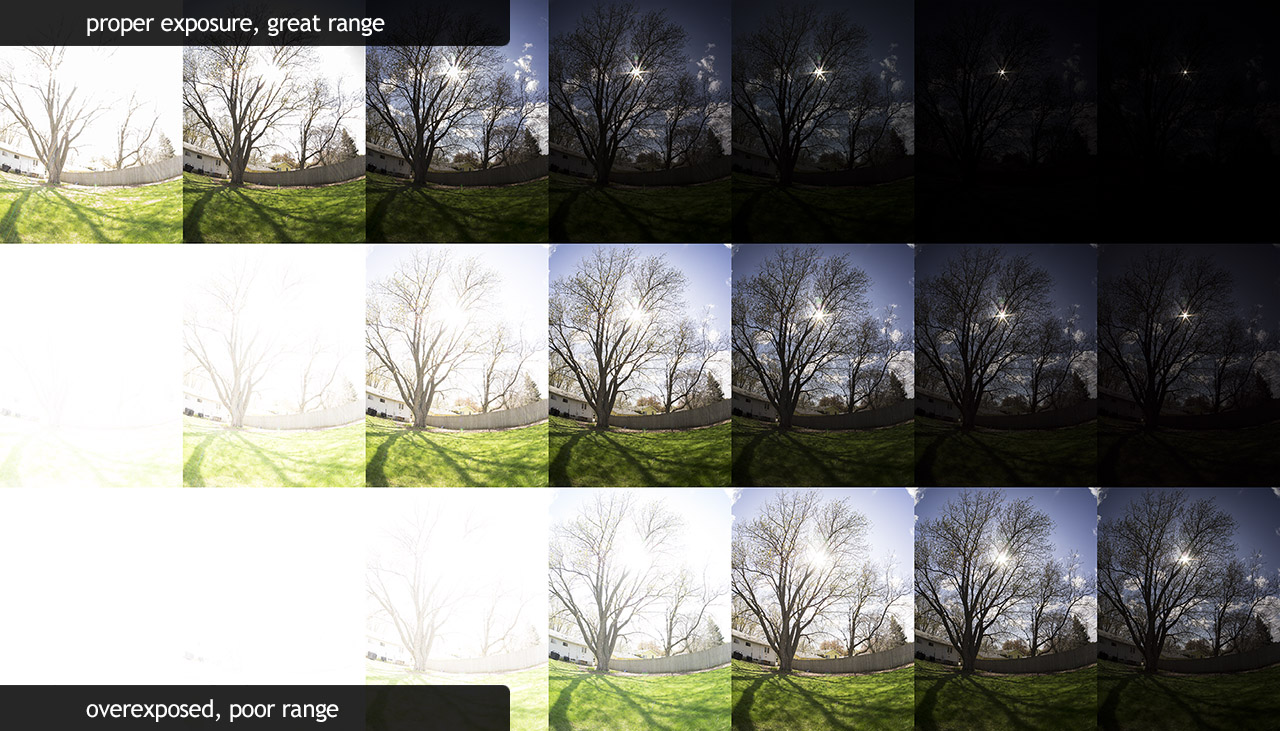
Capturing sufficient dynamic range is one of the biggest challenges when creating panoramic images. We need enough data to represent the information in the deepest shadows, all the way up to the brightest highlights. Traditional cameras can not capture this much detail in one exposure, so we need to capture multiple photos, each exposed to varying light levels (EVs), and then process each set into a single 32-bit image.
PROTIP: 1 EV or stop refers to twice or half the amount of light, -1EV means half the amount light being recorded by the camera, while +1EV means double.
Most high-end cameras have a feature to do this called exposure bracketing, though the exact implementation will vary between models. The camera I use automates 7 exposures at 2 EV steps (-6, -4, -2, 0, +2, +4, +6) which provides a very good range. If your camera does not support exposure bracketing, or the bracketing feature is limited (eg, 3 steps at 1EV is typical) you can also do the bracketing yourself by shooting in manual mode and changing the shutter speed and/or aperture to vary the exposure. You can get by with fewer bracketed shots, but may end up with banding artifacts or clipped highlights if you do not record enough range.
Capturing highlight detail is generally more important than shadow detail, so your darkest exposure should contain as much highlight information as it possibly can without clipping to white.
If your camera supports it, you should also shoot in RAW. Most modern cameras can capture somewhere in the range of 10-14 stops of dynamic range with RAW files, which is significantly more than they store in JPEG images. Be sure to shoot at the lowest/base ISO as well, to get the least amount of noise and the best dynamic range out of your camera.
PROTIP: Avoid shooting with auto or semi auto exposure modes, or with automatic white balance.
Resolution is also a concern, but less of an issue than you may think. The camera I use has a 16 megapixel sensor, which produces a final panoramic image of about 12x6k. We actually shrink the files from there, as 8,192×4,096 is the maximum resolution that Toolbag 2 can display before we start throwing data away (8x4K input = 6 2x2k cubemap faces). The source HDR files at 8x4K are about 100MB each, and the Toolbag 2 presets are about 200MB each, while the files required for processing can be about 6GB per set. So if you’re looking at a camera, 24 or 36 megapixels is likely overkill, and will be more of a hassle to process and store all the content, while 20-16MP or even 12MP will suffice for most purposes.
Gear and Recommendations
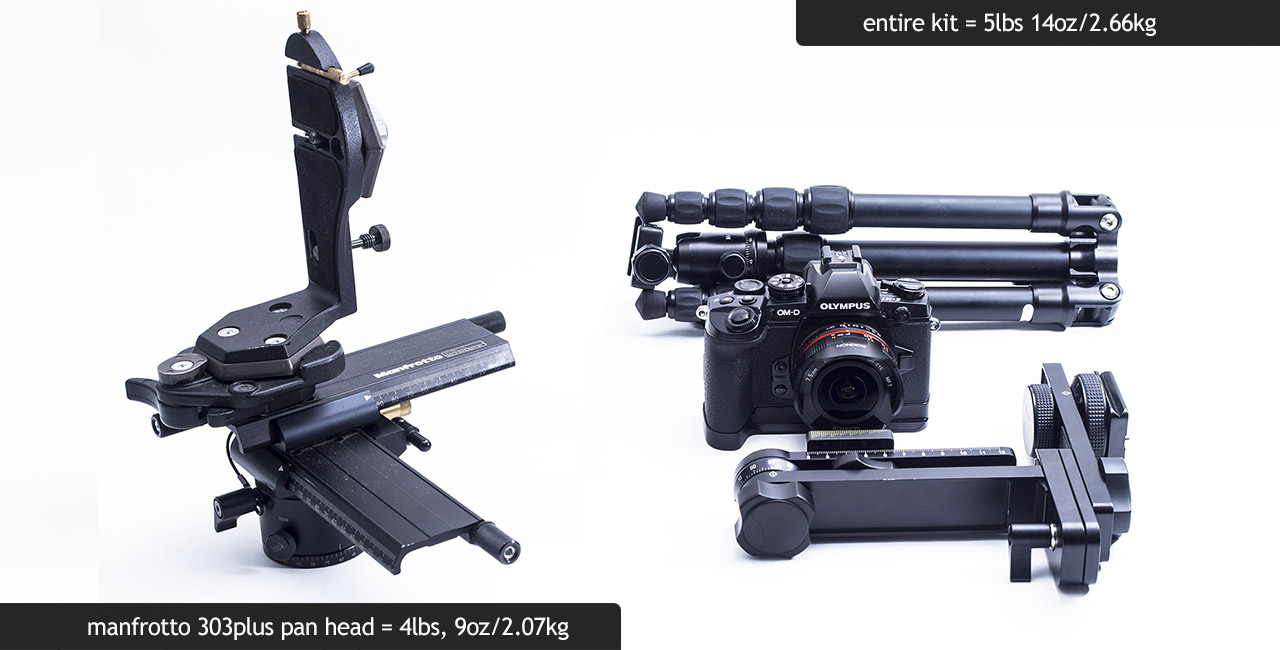
Previously we used a very large, heavy and complex setup to capture our HDR panoramas. Many of the skies that we used for Darkest of Days and which shipped with Toolbag 1 were created with this setup. We had a 12 megapixel Canon 1DS professional full frame DSLR camera body, a Sigma 8mm circular fisheye, a Manfrotto 303Plus Pano head, and a heavy duty set of Manfrotto legs. This system worked, but the camera is relatively ancient and over-complicated for our use. Worse yet, the combined weight of the setup made it impractical to transport and quickly set up. With an opportunity to start fresh, I replaced the dinosaur with a shiny new mirrorless setup. Here’s a rundown of the gear I use as well as some basic requirements and suggestions.
Camera:What I use: Olympus OM-D E-M1. This is a compact, light 16MP Micro Four Thirds format camera that is super fast in operation and features one of the best bracketing modes available. It can take a 7 shot burst, bracketed in 2 EV increments with a single shutter press, making it ideal for HDR captures. Required: A camera capable of setting exposure manually. Any DSLR or mirrorless interchangeable lens camera will work, a few high-end compacts would technically fit the requirements here, but the lenses attached to these are not nearly wide enough, so I would recommend something that can swap lenses at the bare minimum. Again a camera with a good bracketing mode is highly recommended. Lens:What I use: Samyang 7.5mm 3.5, which is a tiny, light and sharp manual focus fisheye lens. This is not a circular fisheye, which means you have to take a few more shots to get full coverage. I find with circular fisheye lenses you lose a lot of resolution in the corners/edges of the shots, so I like this type of lens better. Required: A wide angle lens. The wider your lens is, the better. A fisheye is highly recommended, an ultrawide zoom will do but you will need to take many more shots to get a full 360 panorama. |
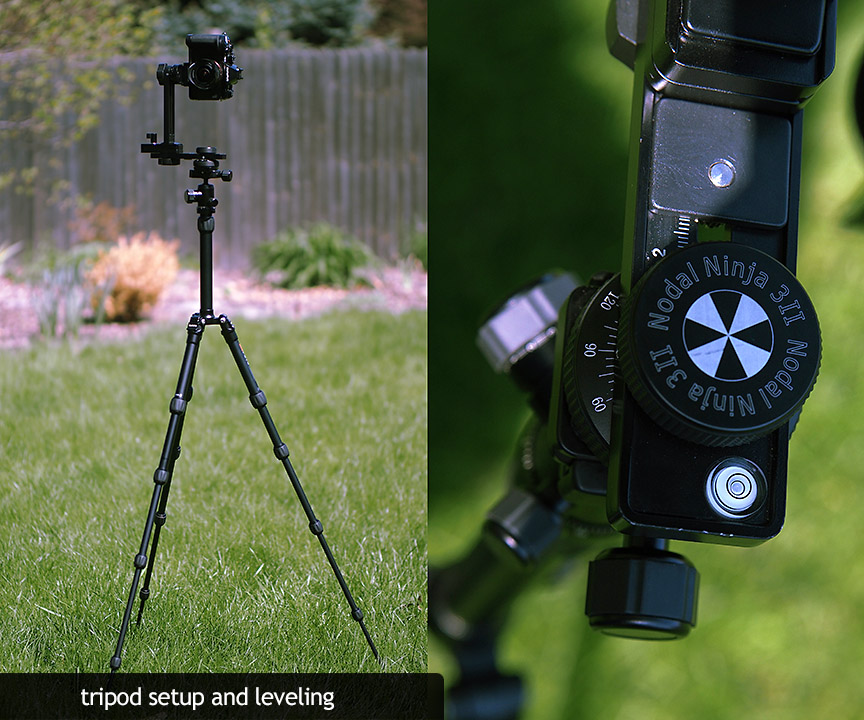
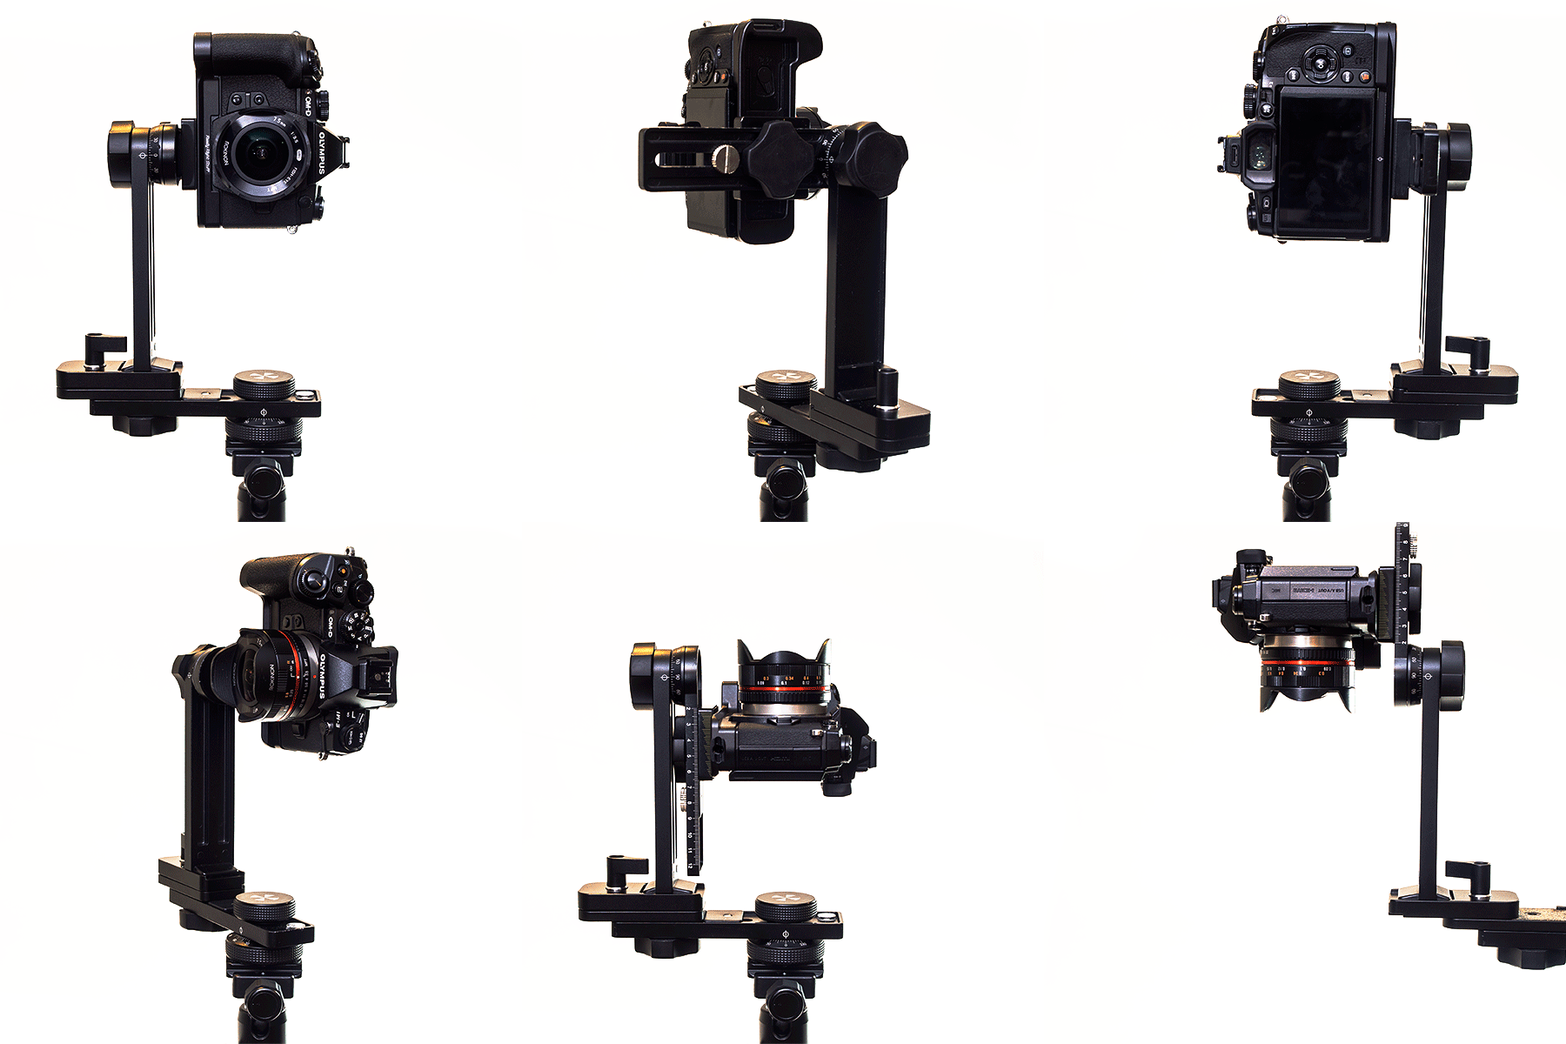
Tripod Head:What I use: Nodal Ninja 3 panoramic head, which is relatively lightweight and inexpensive. It also breaks down quickly which makes it ideal for travel. I use the Nadir Adapter too, which makes it easy to take a second bottom facing shot to mask out the tripod. This is not required, but makes for less work when processing. Required: A basic ball or pan/tilt tripod head will work for distant shooting, but you should really consider a 360 degree panoramic head for anything that has foreground detail, as it will be very hard to stitch/correct the parallax errors otherwise. Tripod Legs:What I use: MeFoto Backpacker, which is a light, yet sturdy tripod that extends quite far but also folds into a very compact form. Required: A sturdy tripod that will hold your gear steady without wobbling in the wind. The size of your camera will dictate how heavy duty your tripod needs to be. Shutter release:What I use: A very simple, $5 generic brand wired shutter release. Required: Anything that can trip the shutter without physically touching the camera. |
A large, professional DSLR and a heavy duty tripod might seem like a good idea, but after you’ve spent all day traveling around on foot you may regret taking a huge setup with you. However, if you can easily drive to the locations you plan to capture, size and weight are less of an issue.
Head Calibration
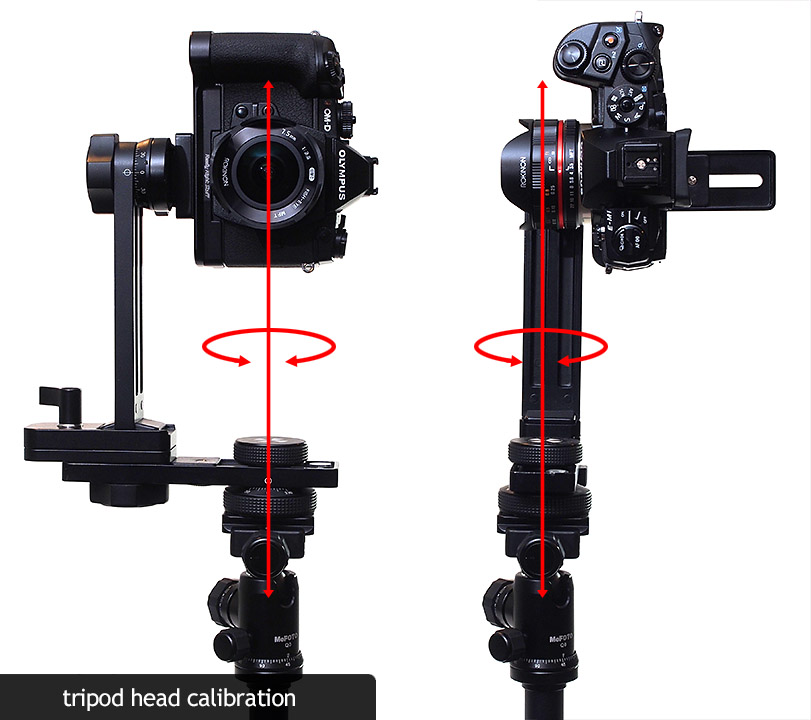
The common method to find the no-parallax point is to line up a near object, and a far object, and adjust the panoramic head position until you no longer see parallax as you rotate the head. Its a bit of an involved process, so I won’t go into detail here. Check out these tutorials instead:
Finding the No-Parallax Point, a video tutorial by Florian Knorn
Finding the No-Parallax Point, a written tutorial by John Houghton
Location and Light
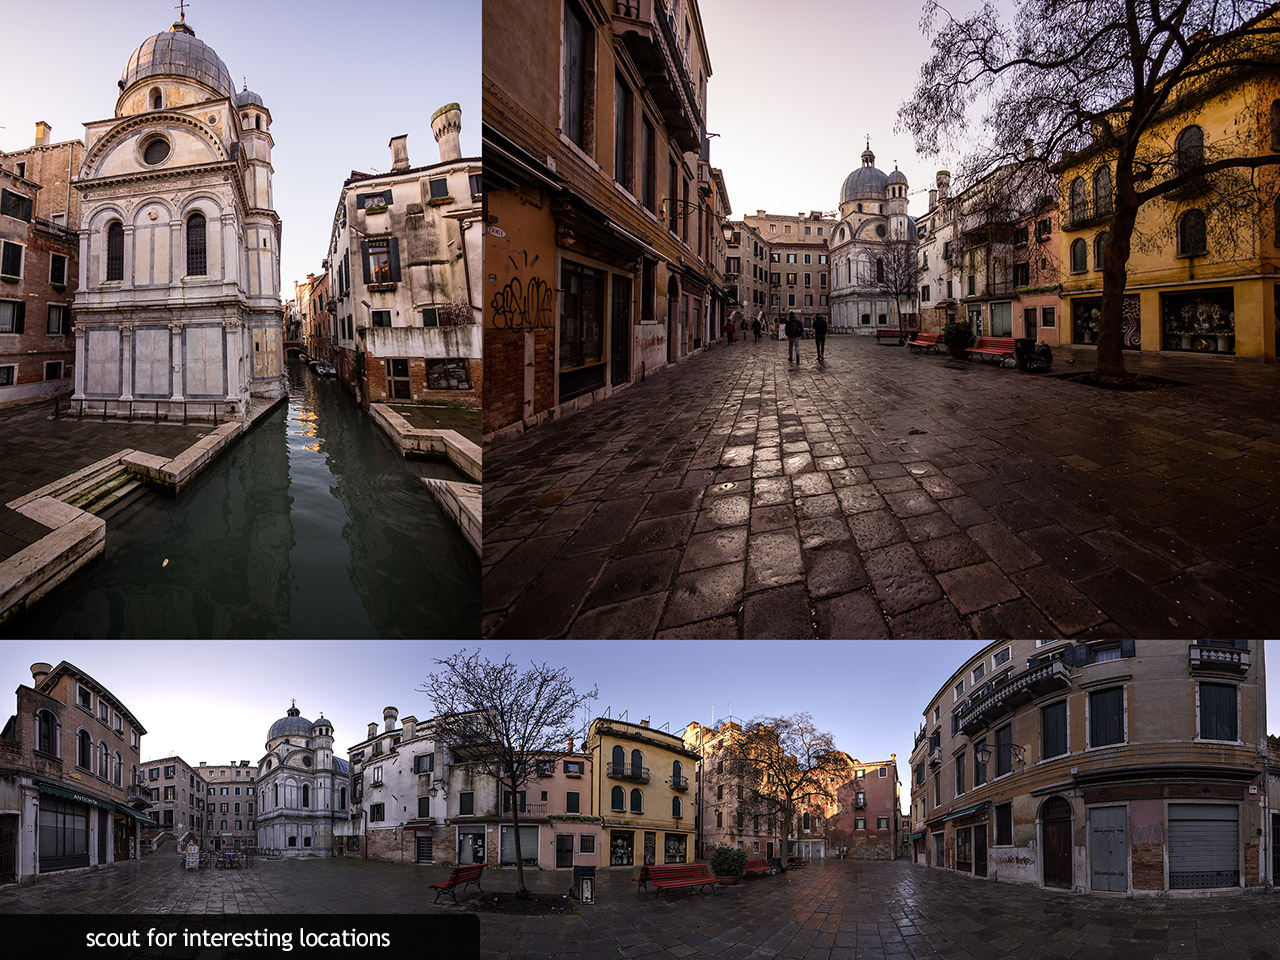
Now that we’ve got our gear, it’s time to go out find a cool place to capture. First things first, you need to find an interesting location. My basic theory is that if it would make a cool photo, it will make an interesting panorama.
Alternatively, if you’re trying to get a clear shot of sky and nothing else, find a location that is isolated, and as high up as you can get. An empty field on a hill in the middle of nowhere is generally a good place. The main things you want to avoid having in your shot are large trees, buildings, etc. You can always clone stamp them out later, but it will save you time if you can avoid it in the first place.
Interesting light can make or break a HDR panorama. Going out in the morning before dawn is a great way to capture the sunrise, and later in the evening to catch the sunset is also a very good idea. The golden hour, otherwise known as the hour after sunrise or the hour before sunset is usually the best time to go out, as you will get all sorts of interesting light, color, and detail in the sky. Cloudy mid-days can also make for great shots, as you can catch the sun shining through cloud formations.
You should avoid people, busy roads, and really anything that moves. Try to shoot on a day where the wind is very calm, otherwise movement from trees and foliage can be a real headache. Getting out in the middle of the night/very early morning is a great way to avoid crowds, and also makes for very compelling light.
Setting up
Once you find a location, take out your tripod, and mount the camera. Make sure to level the tripod as well, I use the built in level on the NN3 to do this.
After the tripod is set up, focus your lens. Generally you want to shoot at the hyperfocal distance to get the maximum depth of field, which on my camera is somewhere just short of infinity with the aperture set to 5.6. I prefer to use manual focus for this sort of work, even when using AF lenses.
DOFMaster has a great calculator that will tell you the hyperfocal distance for a given camera/lens combination.
How many shots?
Frank Van Der Pol made a handy field of view/panorama calculator. This calculator does not have options for M43 cameras such as the EM1, but you can enter in the sensor size manually (18mm x 13.5mm).
Capturing
Before I start shooting I stop and take a few test shots to make sure my exposure range is set up correctly. The exact exposure will vary depending on the lighting, and your exact camera/lens. Remember to check and make sure you’re capturing good range at each location, as changes in lighting may require you to adjust your exposure.
When you’re all set up and ready to take your first shot, let the camera/tripod rest for a few seconds, while standing very still. Most tripods will vibrate a little after you’ve adjusted the camera so you need to give it time to calm down. Now, take the shots. If your camera is like mine, you only need to press the release once. If yours requires a press for every exposure, be sure to count out the exposures and press the button for each. If you are setting exposure manually, be sure to set the exposures and the let the camera rest between each shot.
Once your first angle is done, rotate the tripod to the next point and repeat the process.
PROTIP: Make sure to stay out of the shot, its harder than you think when using a fisheye lens.
Processing
When you’re done taking the shots, you can transfer them to the computer and start processing, I like to copy the files to a second device like a USB hard drive as well, just to be safe.
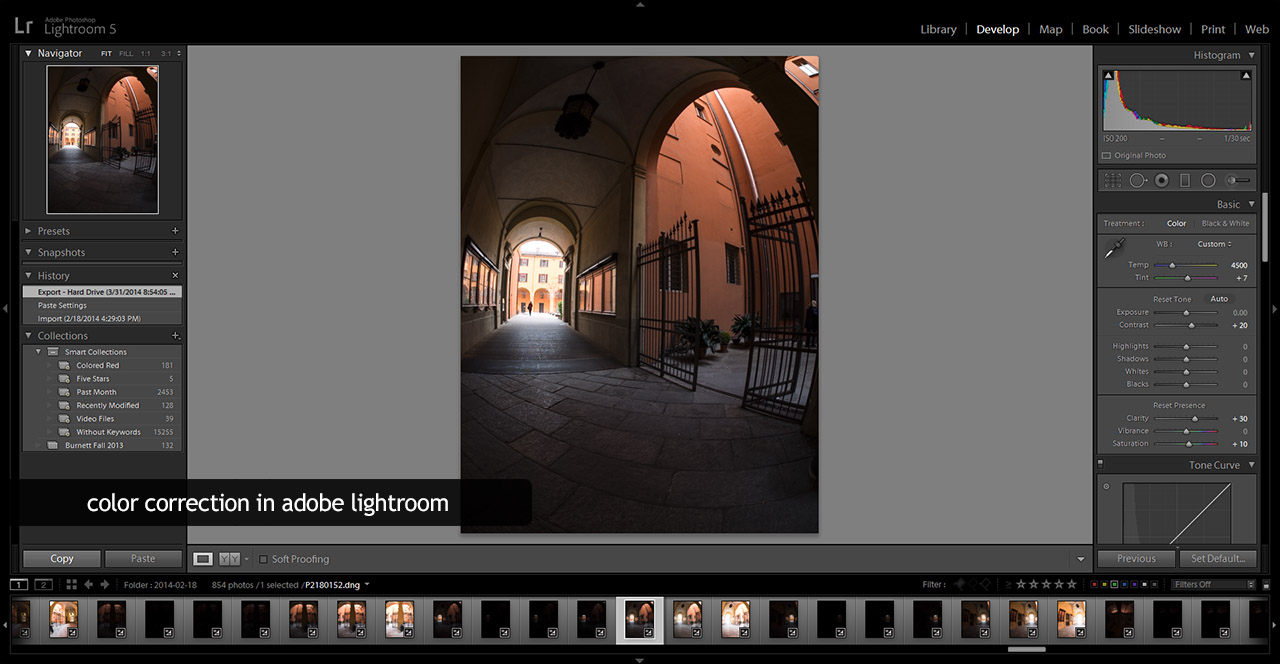
I do my initial processing in Adobe Lightroom, including white balance, contrast, clarity, etc. I usually pick a mid-range exposure and post process to my liking, and then copy the settings to the rest of the images to retain the exact same setting. When I’m done with that, I export each set of 7 images into a new folder as 16-bit TIFF files.
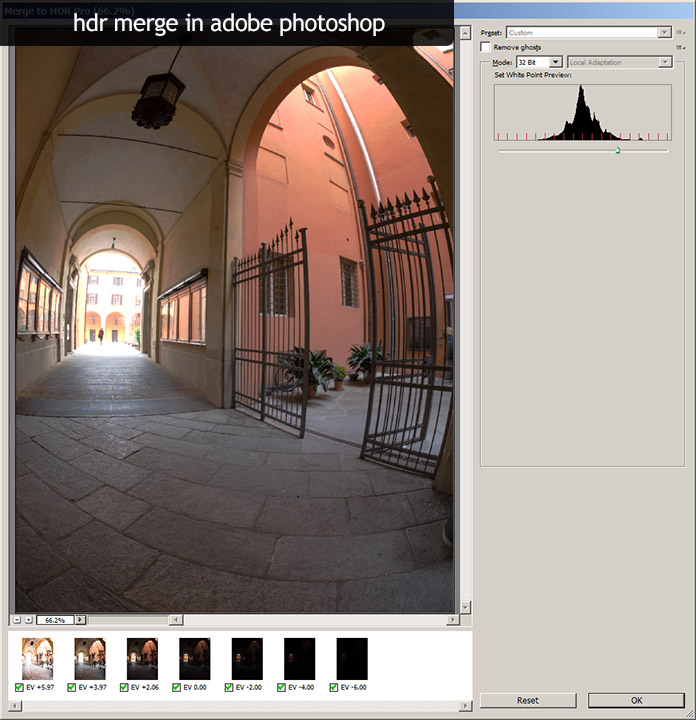
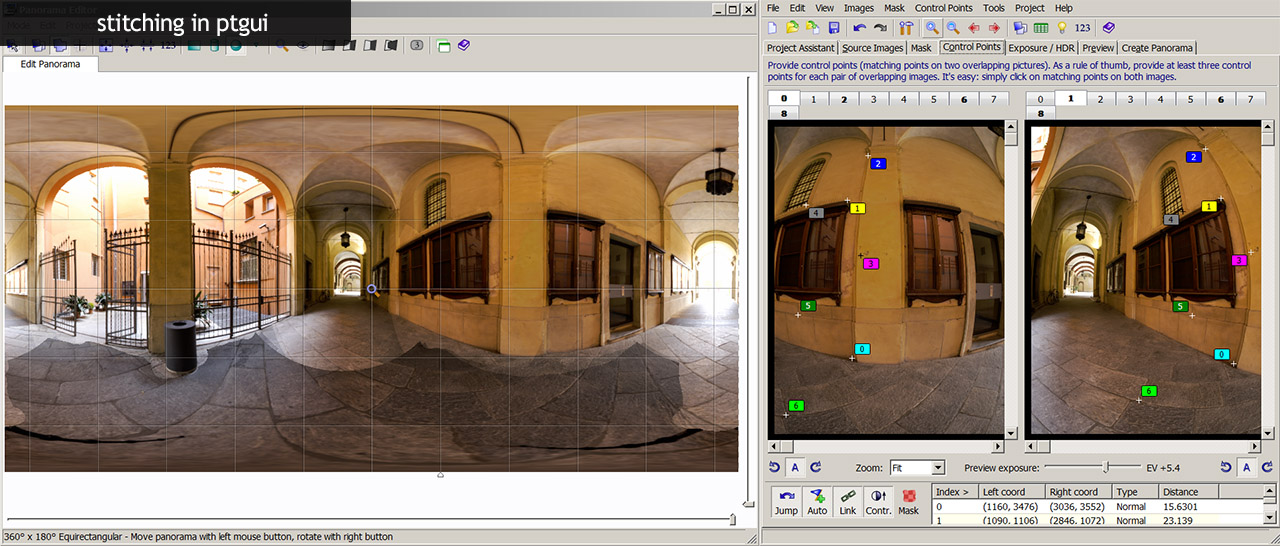
Once all of the files are HDR merged, its time to import everything into PTGui. PTGui is the best stitching tool that I’ve used, mainly because it supports importing and exporting of HDR images. It also has a very smart and flexible stitching workflow.
Often times the auto stitching works very well and you will only need to make some minor tweaks or adjustments. However, sometimes the auto stitching will fail and you will need to create points on every image for the software to match up, which can be a little time consuming. After your stitching points are set up you will want to mask out the tripod, yourself, and sometimes the edges of certain sets.
There are a couple things you can do to improve the auto-stitching result. The first step is make sure your image is well exposed, if your images appear dark when you load them into PTGui, go back to photoshop and adjust the exposure (image->exposure) a couple stops (2.0) or so. This generally solves the issue for me, however you can also tone-map the shots by converting to 8-bit in Photoshop or Photomatix Pro to compress the tonal range, and then batch process the HDR files after running the auto stitch.
When you’re happy with the result, export the full resolution HDR file. Here are some advanced tutorials for stitching in PTGui:
Stitching HDR Panoramas with PTGui video tutorial from HDRPhotographyPro
PTGui Tutorial video tutorial Part 1, and Part 2, by PTGui
When I’m happy with the final stitched HDR image, I bring it back to photoshop to clone stamp out any remaining weirdness, resize to 8192×4096, and do a little unsharp mask if necessary.
Importing into Toolbag 2
At this point I like to check and see how well the HDR pano works in Toolbag, so I will load it up by hitting the image button in the sky object properties. When your pano is loaded up, make sure to check that the horizon line is straight, there are a variety of tools to tweak the pano in PTGui, so if something looks wonky, go back to PTGui and adjust it.
Save a preset in Toolbag by hitting the presets button in the sky object properties to open the sky browser, and then hit save as to save a .tbsky file.
PROTIP: Save your preset to /data/sky/ and your sky will load into the sky browser automatically (hit refresh for it to appear the first time).
Importing into Skyshop
If you want to use your panorama in Skyshop, the first thing you will need to do is resize the file to 4096×2048. Any larger and Unity will freeze when it tries to import. Once resized, copy the file into your unity project, and then drag it into the input panorama slot in Skyshop, and then process as usual.
Conclusion
So that’s the process; it may seem overly technical, but once you get the workflow down its actually quite a lot of fun. The basic procedure outlined here can be followed to create HDR panoramas for various other 3d rendering applications and game engines as well.
Be sure to check out the rest of the Northern Italy set.
Resources
- Dynamic Range – Wikipedia
- Exposure Value – Wikipedia
- Exposure Bracketing – Wikipedia
- Raw Format – Wikipedia
- No-Parallax Point – Panotools.org
- Finding the No-Parallax Point – a video tutorial by Florian Knorn
- Finding the No-Parallax Point – a written tutorial by John Houghton
- The Golden Hour – Wikipedia
- Hyperfocal Distance – Wikipedia
- Depth of Field Calculator – DOFMaster
- Field of View/Panorama Calculator – Frank Van Der Pol
- Stitching HDR Panoramas with PTGui – a video tutorial from HDRPhotographyPro
- PTGui Tutorial video tutorial Part 1, and Part 2 – PTGui
- HDRLabs – many resources

