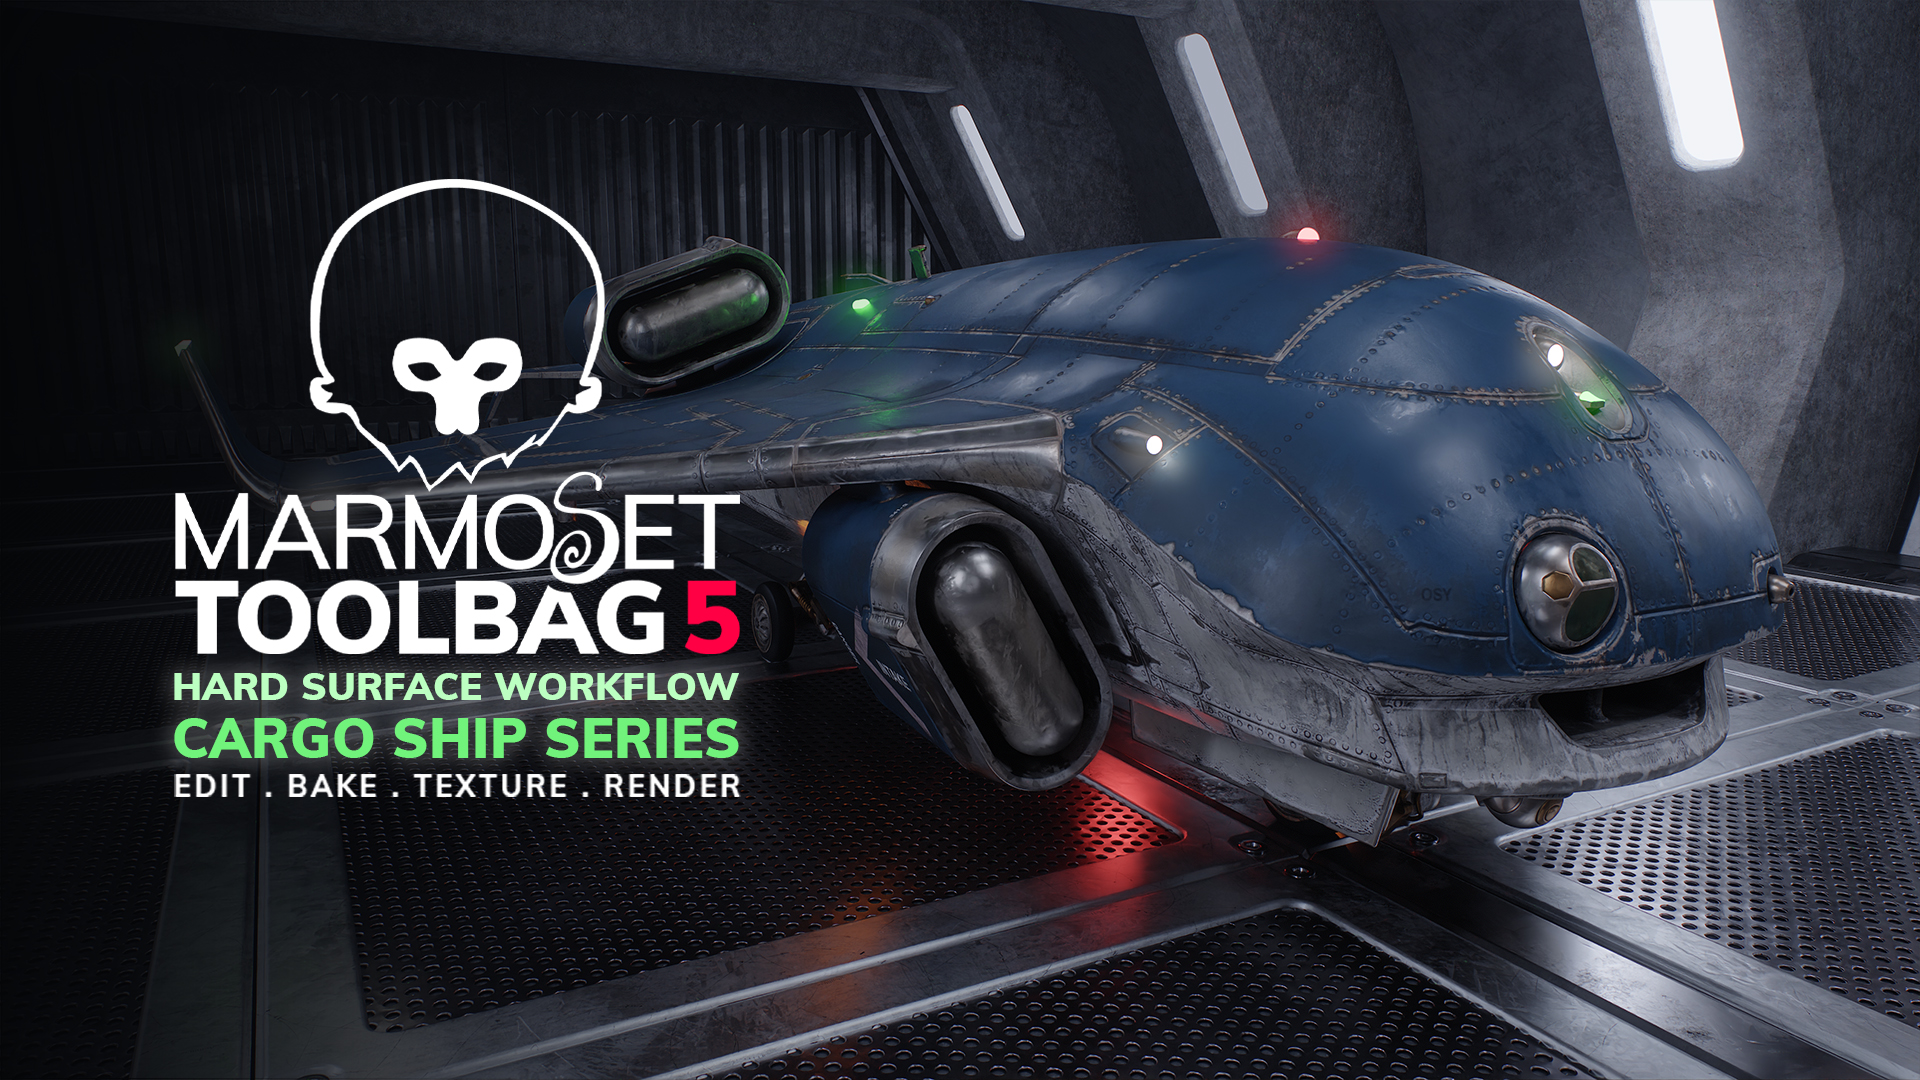
Welcome to our 6-part tutorial series on baking, texturing, and rendering a 3D hard surface asset in Marmoset Toolbag. In this series, you’ll learn how to streamline your workflow and reduce software-hopping by handling most of your 3D content creation directly in Toolbag.
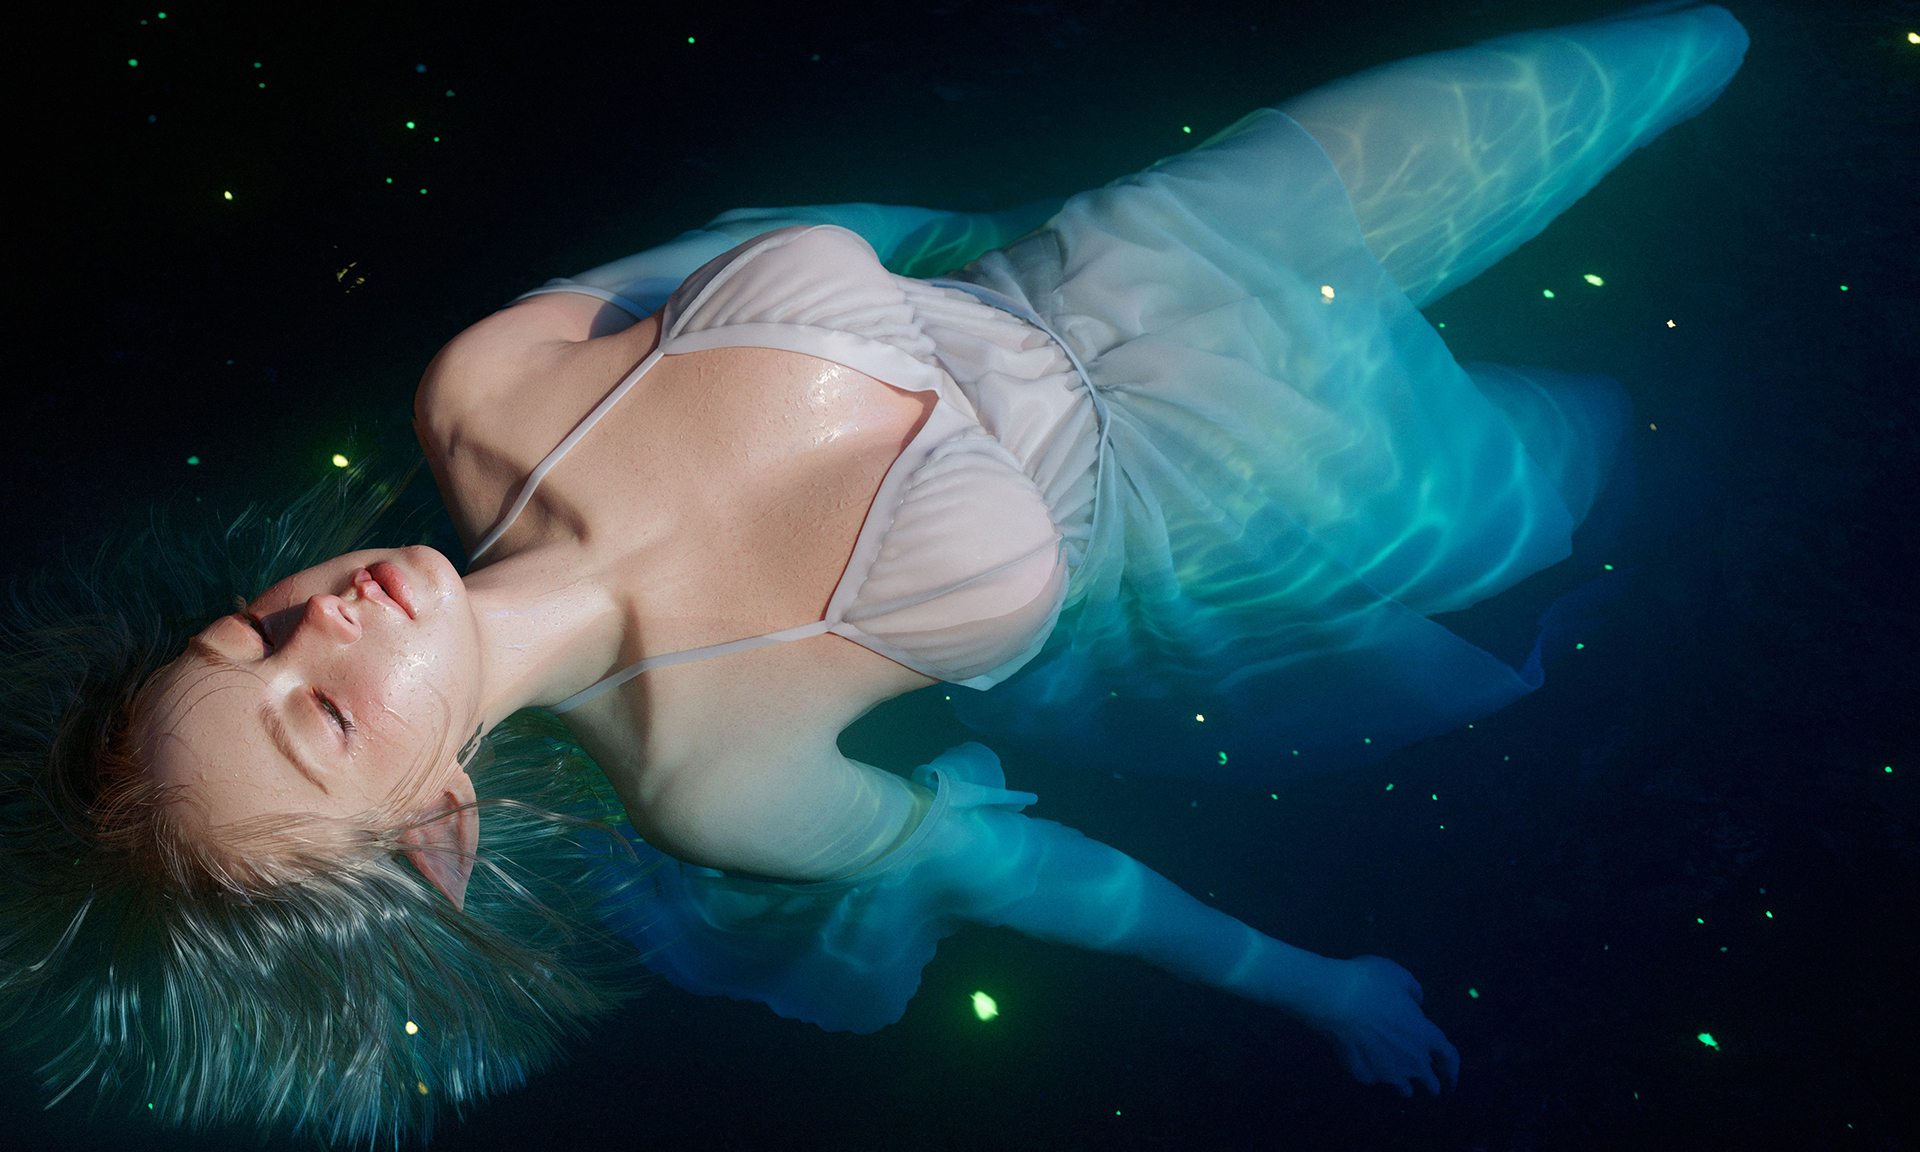
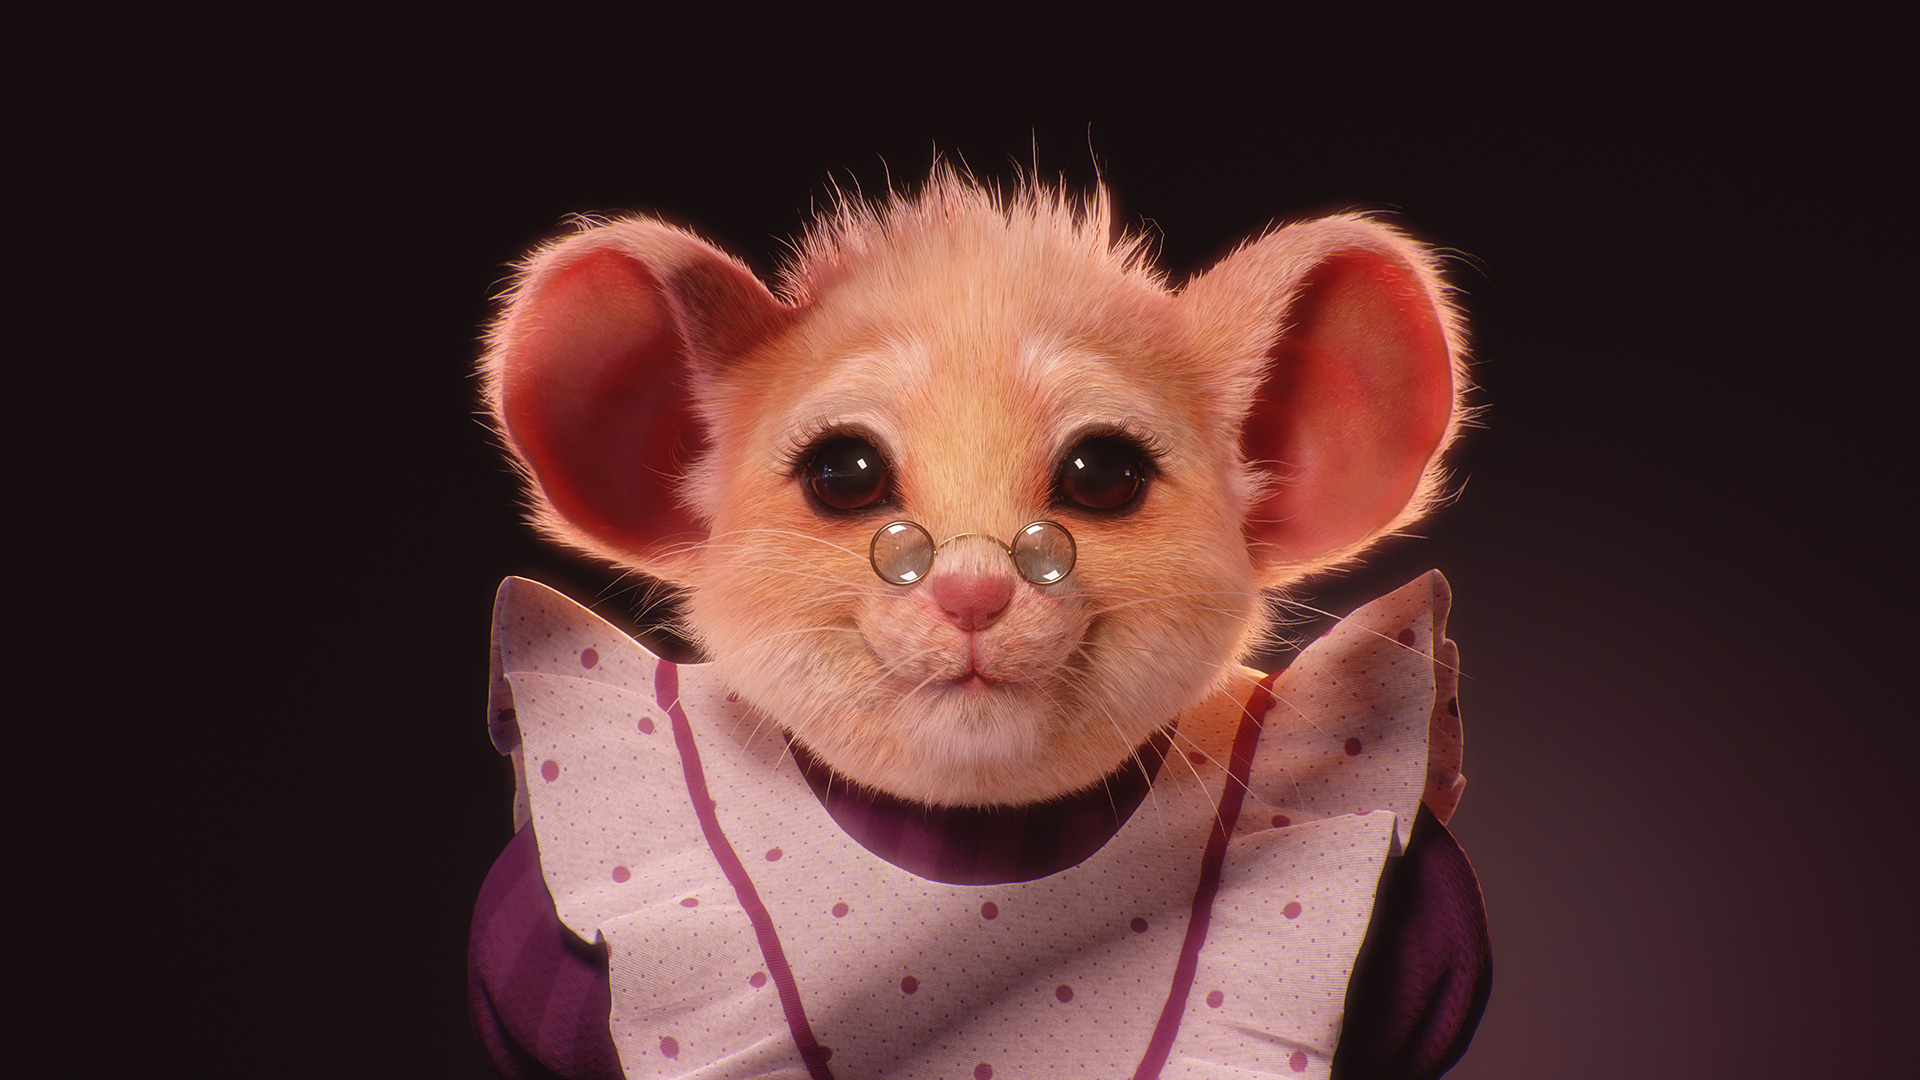
This series is perfect for video game artists and any 3D artist looking to master Marmoset Toolbag’s all-in-one 3D baking, painting, and ray-traced rendering features.
Pt. 1: Bevel Baking & Shading a 3D Model
In Part 1, we cover speeding up your modeling workflow by smoothing hard surface details using Toolbag’s Bevel Shader and touching on CAD-friendly workflows in popular software like Plasticity. We’ll also dive into how to bake bevels into game-ready normal maps and optimizing your Bake Project setup via the Quick Loader.
Chapter Breakdown:
- 0:00 – Introduction
- 0:50 – Bevel Shading Basics
- 1:24 – Plasticity to Toolbag
- 1:58 – Bake Project Setup
- 2:58 – Enabling the Bevel Shader
- 4:14 – Applying Various Bevel Sizes
- 5:30 – Adjusting Bevels via Vertex Colors
- 6:30 – Adjusting Bevels via Material Layers
- 7:26 – Bevel Baking
- 9:05 – Outro
Pt. 2: Painting 3D Details with Vector Layers
Part 2 covers how to texture mechanical and repetitive details on your low poly mesh using Toolbag’s game-changing Vector Layers. What was once a tedious modeling task is now a meditative 3D painting process. Draw surface detail non-destructively using lines, shapes, and organic brushes, and even perform Boolean operations with ease.
Chapter Breakdown:
- 0:00 – Introduction
- 1:20 – Drawing Panel Lines with Vector Layers
- 2:28 – Enabling Symmetry
- 3:46 – Editing Vector Profiles
- 5:27 – Disabling Symmetry on Individual Vector Layers
- 6:17 – Vector Layers Organization
- 7:28 – Drawing Rivet Details
- 9:32 – Drawing Panels with Shape Vectors
- 11:39 – Detailing with Radial Symmetry
- 13:53 – Outro
Pt. 3: Texturing Wear & Tear with Toolbag’s Carve Groups
Part 3 guides you through texturing the cargo ship using advanced, time-saving Texture Project features: Carve Groups & Sync Points. Add weathering by blending multiple layers using a single height-style blend mask with Carve Groups, and use Sync Points to automatically generate input map data from the vector layers added in the previous episode.
Chapter Breakdown:
- 0:00 – Introduction
- 0:48 – Sync Points Introduction
- 3:02 – What Are Carve Groups?
- 3:44 – Carve Group Setup
- 6:09 – Tarnished Metal Carve Group
- 8:55 – Carve Groups with Smart Masks
- 14:34 – Outro
Pt. 4: Advanced Layering & Material Creation
Part 4 explores advanced layer masking techniques, demonstrating infinite possibilities with Toolbag’s unrestricted layering hierarchy. We’ll dive deeper into creating complex weathered textures with Carve Groups, Processor and Procedural layers, and the assets available in the Toolbag Library.
Chapter Breakdown:
- 0:00 – Introduction
- 0:30 – Carve Group Color ID Masking
- 2:58 – Wear & Tear Mask Effects with Carve Groups
- 6:46 – Creating Directional Gradient Masks
- 8:25 – Edge Curvature Masking
- 10:28 – Setting Up Final Materials Colors
- 11:33 – Outro
Pt. 5: Texturing Grime, Decals & Adding Effects
Part 5 covers the final texturing stages of dirt masking, various methods of adding text decals, and creating transparent materials and localized lighting sources with the emissive shader.
Chapter Breakdown:
- 0:00 – Introduction
- 0:35 – Using Stencils to Add Decals
- 1:06 – Adding Decals Using Planar UV Layers
- 3:03 – Adding Decals Using Vector Layers
- 6:39 – Creating Dirt with Procedural Layers
- 8:18 – Creating Dirt with Procedural Layers
- 9:03 – Painting Grime
- 10:50 – Creating a Burnt Chrome Effect with Gradients
- 12:33 – Final Materials Setup
- 14:04 – Making Emissive Materials
- 15:00 – Outro
Pt. 6: Animated 3D Renders & Fire Effects
The final part of this series takes you through the crucial stages of professionally presenting your asset with Toolbag’s ray-traced rendering and lighting system, animating layered materials to achieve a dynamic fire effect, and creating stunning camera animations.
Chapter Breakdown:
- 0:00 – Introduction
- 0:32 – Setting Up a Render Scene
- 2:15 – Creating a Fire Effect with Material Layers
- 4:48 – Animating the Fire
- 6:28 – Lighting Setup
- 9:31 – Setting Up Camera Targets
- 10:36 – Animating Camera Objects
- 10:50 – Creating a Burnt Chrome Effect with Gradients
- 12:17 – Final Render Setup
- 13:10 – Outro
Thanks for watching! If this tutorial series helped you, consider subscribing to our YouTube channel to get notified about more Toolbag tutorials, tips, and deep dives. Check out our Resources section for more Toolbag tutorials and breakdowns.


