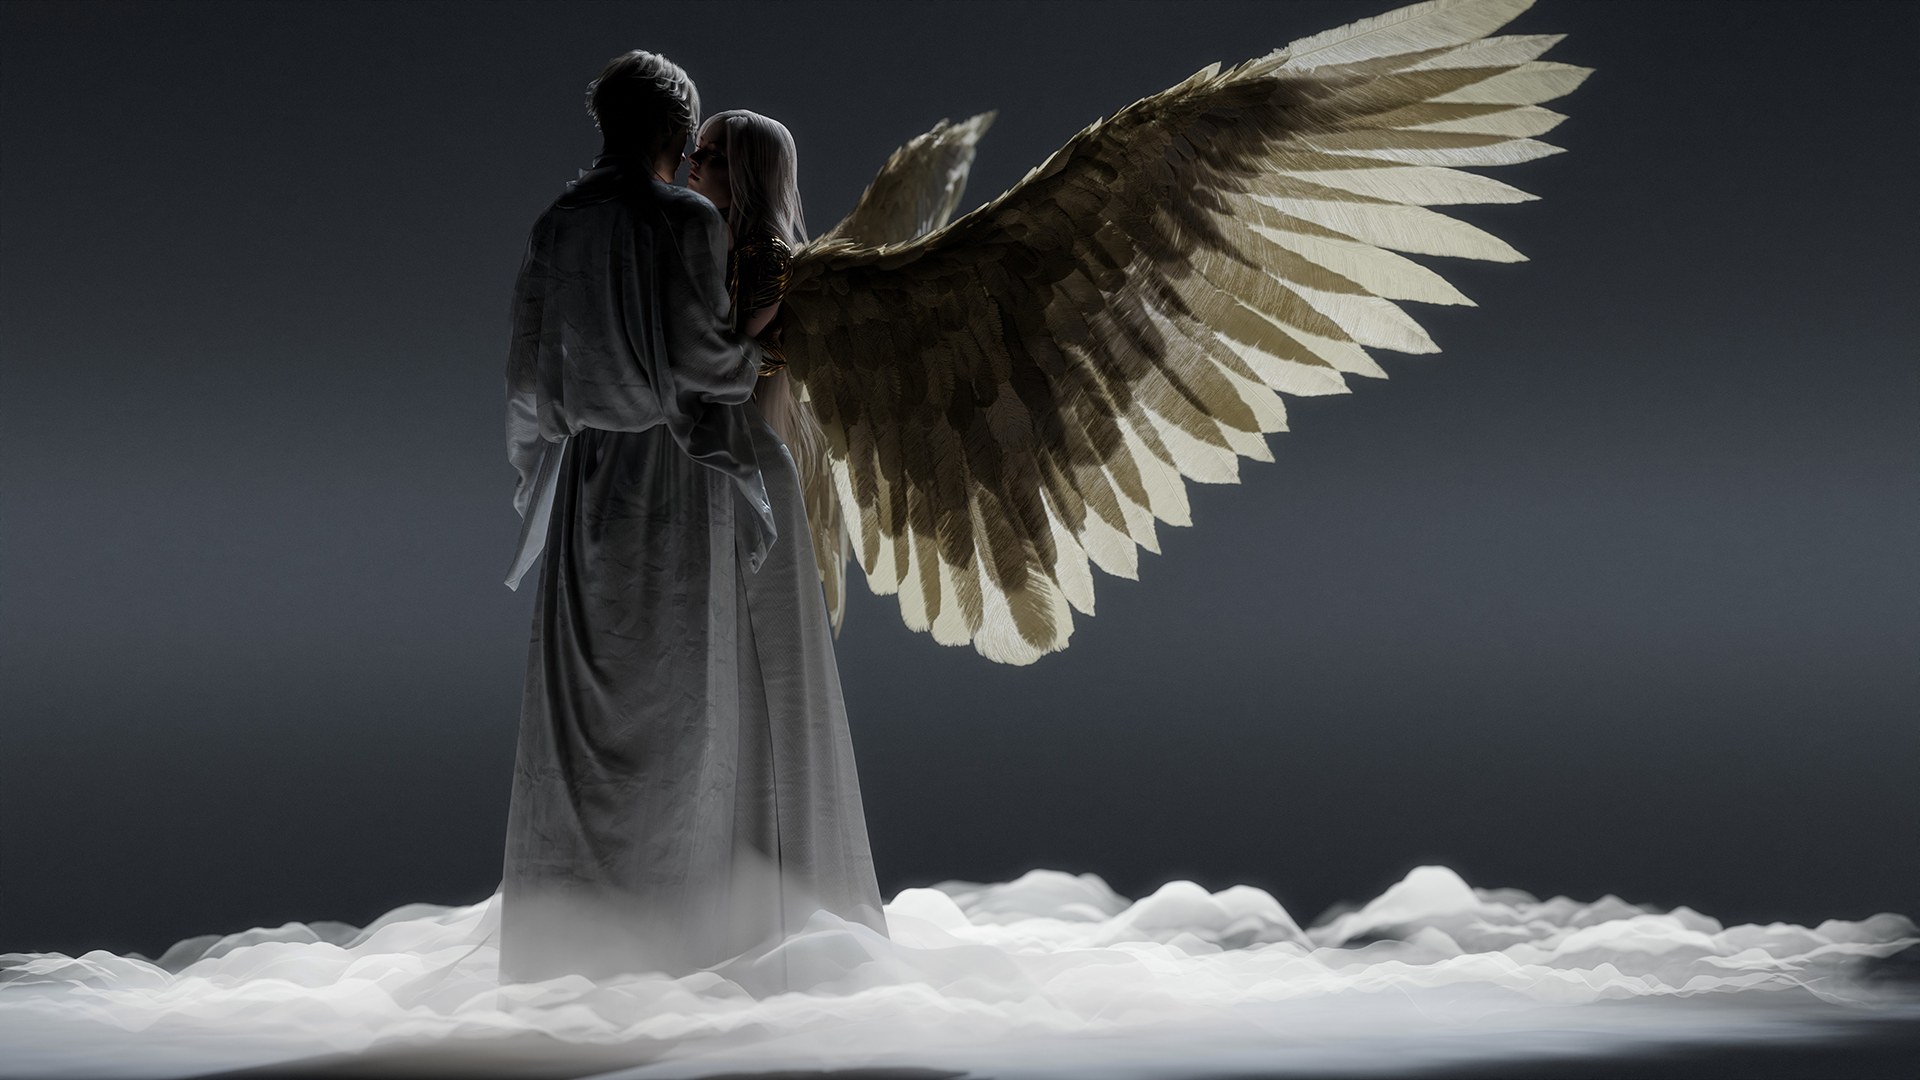
Art by Seungmin Kim
Article by Joe Wilson
Photography Principles
Creating compelling portfolio renders and presentations requires more than good materials and lighting. A solid understanding of cinematic concepts can go a long way toward conveying your artwork’s story and intent.
Marmoset Toolbag’s camera system is designed to closely match real-world camera controls, giving you the same creative freedom used in film and photography. This article will discuss Marmoset Toolbag’s physical camera controls, how they relate to your 3D renders, and how you can use traditional framing and composition techniques to create more professional, filmic renders.
Table of Contents
Focal Length and Perspective Compression
It’s important to understand how the camera’s angle of view, expressed in both Field of View (°) and Focal Length (mm) in Toolbag, affects your renders.
Focal length, measured in millimeters (mm), is more commonly used when discussing film and photography techniques, so I’ll stick to those terms throughout the article. We’ll be talking about focal length in 35mm film (full frame) terms. In Toolbag, you can type the focal length into your camera’s Lens settings to see how that converts to Field of View. And if you’re familiar with a different film/sensor format, you may need to convert the crop factor to find the equivalent focal length setting for the lenses you have used.
Art by Volodymyr Silkin, Animation & Rigging by Vitaly Prisyazhny
The field of view or focal length of the lens, and the distance between the camera and the subject, determine how stretched or flat your subject will look. A lens with a longer Focal Length (a higher number in mm) placed farther from the subject will compress the perspective. A compressed perspective tends to produce a more natural or flattering image, especially for human subjects.
Perspective compression refers to how the subject’s features are rendered as well as how the subject is presented in relation to the background. If you focus on the background of the video below, you’ll see that a longer lens shows less of the background, which can help to isolate the subject from the background.
To keep the subject framed at roughly the same size, the lens is moved further back as the focal length is increased. It’s worth reiterating that perspective distortion can be controlled by both the placement of the camera and the choice of focal length, not one or the other.
A lens meant for portraiture is typically in the 85-135mm range. Though this depends on how you’re framing your subject. We can break this down into more specific categories:
- 135mm and longer – Tight headshots.
- 85mm – Head and shoulders.
- 50mm – Half body.
- 35mm – Full body.
- 24mm and wider – Group shots or portraits that provide more environmental context, where the subject doesn’t fill the majority of the frame.
If you have multiple cameras with different types of shots in your scene, consider using different focal lengths based on how tight the framing is for each camera. If you want to maintain a compressed perspective for close-up shots, consider increasing the focal length, rather than moving the camera closer to the subject.

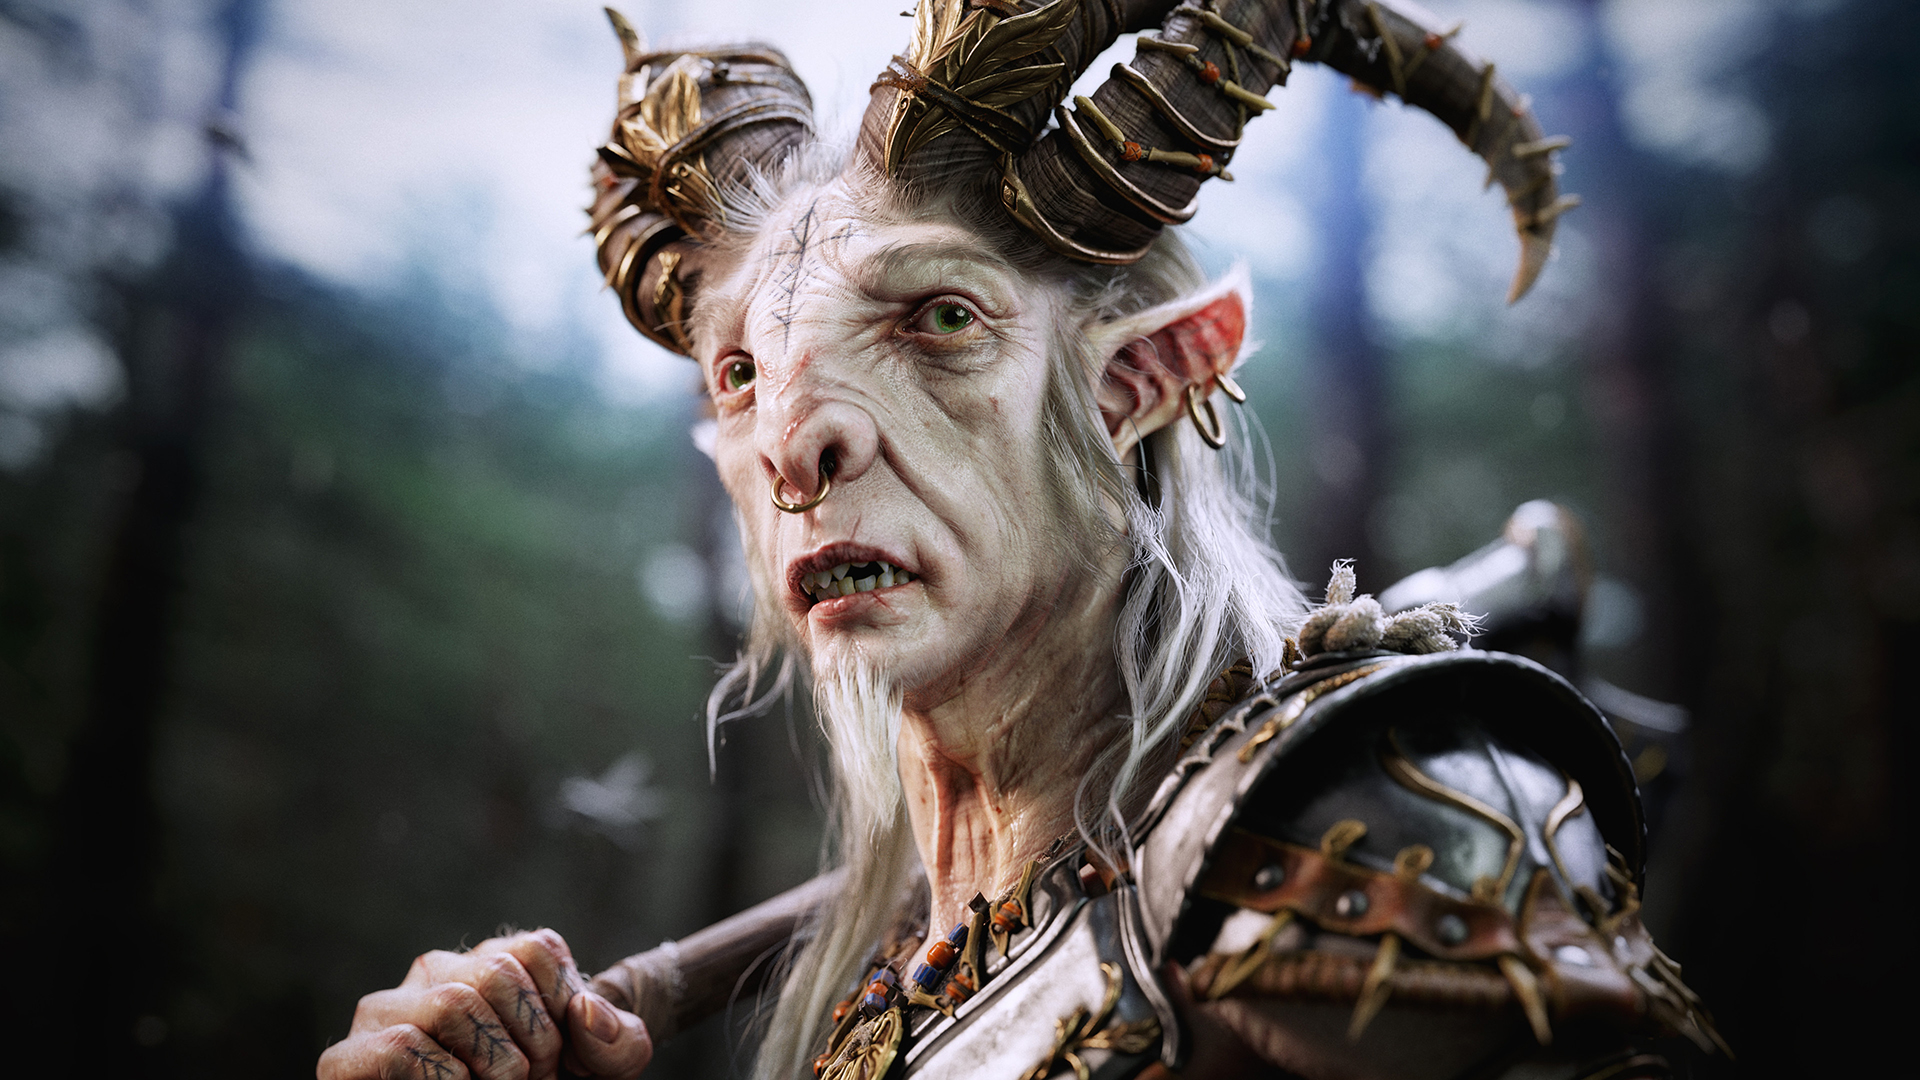
Art by Blair Armitage
Once you have a good understanding of how the camera’s distance to the subject and focal length affect perspective, you can deliberately manipulate it for artistic effect. For example, if you have a sharply angled character in a dynamic pose, you can use a wider focal length to exaggerate their features, creating a more intense feeling of depth. This technique is often used in fashion photography to create an edgy vibe.
Using a wider lens can create a more aggressive feeling when presenting intimidating characters as well. Don’t be afraid to experiment with settings that fall outside of the recommendations in this article.
Depth of Field and Subject Isolation
Depth of Field allows you to blur the background, which is a great way to isolate your subject or draw attention to a particular element in close-up shots.
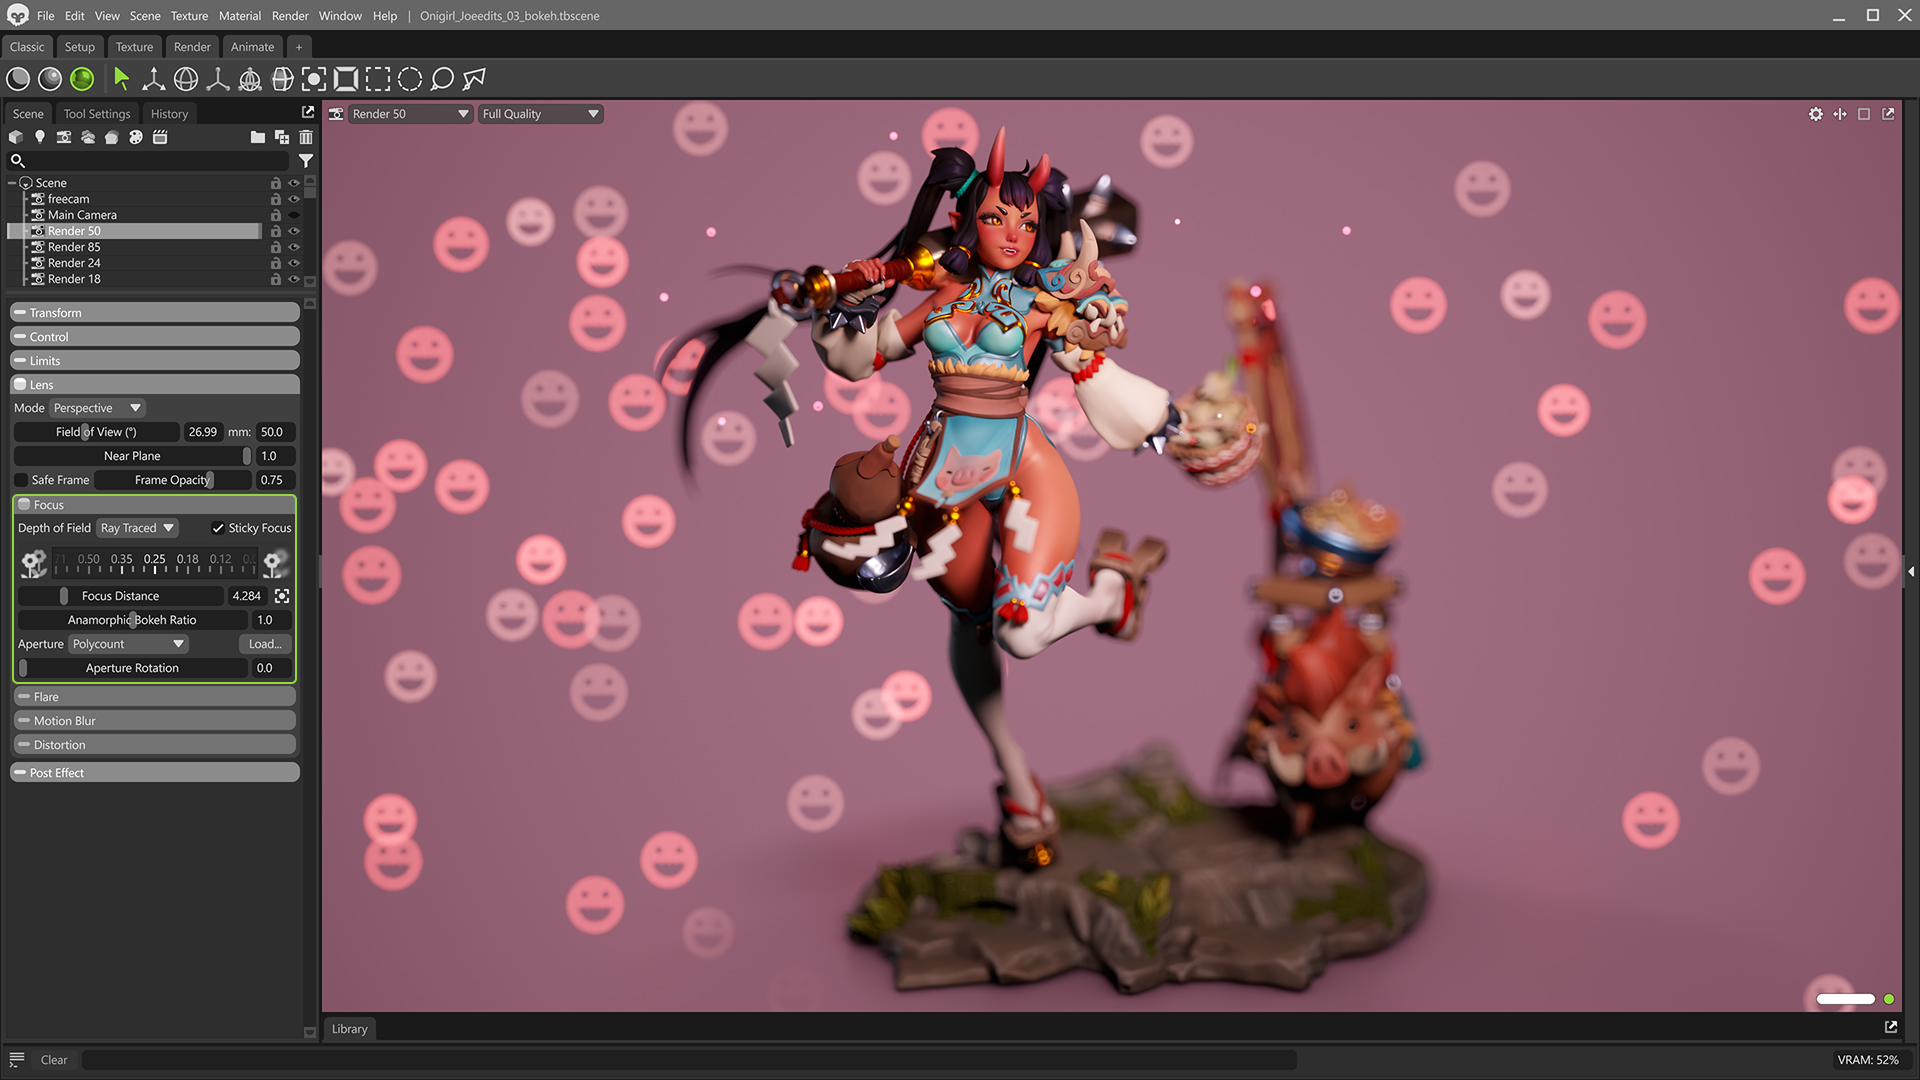
The Depth of Field settings control where the camera is focused and how blurry elements in front of and behind the focal point appear. The Aperture setting controls the amount of blur, with lower numbers producing more blur and higher numbers less blur.
You can animate the focus point to emphasize different areas or draw the viewer’s attention to different places. To do this in Toolbag, select your camera, open the Timeline window (Window -> Timeline) on your workspace, click the Autokey button, then set the camera’s focus point at different points throughout the timeline. In film, this effect is called a focus pull.
You can middle-click in the viewport to set the focus point. Your subject’s nearest eye is usually a good place to focus. You can also use the Focus Tool to click on the mesh or drag the mouse over it to set the focal point.
Tip: Turn on Sticky Focus to maintain your focus point as you move the camera.
You can also customize the Bokeh or shape of the blurred region. Toolbag ships with a variety of preset shapes that mimic camera lenses with different numbers of aperture blades, and you can load your own custom bokeh shape as well.
Troubleshooting Depth of Field
Toolbag’s DoF system mimics a physical camera, so the aperture settings that you’re familiar with from your real-world camera should produce similar results. If the Aperture values produce unexpected levels of blur, it could indicate that your scene units are not configured correctly. To check, click the gear button in the viewport and enable Show Scale Reference.
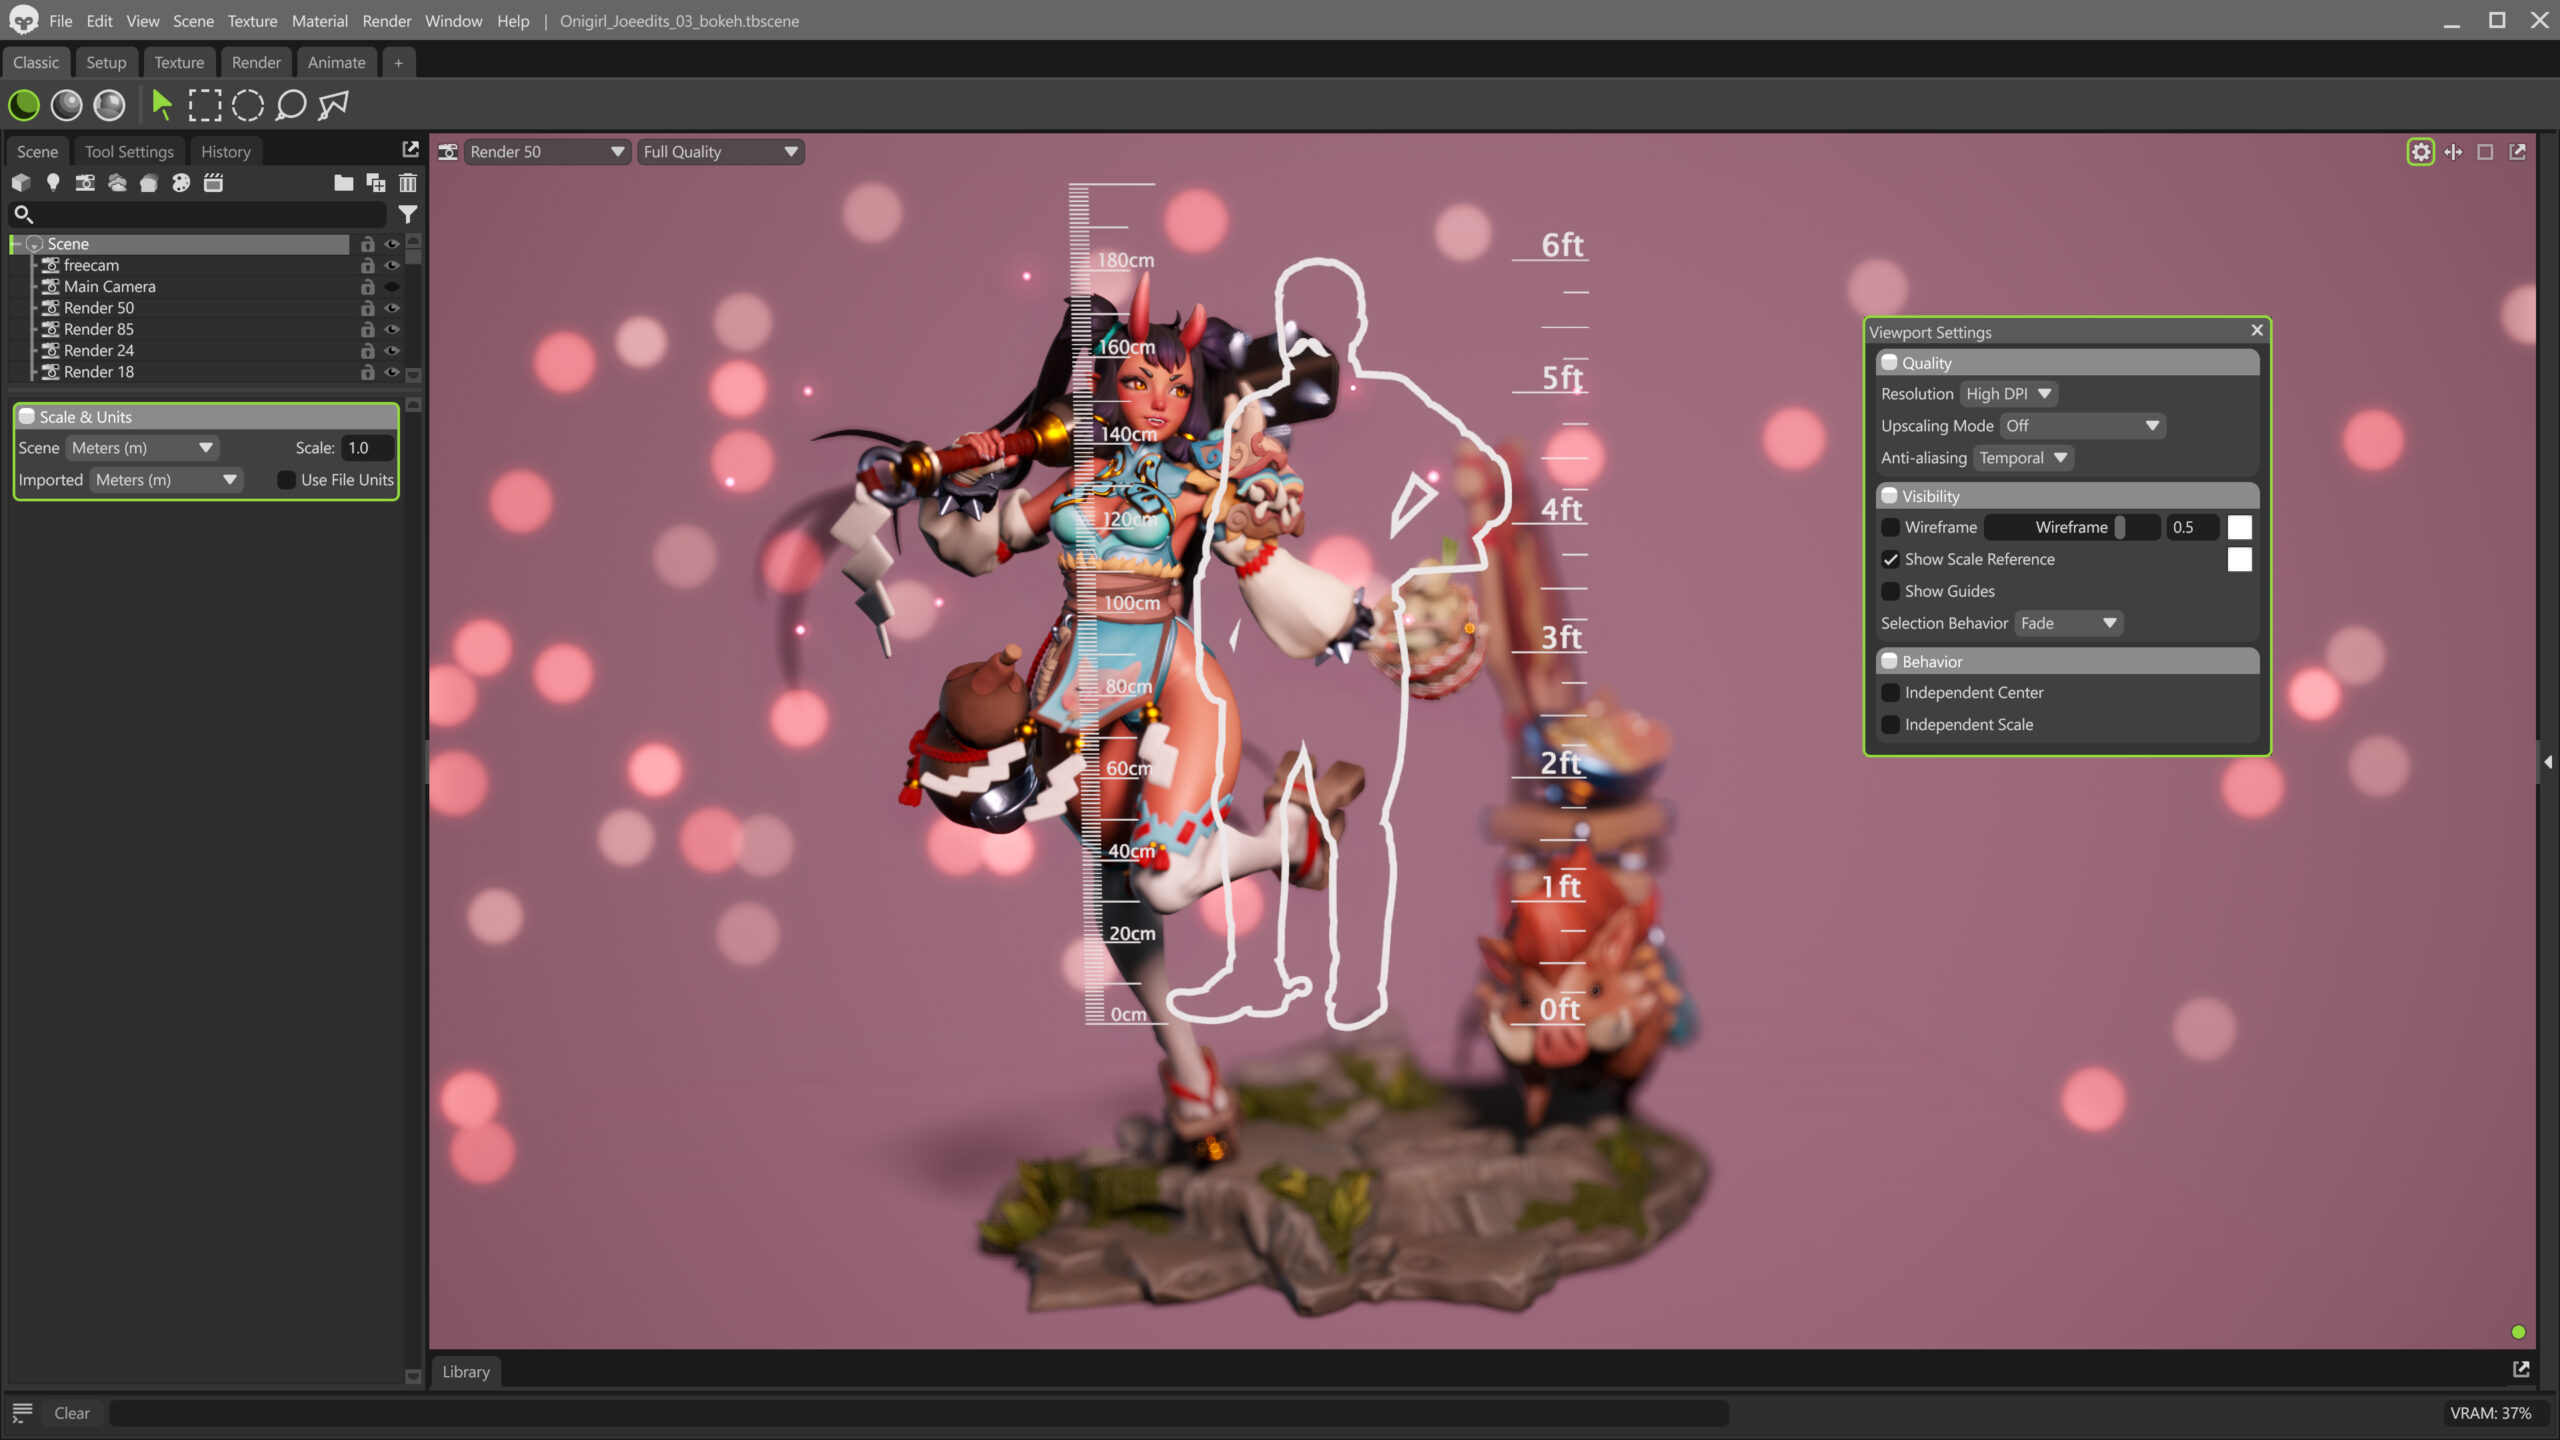
If you don’t immediately see the scale guide or if it is very large, go to the Scene object in the Scene window and adjust the Imported scene units setting to match your 3D application. Some applications apply a scale factor during export, so you may need to adjust that as well.
Shutter Speed and Motion Blur
If you’re rendering a turntable or have an animated scene, you can use Motion Blur to provide a smoother, more appealing sense of motion.

Art by Jake Woodruff
The Shutter Speed dial controls the amount of motion blur. Faster shutter speeds (higher numbers) produce less blur, while slower speeds produce more.
We can employ the 180° rule or use a shutter speed twice our frame rate to produce natural-looking blur. For example, if you’re rendering a 30 FPS video, try 1/60 shutter speed; for 60 FPS, use 1/125. You can experiment with different speeds as well. Higher speeds are typically used for fast motion, while lower speeds produce a stylized effect that can mimic the sensation of being drunk.
Motion blur can be used for still renders as well. For example, you can keyframe a light or a mesh with an emissive material and use a very slow shutter speed to mimic light painting or long-exposure photography techniques.

Art by Jack Miles
Framing and Composition
Now that we understand how lens choices affect our presentation, let’s discuss different ways to position the camera and how they can emphasize the characteristics of your scene.
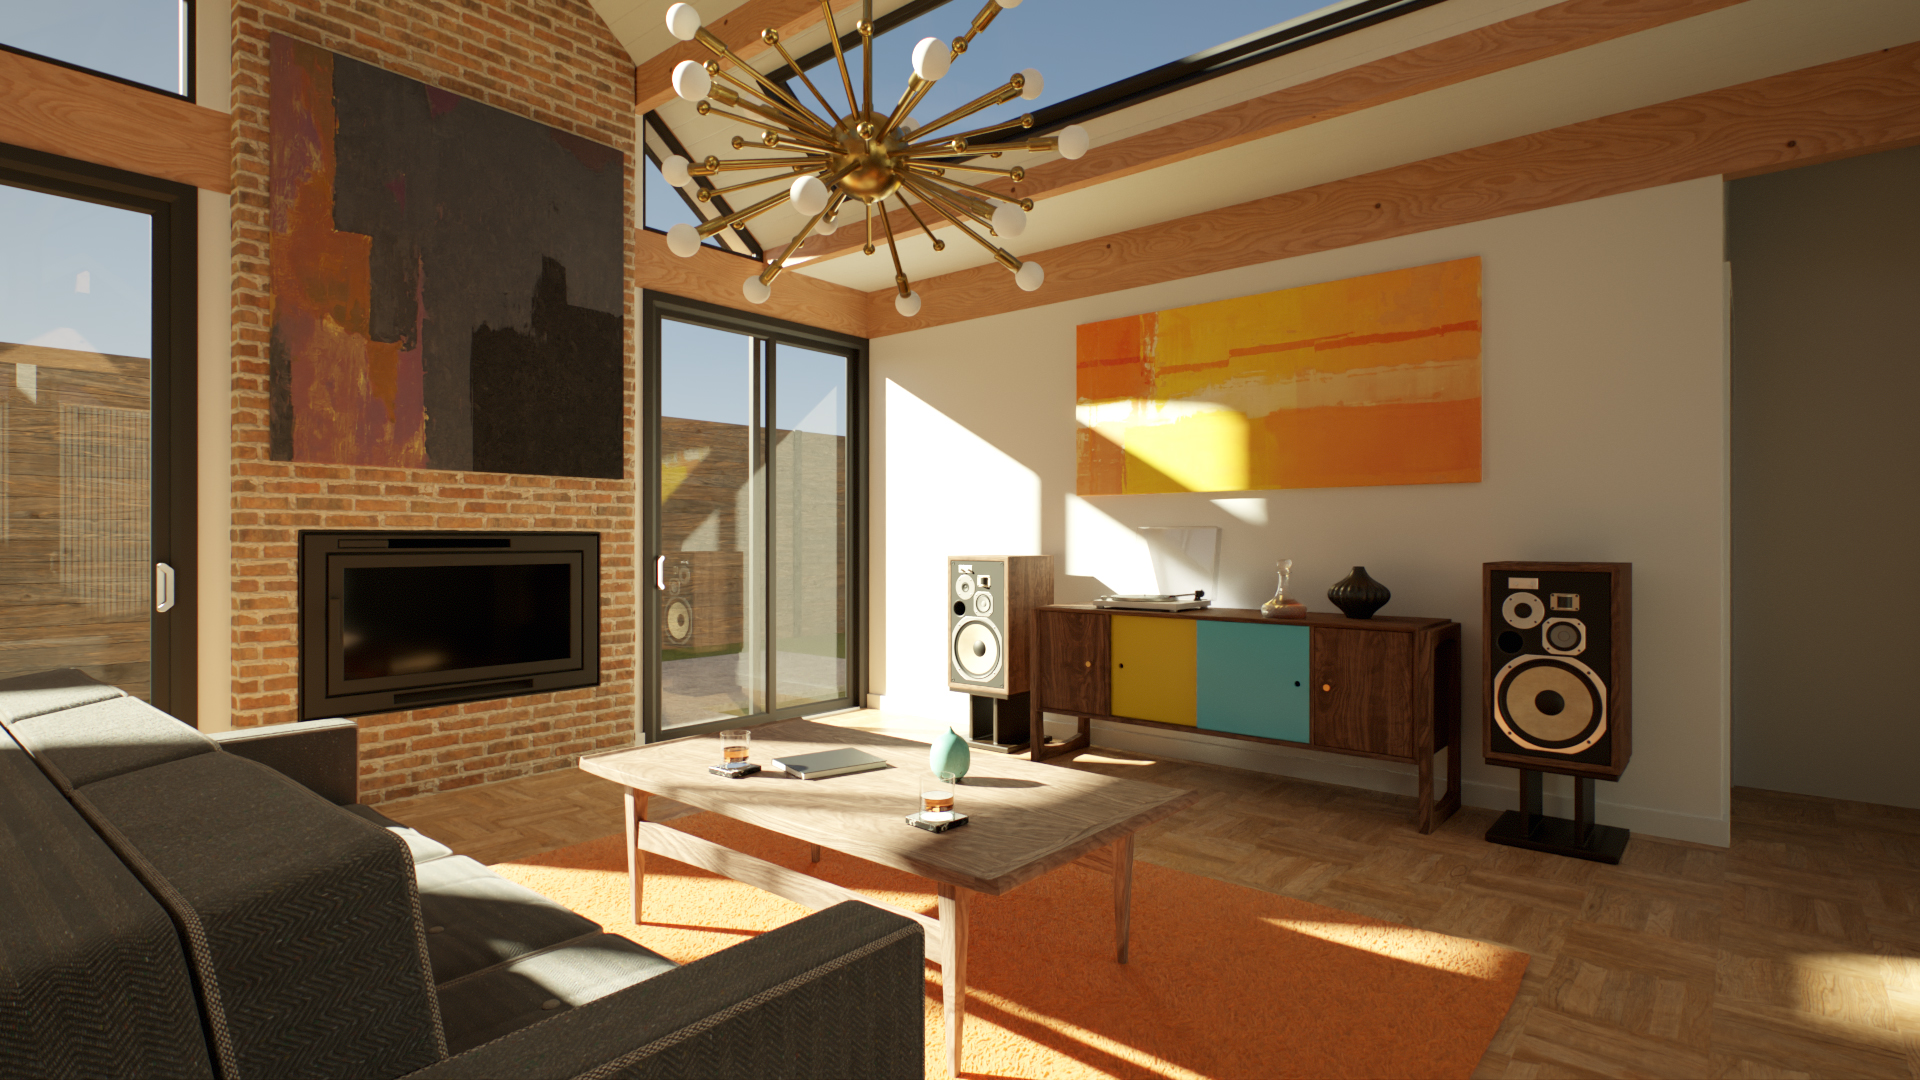
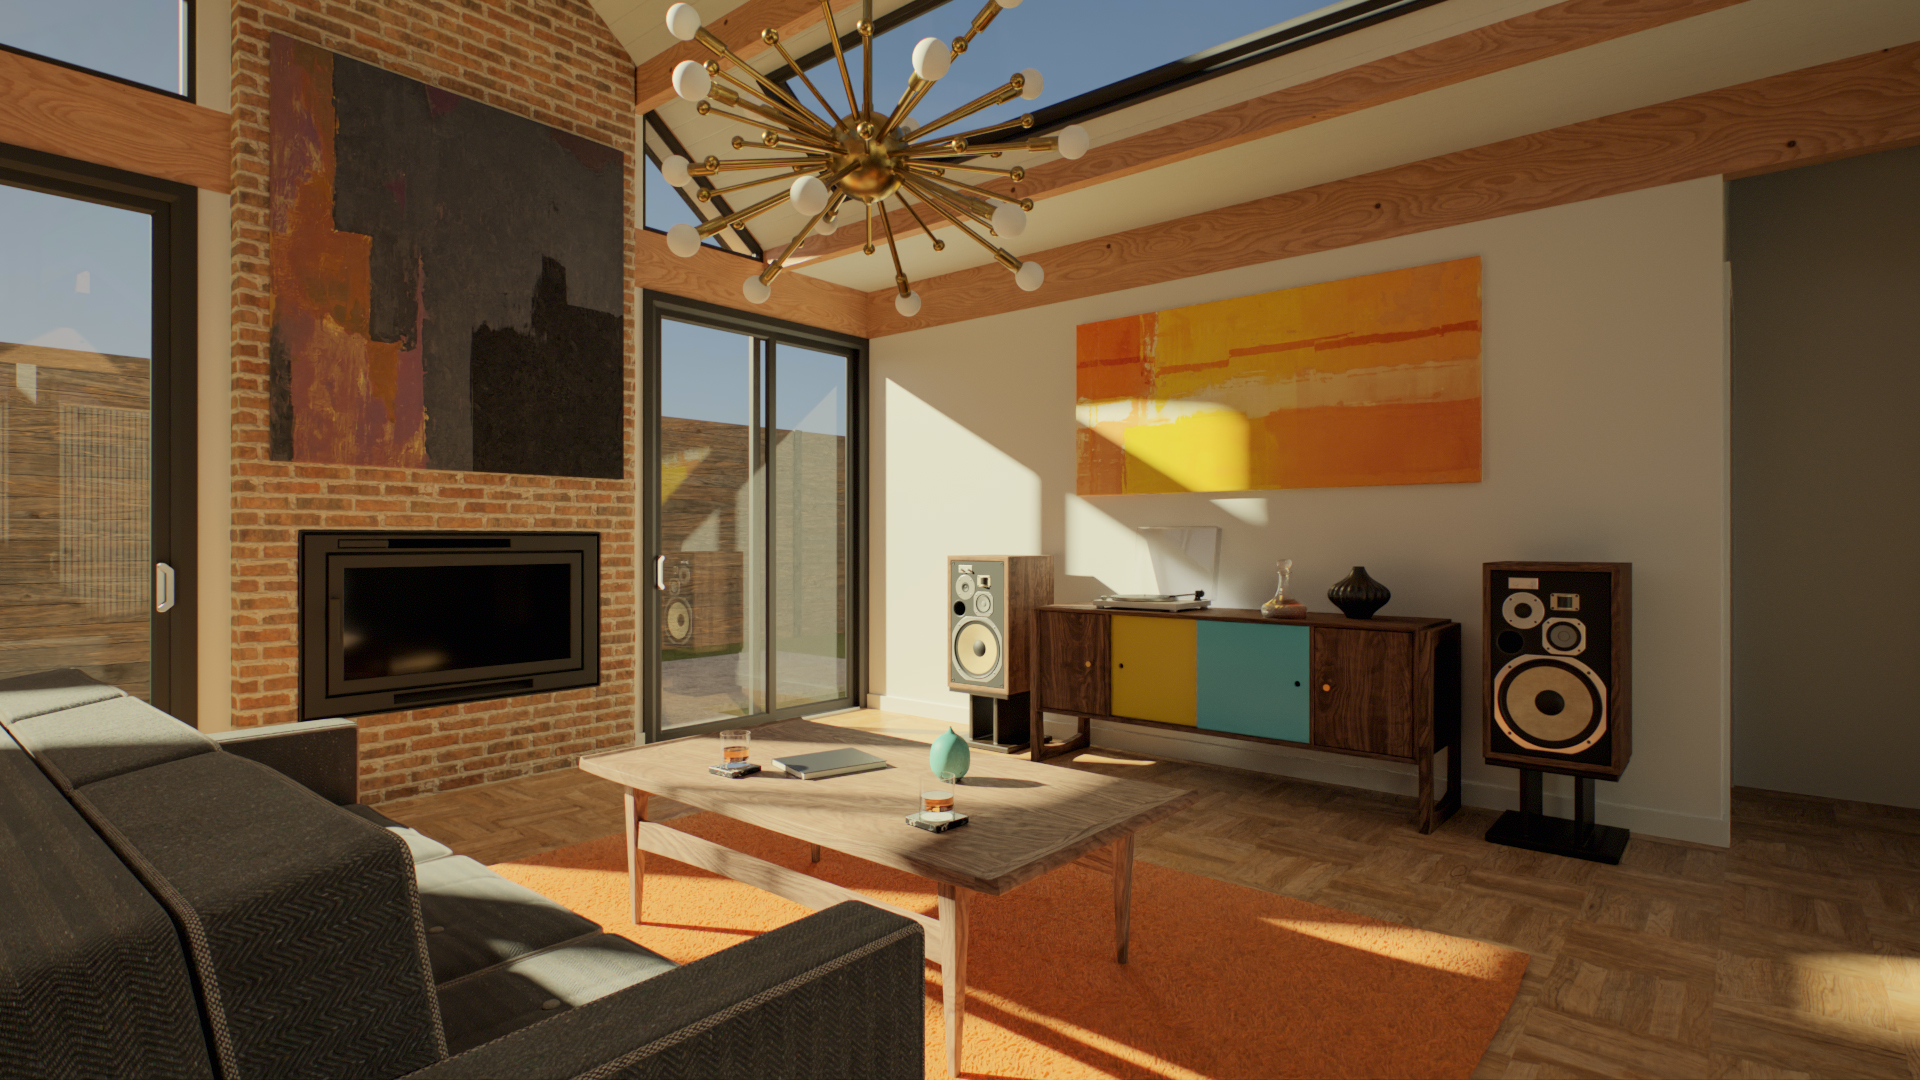
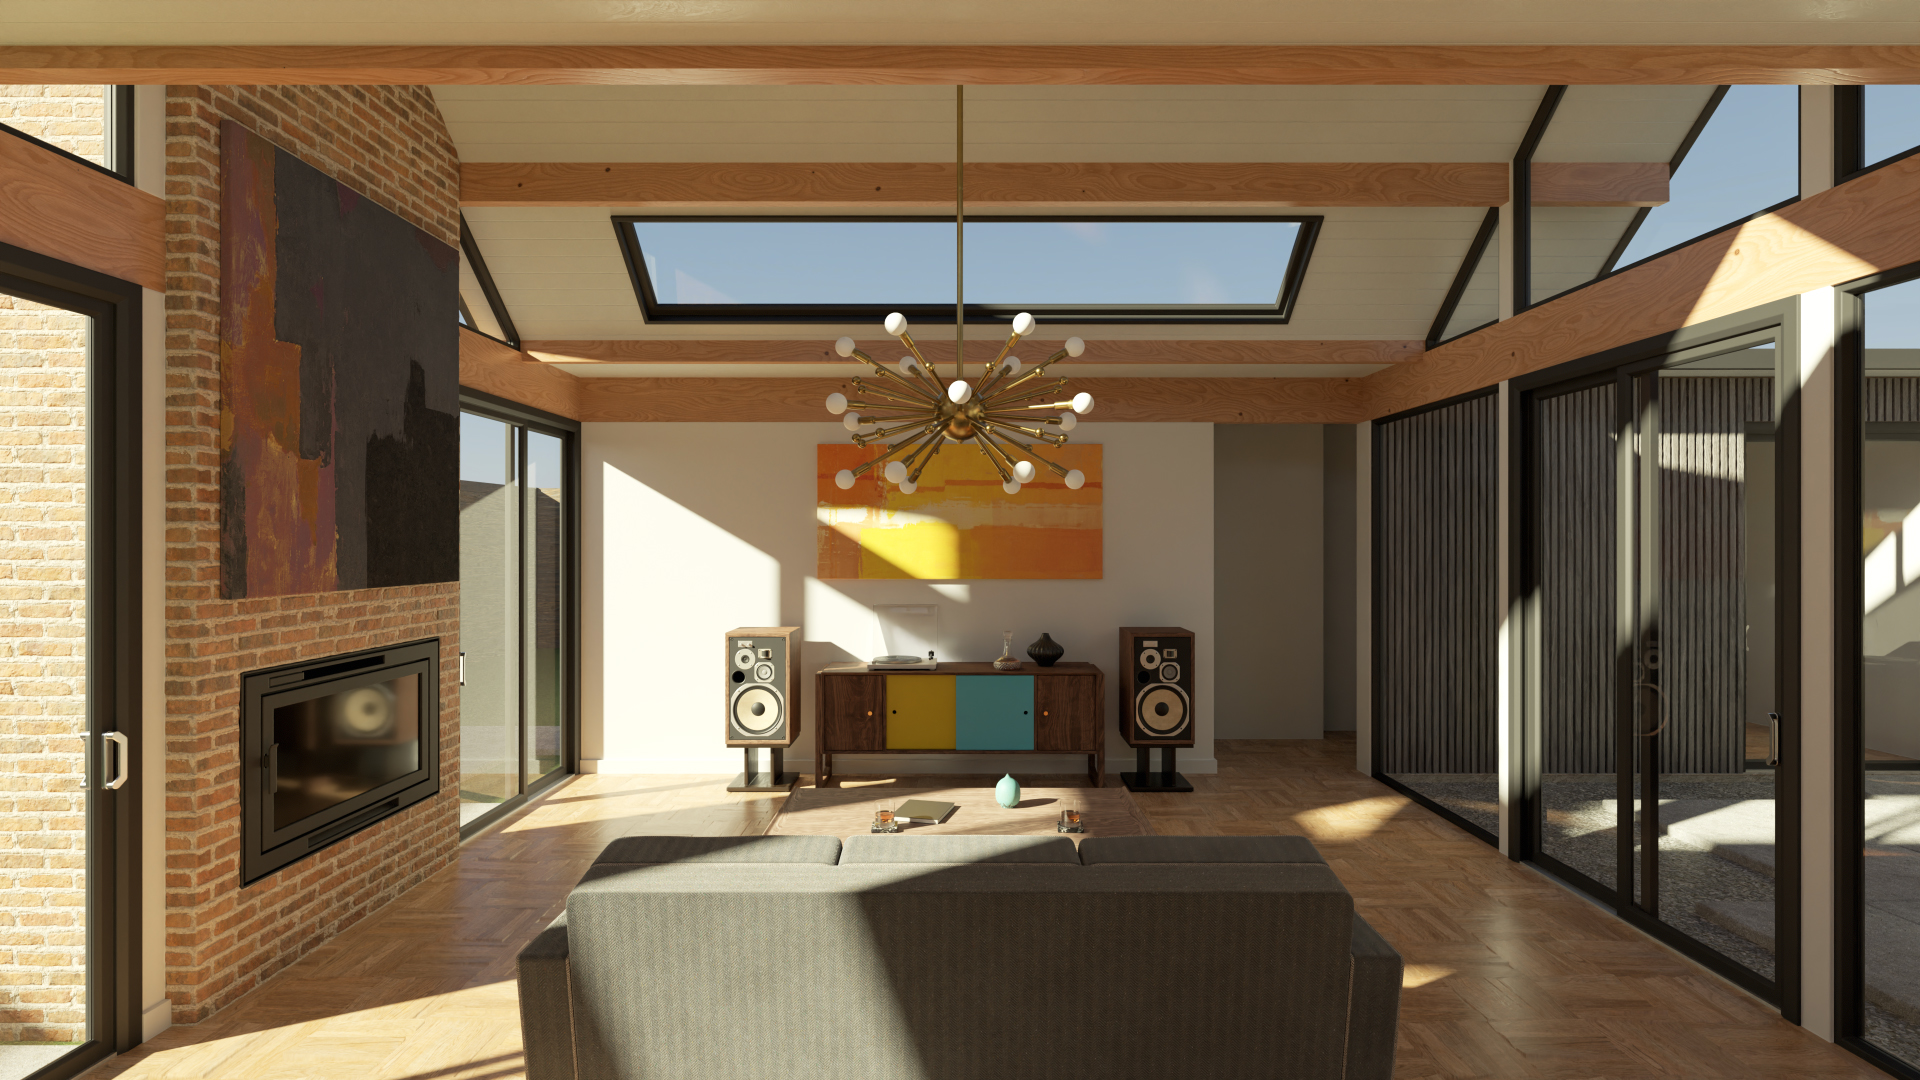
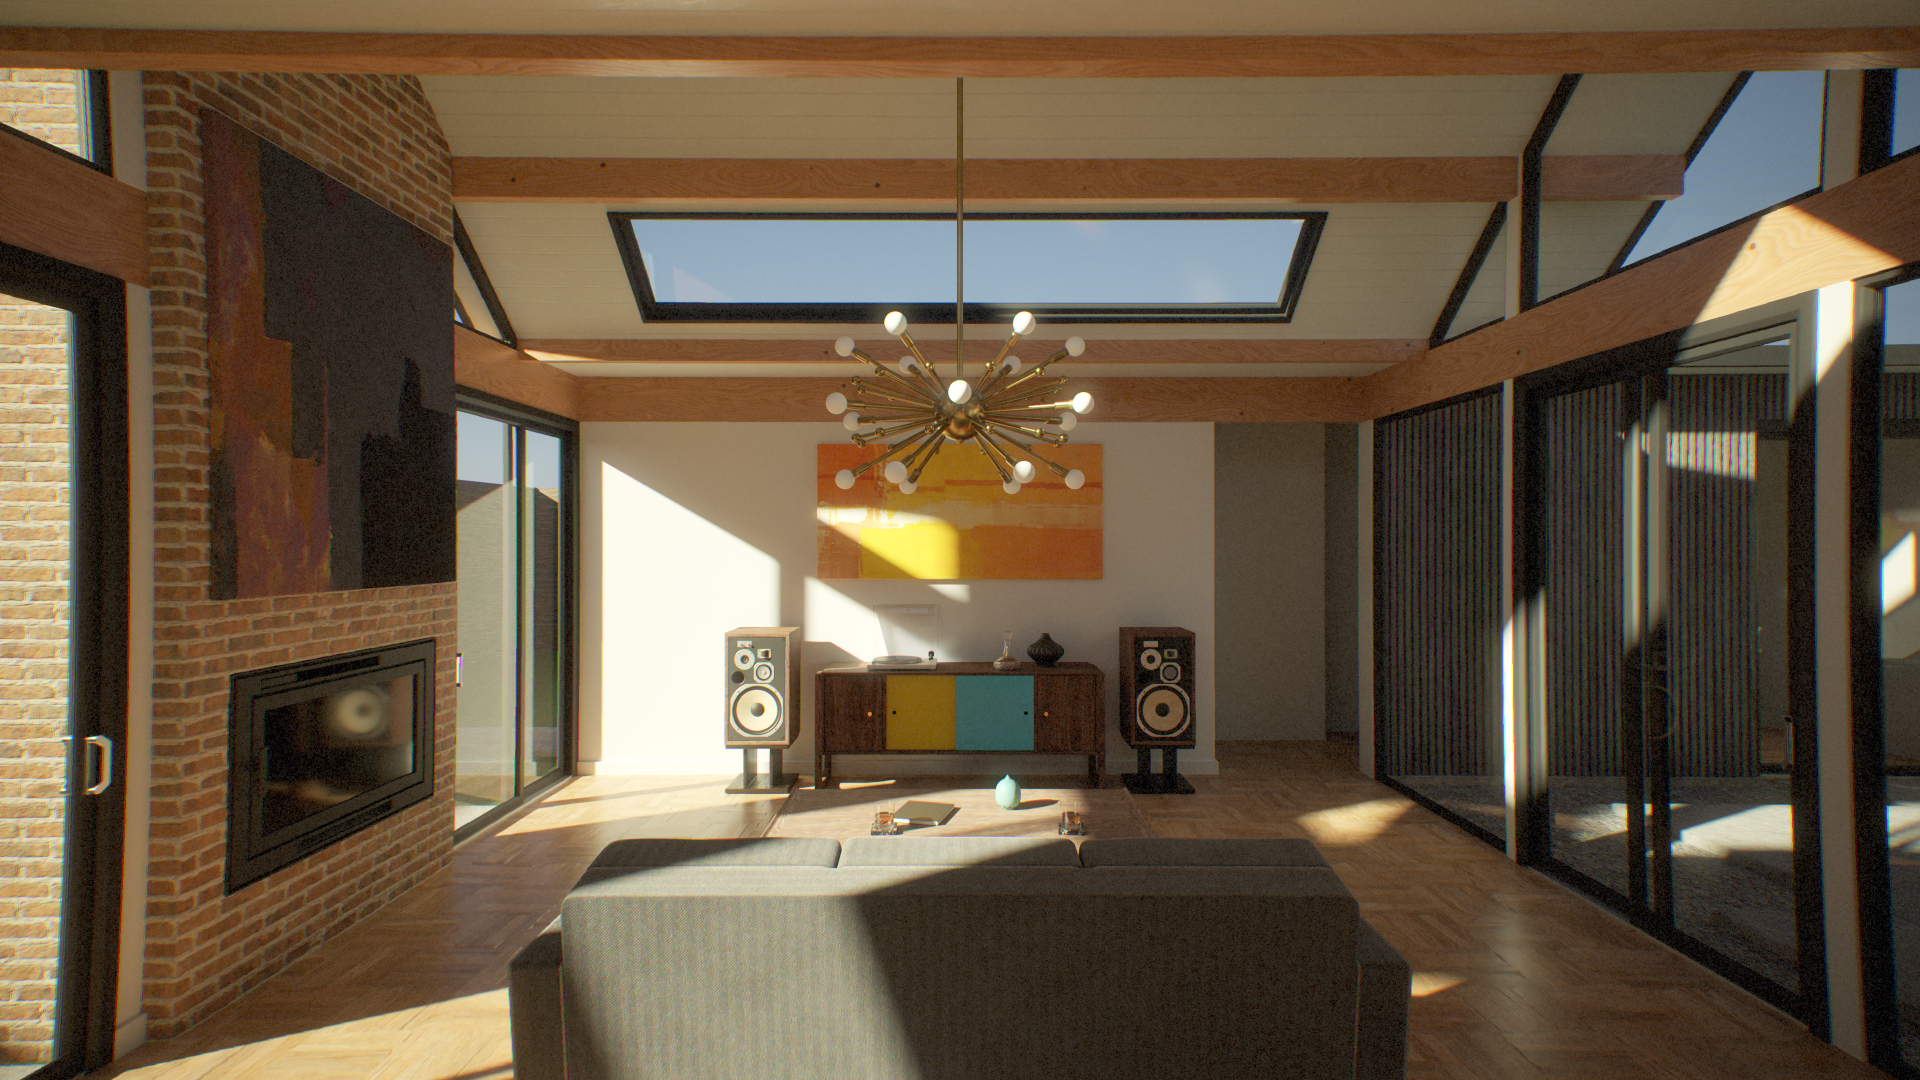
Center Framing
Placing your subject in the center of the frame isn’t necessarily the most interesting way to develop a composition, but it can work well in certain situations, especially when presenting 3D assets for your portfolio.
Let’s have a look at the renders in the gallery above.
- The symmetrical elements in this scene are highlighted by precisely positioning the camera. If you’re having difficulty lining up shots like this, try setting the rotation transforms directly in the text boxes.
- This shot is off-kilter, but not enough to create an interesting composition. It doesn’t feel intentional.
- If you want to break the symmetry, consider a 3/4 view to add interest by creating intentional, striking lines of convergence.
Carefully aligning the camera accentuates the sense of symmetry, which can be especially useful in environmental scenes. If you’re familiar with Wes Anderson’s films, you’ll probably recall how often he deliberately places the camera level and dead center to get this kind of effect.
Center framing tends to be especially effective for turntables as well, where off-axis placement of the subject can feel awkward.
Rule of Thirds
The Rule of Thirds is a handy compositional device. By splitting your frame into a grid of thirds and arranging your subject on the grid lines, you can create a more interesting, dynamic composition.
By framing our character on the left third line, we provide compositional space for the character to move into. Even without seeing the shot in motion, the character’s placement suggests he will move from camera left to right.

You don’t necessarily need to place your entire subject along one of the grid lines for it to be effective. In the next image, the character’s body is centered, but key elements are aligned with the grid. The character’s eye and chin are framed on the left line, aligned to the upper and lower points, respectively. The lightning is roughly positioned on the right line, providing compositional balance.

Compositional concepts can be mixed and matched as well. In the video below, I’ve set up an animated camera track that starts left-framed to provide environmental context. The shot transitions to center framing as we zoom in for the closeup, creating a feeling of intimacy and intensifying the character’s movement in the second half of the shot.
For these kinds of shots, I like to use the Follow Target feature in the camera settings. This allows me to identify a target object (in the object’s settings, enable Camera Target) that the camera follows. It can be any object, but I typically use an empty group, which lets me keyframe the camera and target independently to create a complex, layered path.
Note: You can only have one tracking object in the scene at a time. If you need more, as a workaround, you can disable Camera Target for one object and enable it for another when rendering different shots.
Learn how to animate cameras in Toolbag.
Dutch Angles
Tilting or rolling the camera off-axis can be a fun way to add an interesting twist to an otherwise static image. You can do this by adjusting the Z axis in the Camera properties. Consider pushing this a little more than you’re comfortable with, as a slight Z roll may seem unintentional, but a steeper angle will generally appear deliberate.

Where to Crop
Choosing which elements to include in the frame can be tricky. For example, some people feel uncomfortable about cropping off the top of a character’s head. A good rule of thumb is that if you’re going to include or crop something out, make sure it feels intentional. If you include the entire head, make sure you leave breathing room above the top of the head. And if you do crop the head, bring the camera in a little further and crop closer to the forehead.
Note how the first image provides enough clearance for the key elements to sit comfortably in the frame, and how the last image draws you into the eyes and mouth. By contrast, the middle example awkwardly crops the hair and shoulders.
Shot Styles
When planning your shot, it can be helpful to think about what you’re trying to convey, as it will generally inform or determine the style of shot you’ll create. Let’s go over some common types of shots that you may want to create.
Establishing Shot
An establishing shot introduces characters or other elements and provides environmental context. To create this type of shot, you’ll need an environment or convincing background to place the subject in. Consider using a wide-angle lens and arranging the shot so the subject doesn’t occupy the entire frame.

Art by Alexander Alza
Full Body
A full-body shot includes some level of environmental context; however, it’s clear that the character is the subject of the shot and generally fills the frame. In photography, this type of shot typically uses the portrait orientation.

Middle Distance
A middle-distance or half-body shot provides a greater degree of intimacy with our subject. Typically, this shot would crop at the knees or waist and fill the frame with our character.

Art by Jimin K
Closeup
A close-up is usually framed to show a character’s head and shoulders. This could be a traditional, formally posed headshot, or an extreme closeup focusing on a single element like the character’s eye or a small element of a prop or other type of asset.

Art by BokBokBokBok
Up Shot
An upshot angles the camera upwards. This can make a character or environmental element appear large, intimidating, or dangerous by stretching out its proportions. Consider using a wide-angle lens and getting close to exaggerate this effect.
Down Shot
A down shot has the reverse effect. It can be used to make a child or animal feel small and to communicate that they are non-threatening or helpless and in need of protection.

Art by Dmytro Danylov
First Person View
A FPV shot is framed from the viewer’s perspective. Most commonly, this is used for FPV weapons to mimic the in-game experience.
Art by Eugene Petrov
While we’re generally speaking about characters, most of these shot styles can be adapted to vehicles, props, weapons, etc. For example, a middle shot for a gun might include the front or rear half of a rifle.
Camera Rigs and Animation
Animating the camera is a great way to create a more interesting, dynamic presentation. If we study cinematography techniques, we’ll notice that many shots are created by mounting the camera on a crane, tripod, slider, or some other rail system to generate motion that enhances or supports the subject matter.

Photo by Testosterossa
Animation Basics
Let’s look at some common camera motion types and how to create them in Toolbag.
Most types of camera animation are relatively simple to create in Toolbag. To start, go to the Animation workspace. Here you’ll find the Timeline and Keyframes windows. Make sure your camera is selected, and press the Auto Keyframe button. Now, when you make changes to the camera, keyframes are automatically created when you adjust the position and rotation.
You will need to register keyframes for your initial frame. You can do this by making a small change to the camera in the viewport, or by selecting the data track in the Keyframes window and manually creating a keyframe. Keyframes can be created by double-clicking in the Keyframe window (this will create a key at that point in time) or by pressing the Keyframe button, which will create keyframes for the selected track(s) at the current frame.
If you need a finer degree of control, you can create a camera animation in your 3D modeling application and import it into Toolbag as well. Animated cameras are supported via the FBX file format.
Turntable
In the real world, turntables are usually created in one of two ways: by placing the object on a rotating platform, or by using a crane or boom arm to rotate the camera around a pivot point.
To create a camera turntable, simply select your camera in the Scene window, click the Presentation button, and choose Turntable from the dropdown — or go to Scene -> Add Object -> Turntable. This will parent your camera (or any selected object) to the turntable. You can also drag any meshes, lights, cameras, etc to your turntable if you want multiple elements to spin.
The Turntable object in Toolbag spins around its pivot point, which is 0, 0, 0 when initially created. If you’re having trouble getting your camera to spin around the mesh’s center point, there are a few things you can try:
- Make sure your object is centered at the origin (0, 0, 0) before exporting it from your 3D application.
- In Toolbag, center your mesh before adding it to the turntable object.
- Move the turntable object to your mesh’s center point before adding the mesh or camera.
Zoom
Zooming can be accomplished by keyframing the Camera’s Focal Length setting. It lets you get a closer view of a specific subject or element in your scene. Because the camera remains in a fixed position, we do not alter or distort the perspective. Think of it like adjusting the zoom ring on a telephoto lens while standing in one spot.
To create a zoom effect, keyframe the Focal Length to start at a relatively low number and end at a higher one, or vice versa if you’re zooming out.
Dolly
The dolly effect is often confused with zooming. The primary difference is that when we dolly, we move the camera through the scene, keeping the Focal Length constant. This alters the perspective and gives a sense of physically moving through space
To create a dolly effect, add keyframes where the Camera starts further away from the subject and ends near it.
Truck
A truck effect is pretty much the same thing as a dolly, except that the camera moves side to side. The truck effect can be used to track movement and reveal new elements in an environment.
You can create a truck effect by moving the camera to one side of the scene, setting a keyframe, moving it to the other side, and setting another keyframe.
Pedestal
A pedestal or boom (a boom arm used to raise or lower the camera) effect is similar to the dolly and truck effects, except that the camera moves up or down.
For dolly, truck, and pedestal effects, I typically like to place the camera in a group and keyframe the group rather than keyframe the camera directly. This lets me reposition or reframe the camera independently of the group, without needing to alter my keyframes. This makes it easier to combine effects like trucking and panning, too.
Pan
People sometimes say ‘pan’ when they mean ‘truck’. The main difference is that for a pan effect, the camera rotates around a pivot point, generally a tripod, rather than moving side to side. For a pan effect, the camera remains in a fixed position. A pan effect can be used to slowly reveal a wide environment or shift focus from one character or element to another.
To create a pan effect, simply create two rotation keyframes on the Y axis.
Tilt
Tilt is more or less the same as pan, except the camera rotates up or down. Panning can come in handy when you want to reveal features or details, or exaggerate converging lines with a wide-angle lens.
Tip: For pan and tilt effects, turn off Orbit Style in the Camera properties. This will switch the camera to FPS-style navigation, making it easier to preview and keyframe pivoting camera effects. With Orbit Style disabled, you can use Alt + WASD to navigate in the viewport.
Motion Falloff
In Toolbag, there are several ways to interpolate keyframes. Let’s focus on the two types most commonly used for camera animations.
- Linear Falloff creates a constant speed or acceleration from keyframe A to B.
- Smooth Falloff creates a curve that produces an ease-in and ease-out effect.
Linear Falloff can be useful if you’re rendering an extended shot that you will sync with music later. In this case, you may not have a clear start and end position in mind for the shot, so a linear zoom, for example, gives you the flexibility to cut the clip without carefully lining up the transitions.
Smooth Falloff tends to work best when your start and end points are locked down, and you want natural transitions where the motion ramps up and down.
Motion Speed
It’s important to consider the motion’s speed as well. A slow pan can gently introduce new elements into the scene and create a sense of calm or tension, depending on the video’s content. Fast movements, on the other hand, are a good way to convey a sense of urgency, action, and to punctuate comedic elements.
Mixing Motion Styles
You can mix and match the camera effects we’ve discussed above, layering different types of motion, to create more complex and interesting presentations. Let’s look at some examples.
Dolly Zoom
We can combine the dolly and zoom effects to create a dolly zoom, or “Hitchcock” effect by animating both the camera’s position and the Focal Length setting. This stretches or squashes the perspective while keeping our subject in a fixed position, creating a sense of tension or vertigo.
To do this, create keyframes for both the position and the focal length of the Camera. Linear keyframes tend to feel wrong, so I’ve tuned the curve for each channel to make it feel more natural. The exact values you’ll need in your scene will depend on a few factors, like how much movement you have, how exaggerated you want the effect to be, and which elements you want to remain constant in the frame.
Advanced Turntables
For a more interesting turntable effect, you can add secondary motion to the camera. In the video below, the camera is in a group, and that group is in a turntable. The turntable controls the primary spin, and I’ve keyframed the group to rotate as well, moving the camera from a low position to a high one over the duration of the video.
Combining Camera and Lighting Effects
In the next example, I’ve placed the camera above the ship and keyframed it to move it in a linear path along the X axis. I’ve also keyframed the lights to turn as the camera moves through the scene, revealing the ship’s features as it travels.
Get Creative
Camera effects, mesh animations, and post-production editing techniques can be combined with music to create striking, original presentations and promotional videos. Watch the following video from Ed Grieg for inspiration.
Art by Ed Greig
Color Grading & Post Effects
Toolbag features a suite of tools and settings to adjust the color, contrast, and sharpness, and apply various image effects to suit the mood of your shot. Using the built-in tools gives you a real-time preview of the effects and saves you the round trip of rendering and then manipulating your shots in an external image or video editing package.
Tone Mapping
The different tone mappers alter the response curve of the rendered image, generally to preserve highlight detail and prevent shadows from clipping.
Here’s a summary of the Tone Mapping modes and their characteristics:
- Linear: This mode doesn’t apply any tone mapping and is primarily useful as a reference view. Most 3D modeling apps do not apply tone mapping by default, so you may want to use Linear if you’re looking for a closer match between programs.
- Reinhard: Designed to retain extreme highlight and shadow information and tends to look washed out in most situations.
- Hejl: Applies a punchier, more contrasty look, while still being fairly balanced.
- AgX: Relatively neutral, providing a useful level of highlight and shadow retention without significantly altering the image’s look.
- ACES: Applies a very contrasty adjustment, and is best used for dramatic or stylized presentations.
Note: Hejl and ACES are meant to be used with an Exposure boost and can look too dark at 1.0, so try a value of 1.4-2.
Tone Controls
If you’ve used RAW photo editing software before, you’ll be familiar with the Highlights, Midtones, Shadows, and Clarity sliders. I tend to use AgX mode as a neutral starting point and adjust these settings to suit the lighting in my scene and the style of shot. You can effectively build your own custom tone mapper with these controls.
Color Curves
The Curve Editor offers even finer control. I like to alter the response curves for the RGB channels individually. For example, you can add warmth to the shadows by bringing up the red channel’s lower end, and cool off the highlights by bringing up the higher values in the blue channel.
Film Grain and Noise
Rendered images can sometimes appear too clean or digital-looking. Film grain adds texture, which can help create a more natural, cinematographic, or photorealistic rendering style.
Toolbag provides two Grain modes: Film and Digital. Film mode mimics the more organic grain of traditional film and tends to work better with black-and-white or sepia-toned post-processing settings. Digital mimics the sensor noise of digital cameras, and usually works better with color images.
Lens Imperfections
To further break up the overly digital feel of your renders, consider using Chromatic Aberration, Distortion, and Vignette to simulate imperfections in a camera or optical system.
Get Inspired
Once you have a solid understanding of fundamental composition principles, you can start to get more creative. The Rule of Thirds and some of the other advice in this article are best thought of as guides rather than strict rules that need to be followed. Don’t be afraid to experiment and try wacky or unconventional camera angles.
Here are some examples of interesting compositions from the community to inspire you.
Thanks for reading! Start a free, 30-day trial for Toolbag today to craft compelling 3D artwork. For more Toolbag tutorials and quick guides, check out our Resources.