
Article by Jordan Cain
Combining Methods for Faster Results
For the latest thread in my Part Modeling series, I wanted to show off the combined effect of Low to Low baking with the Bevel Shader and Vector Layers in Marmoset Toolbag 5, this time on a more complex model. I really pushed the bevel shader on this one!
Bevel Shader Meets Vertex Color Masking
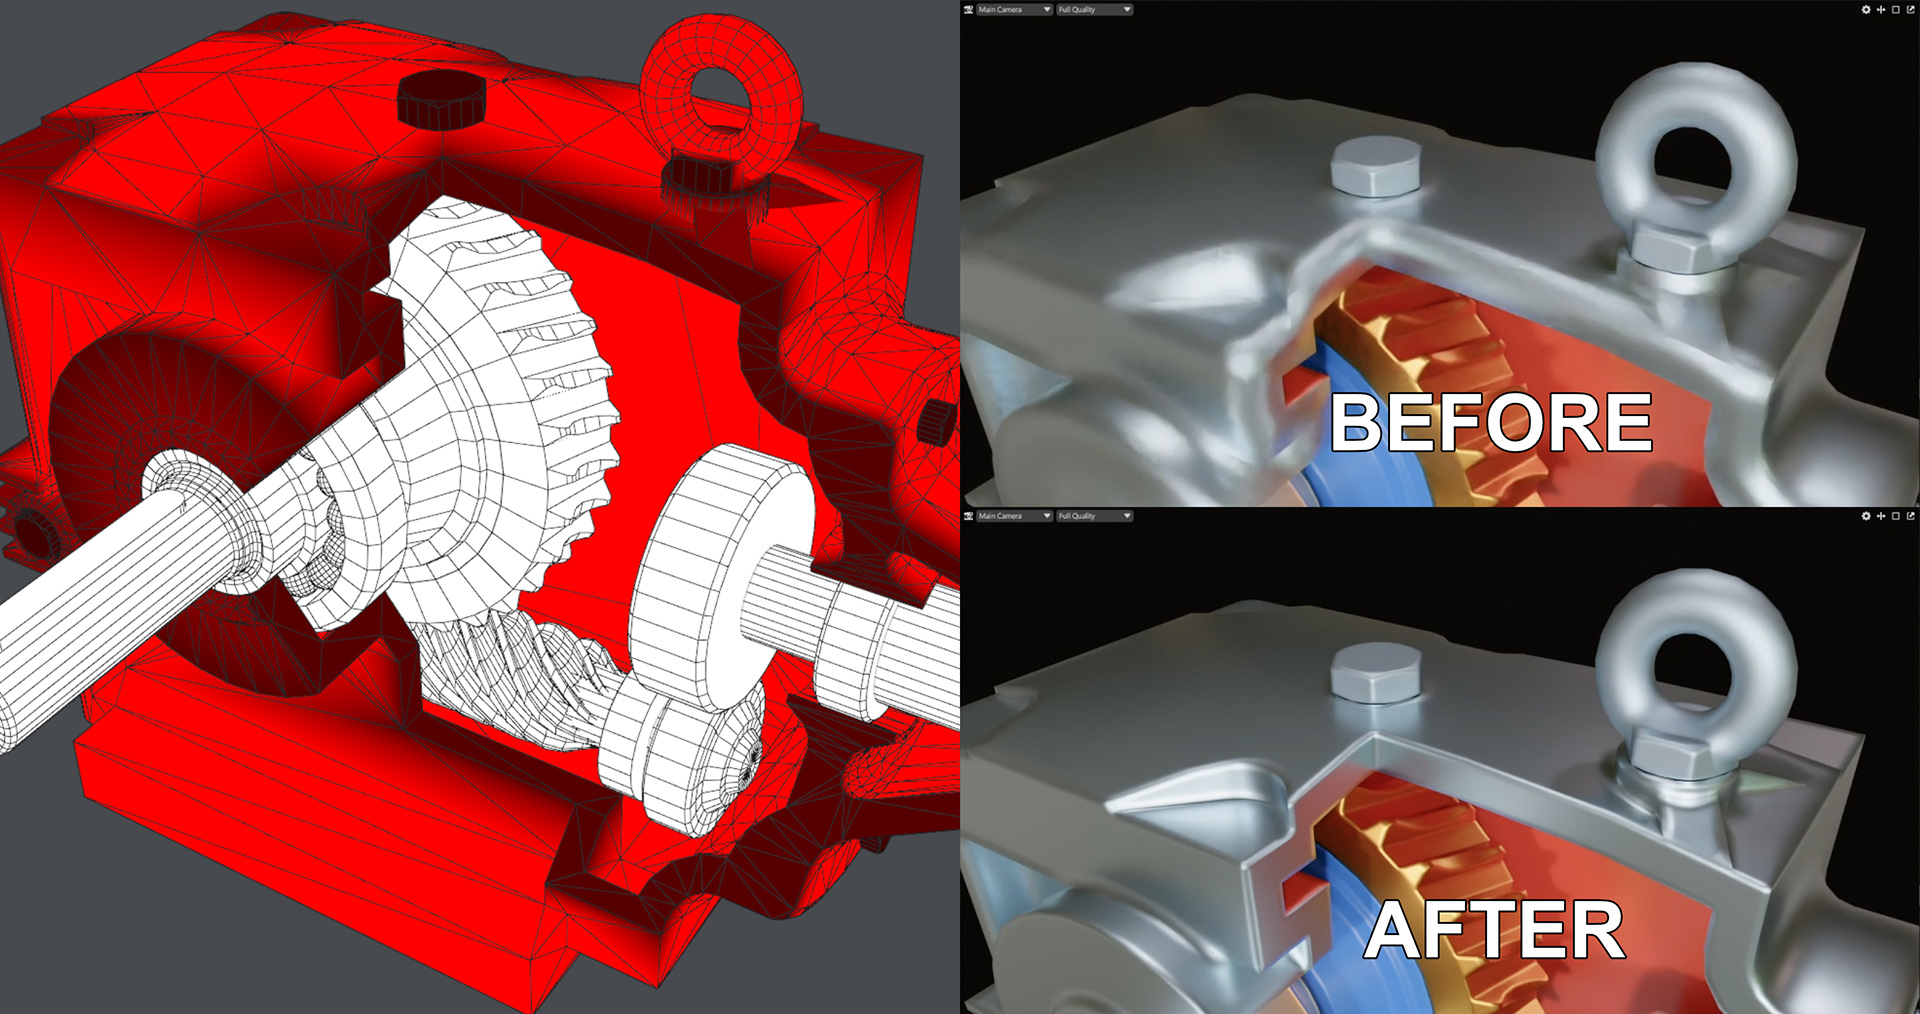
Since the housing has varying edge widths, I used a Vertex Color Mask to define those widths. I set the model to 100% red, then defined which edges should be smaller by using lower red values. Vertex masks grant you finer control while using only one material. In order for the vertex mask changes to show in the Toolbag viewport, you need to select the Vertex Color Mask channel that you used in the model from the dropdown at the bottom of the Bevel settings in your material.
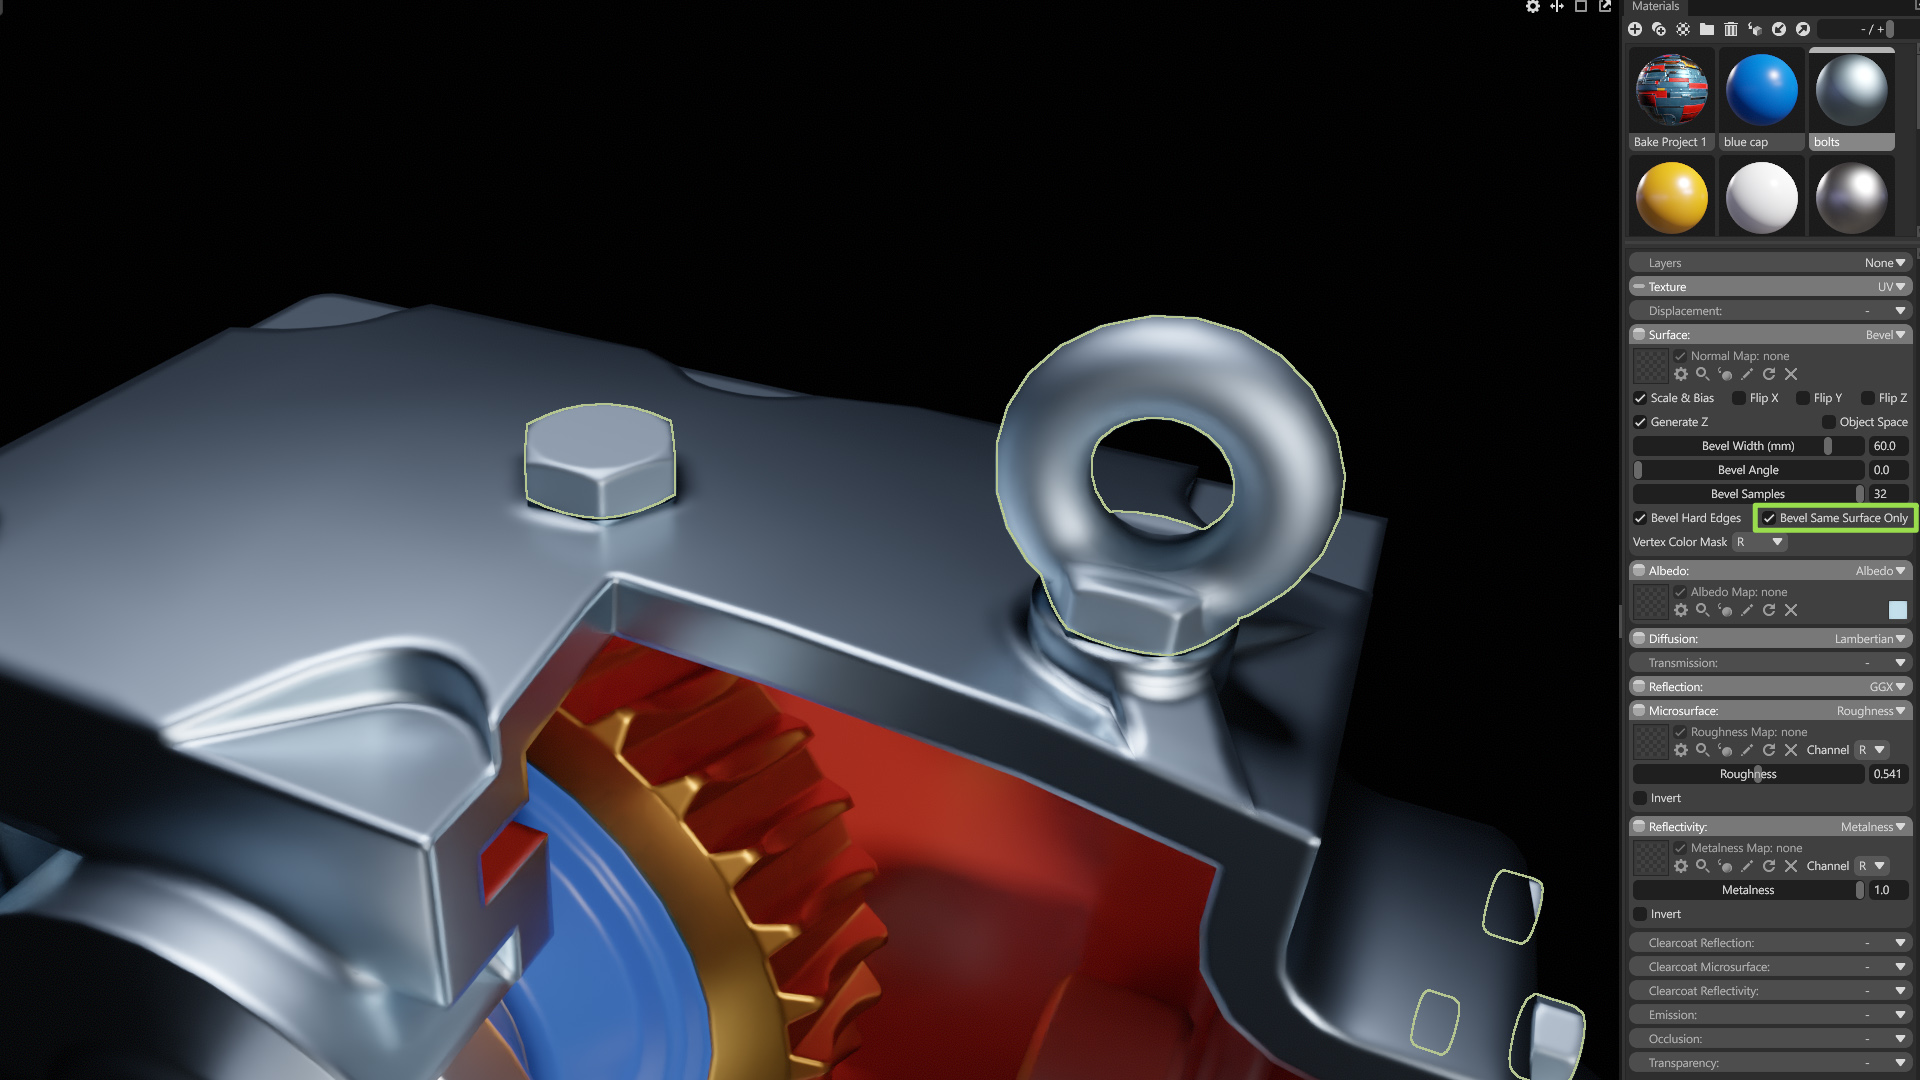
The bolts use the same texture as the housing, but I used a different material to control their bevel widths with their own vertex mask (as shown in the previous article). To ensure they don’t appear fused to the housing surface, I enabled Bevel Same Surface Only.
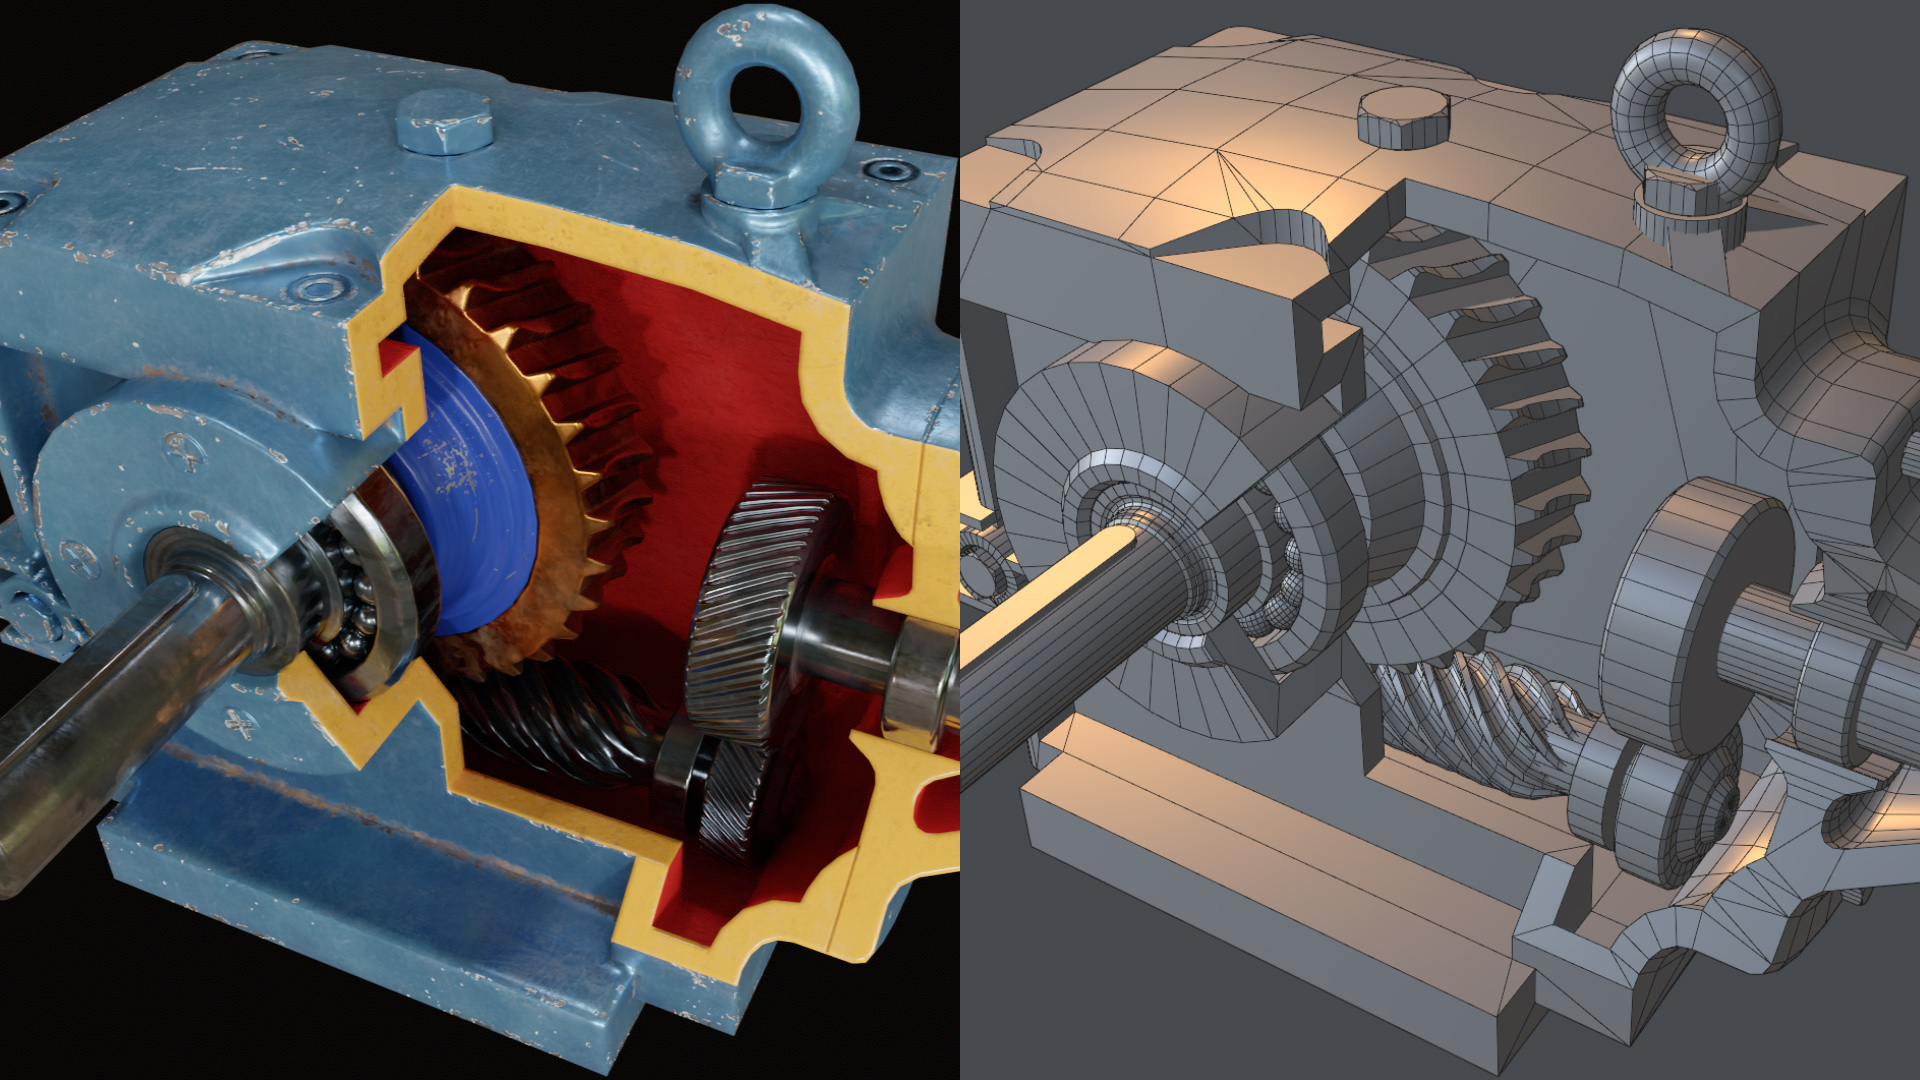
The large gears use the bevel shader on a booleaned mesh, but since the small gears have shallow teeth, I decided to use my trusty radial vectors. I also tapered the ends slightly to show how you can emulate the valleys in the teeth.
Planning Is Key
All in all, the project took 6 days to complete. Just like any project, it’s important to pre-plan where you intend to use the bevel shader and vectors. Knowing when to use separate meshes and materials will help you save time when baking and texturing.
Thanks for reading! Start a free, 30-day trial for Toolbag today to craft compelling 3D artwork. For more Toolbag tutorials and quick guides, check out our Resources.


