

Article by Jordan Cain
Get a Handle on Details
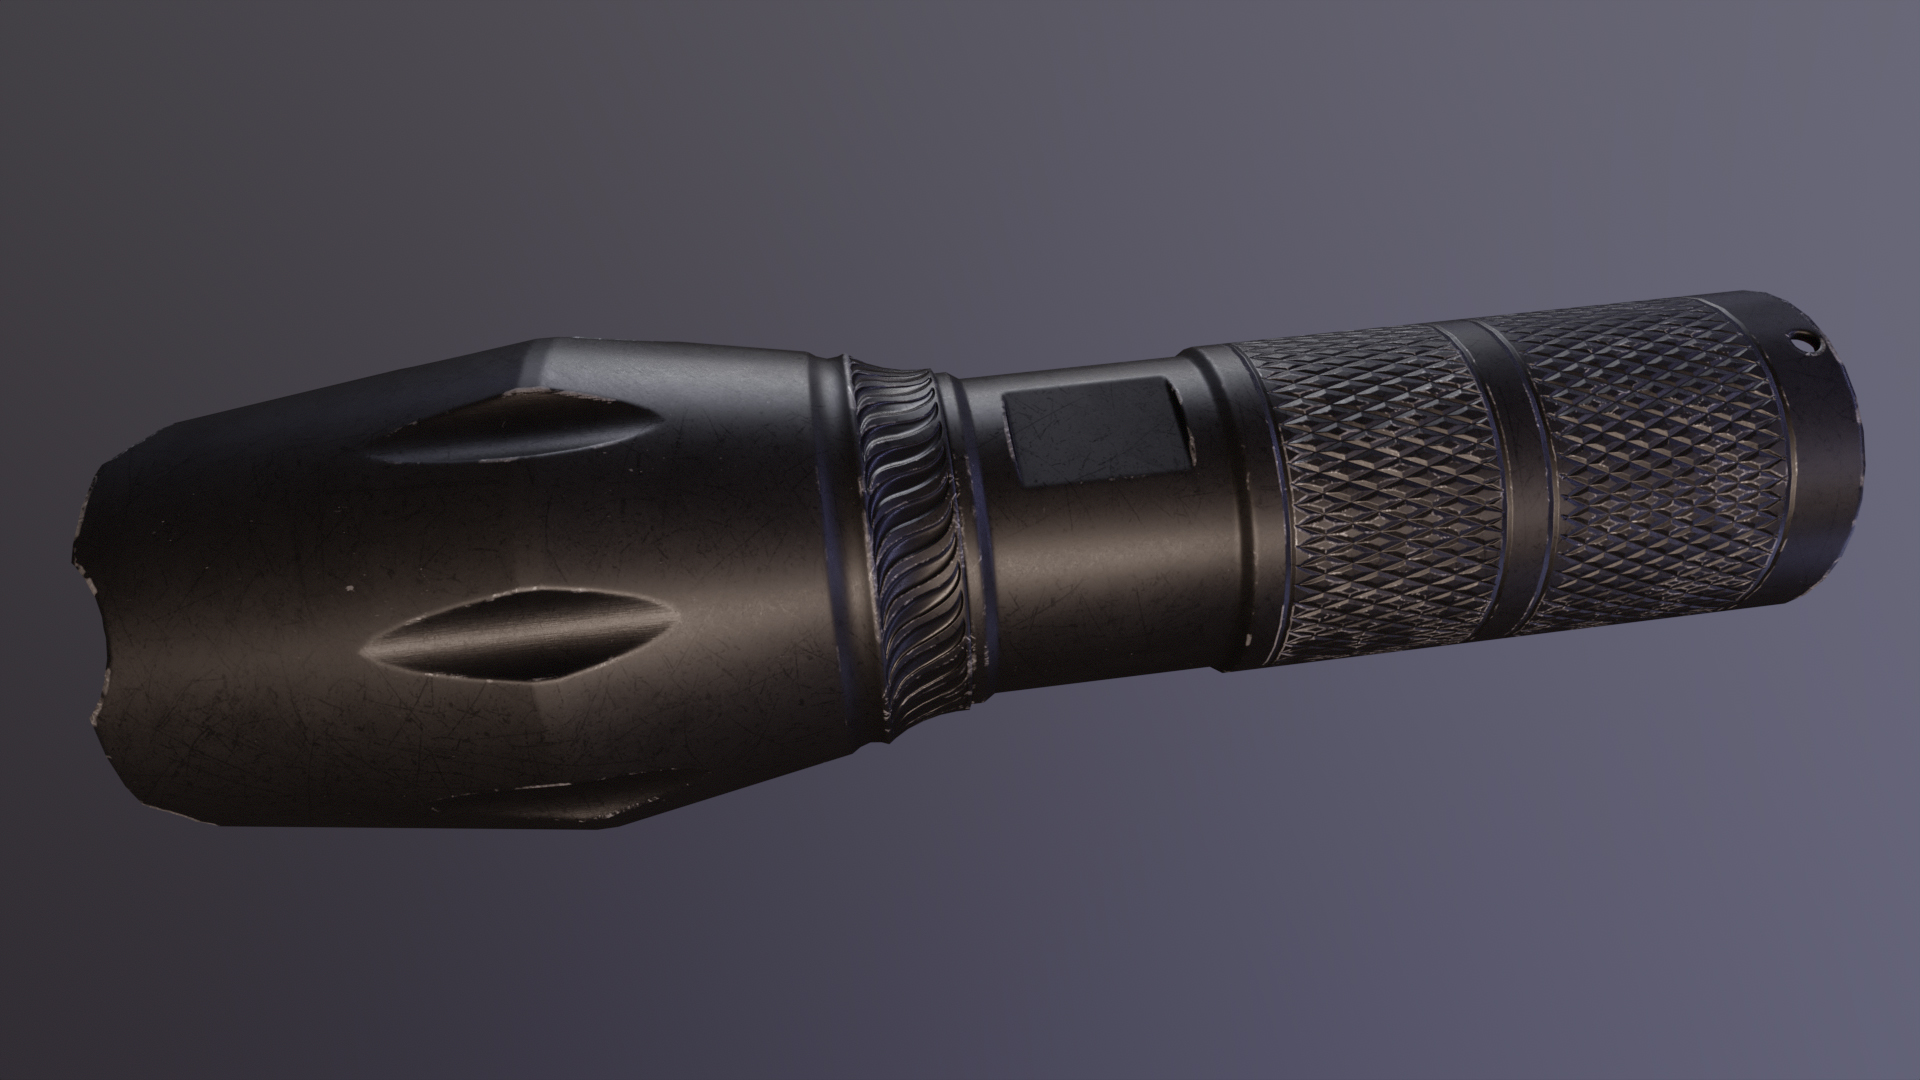
Following my previous article on Low to Low Baking & the Bevel Shader, I wanted to demonstrate how I’m using Marmoset Toolbag to texture hard surface assets, incorporating vector layers for fine detail that would traditionally be baked from a high-poly model.
For this demo, I’m using a midpoly flashlight model with profile-defining booleaned details that I had cleaned up. I marked every edge that I wanted to be beveled as both sharp and as UV seams, then unwrapped accordingly.

Texturing in Place of Modeling
The strength of the following techniques lies in the time-saving effect of texturing nitty-gritty details in a fraction of the time, rather than exhaustively modeling pieces, which could ultimately consume performance and slow down my workflow.
After using the Low to Low baking and Bevel Shader method, I created a Texture Project using the resulting baked maps. At this point, I can add all of the remaining details using only Vector Layers.

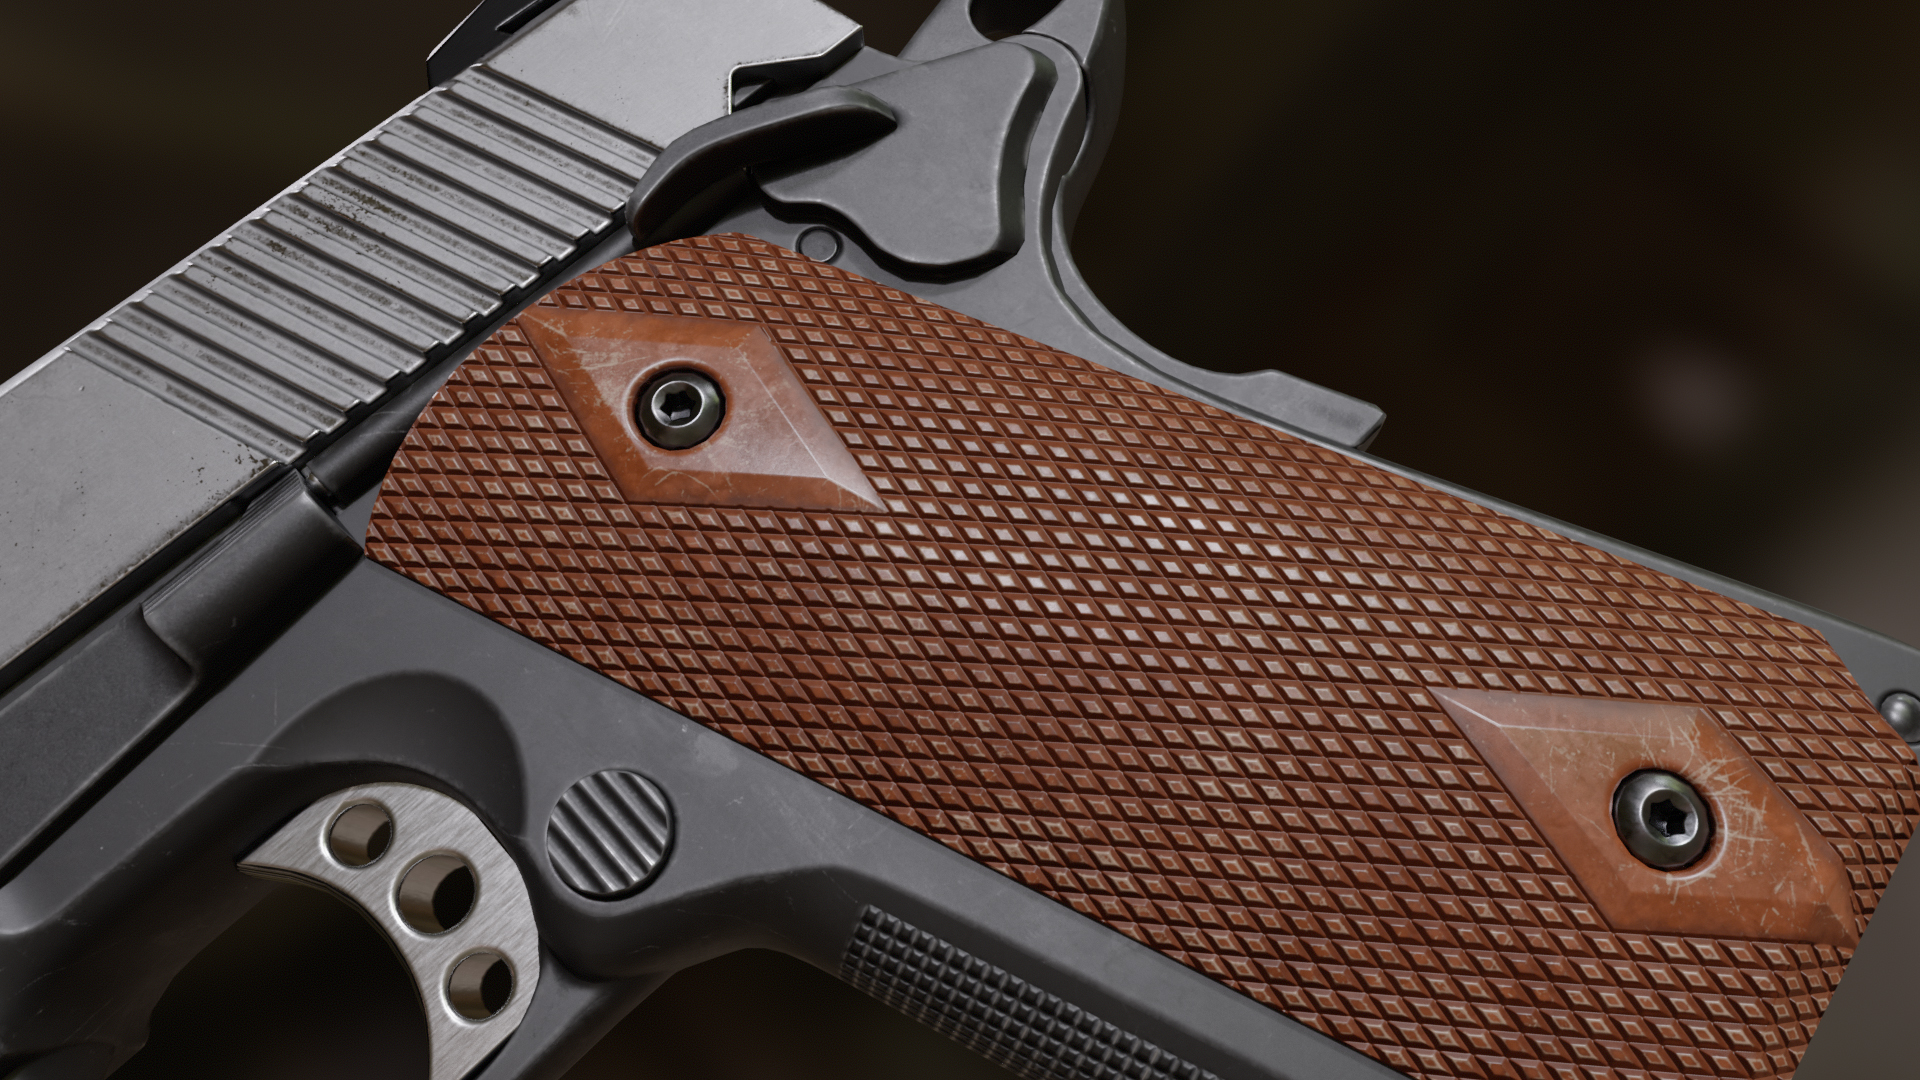
Starting with the grip, my goal is to add some knurling and panel lines to separate it into sections. So let’s draw a simple panel line for this with Symmetry enabled and set to Radial array.
Then moving onto the knurling! This is the really fun part. I used to hate modeling knurling, and static alphas were too limiting. Here, I used a simple line with beveled and tapered ends, and set the Radial Count to control the size. It’s both fun and you have a lot of control.
I felt like this needed a little extra detail, so I also added some swoopy-looking lines around the divot in the middle. Using symmetry allows me to adjust the density of this area as needed. I can also select any of the instanced lines to edit them all at once.
This is an aspect of Vector Layers that I really love. Did the Art Director not like the pattern and request other versions? No problem. I made four variations in under 8 minutes, and it’s all non-destructible. And this is just using one shape. This gives you endless possibilities.
For my last trick, I want to add some non-radial grippy detail to the button. I’ll need a grid-like pattern, so I’m going to use the Decal Mode of the Vector Layer. I can draw simple lines snapped to the grid, change the bump, and increase the width of the lines—boom, done.
Watch Knurling in Action
Don’t miss these short videos of Jordan creating knurling patterns and get inspired to create your own.

Weathering Build-Up with Sync Points
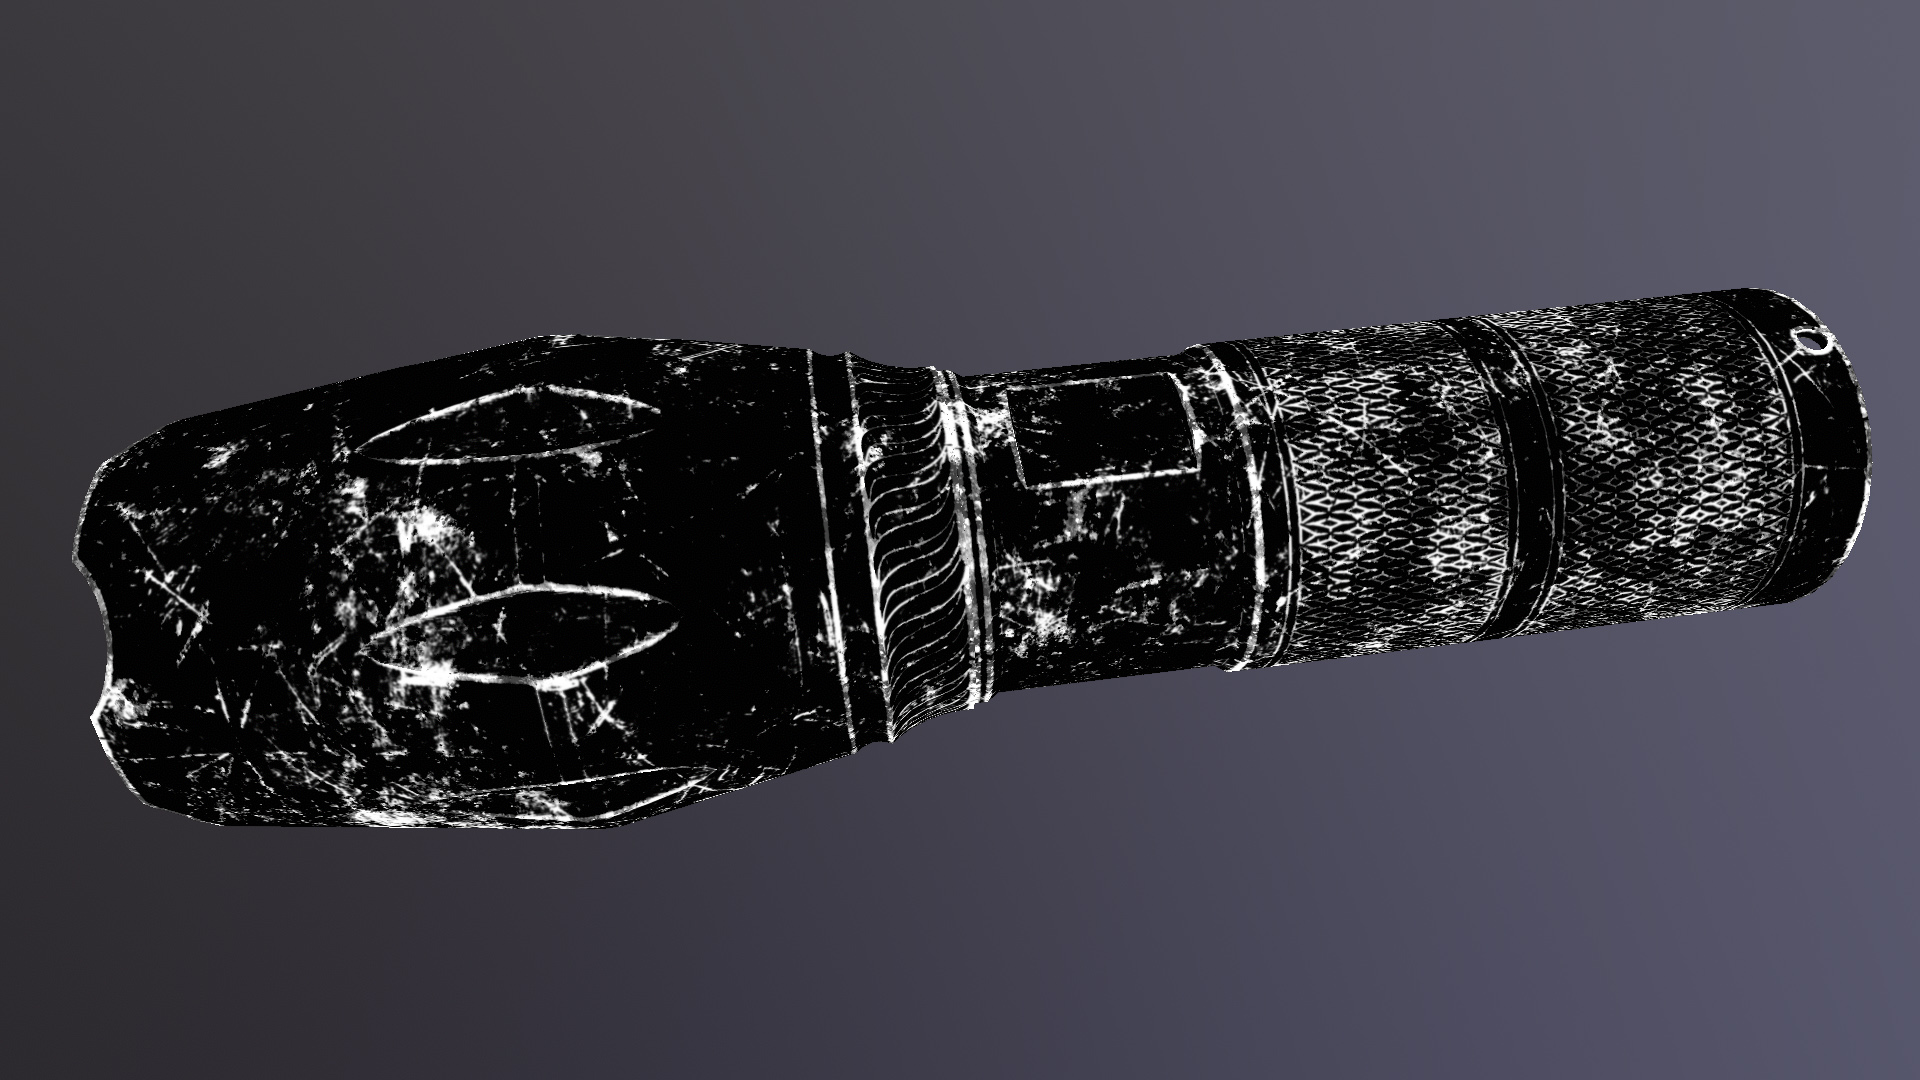
Vector Layers respond to Sync Points and can be used in the texture process just like baked detail. Here, I’m using the curvature data from the Sync Point to drive the edge wear mask.
Closing Thoughts
The total time to create this asset, including modeling, unwrapping, baking, adding vector details, final texture, and scene setup, was 6 hours. I hope this article has helped shed some light on how to add details in a more efficient and flexible workflow.
Thanks for reading! Start a free, 30-day trial for Toolbag today to craft compelling 3D artwork. For more Toolbag tutorials and quick guides, check out our Resources.


