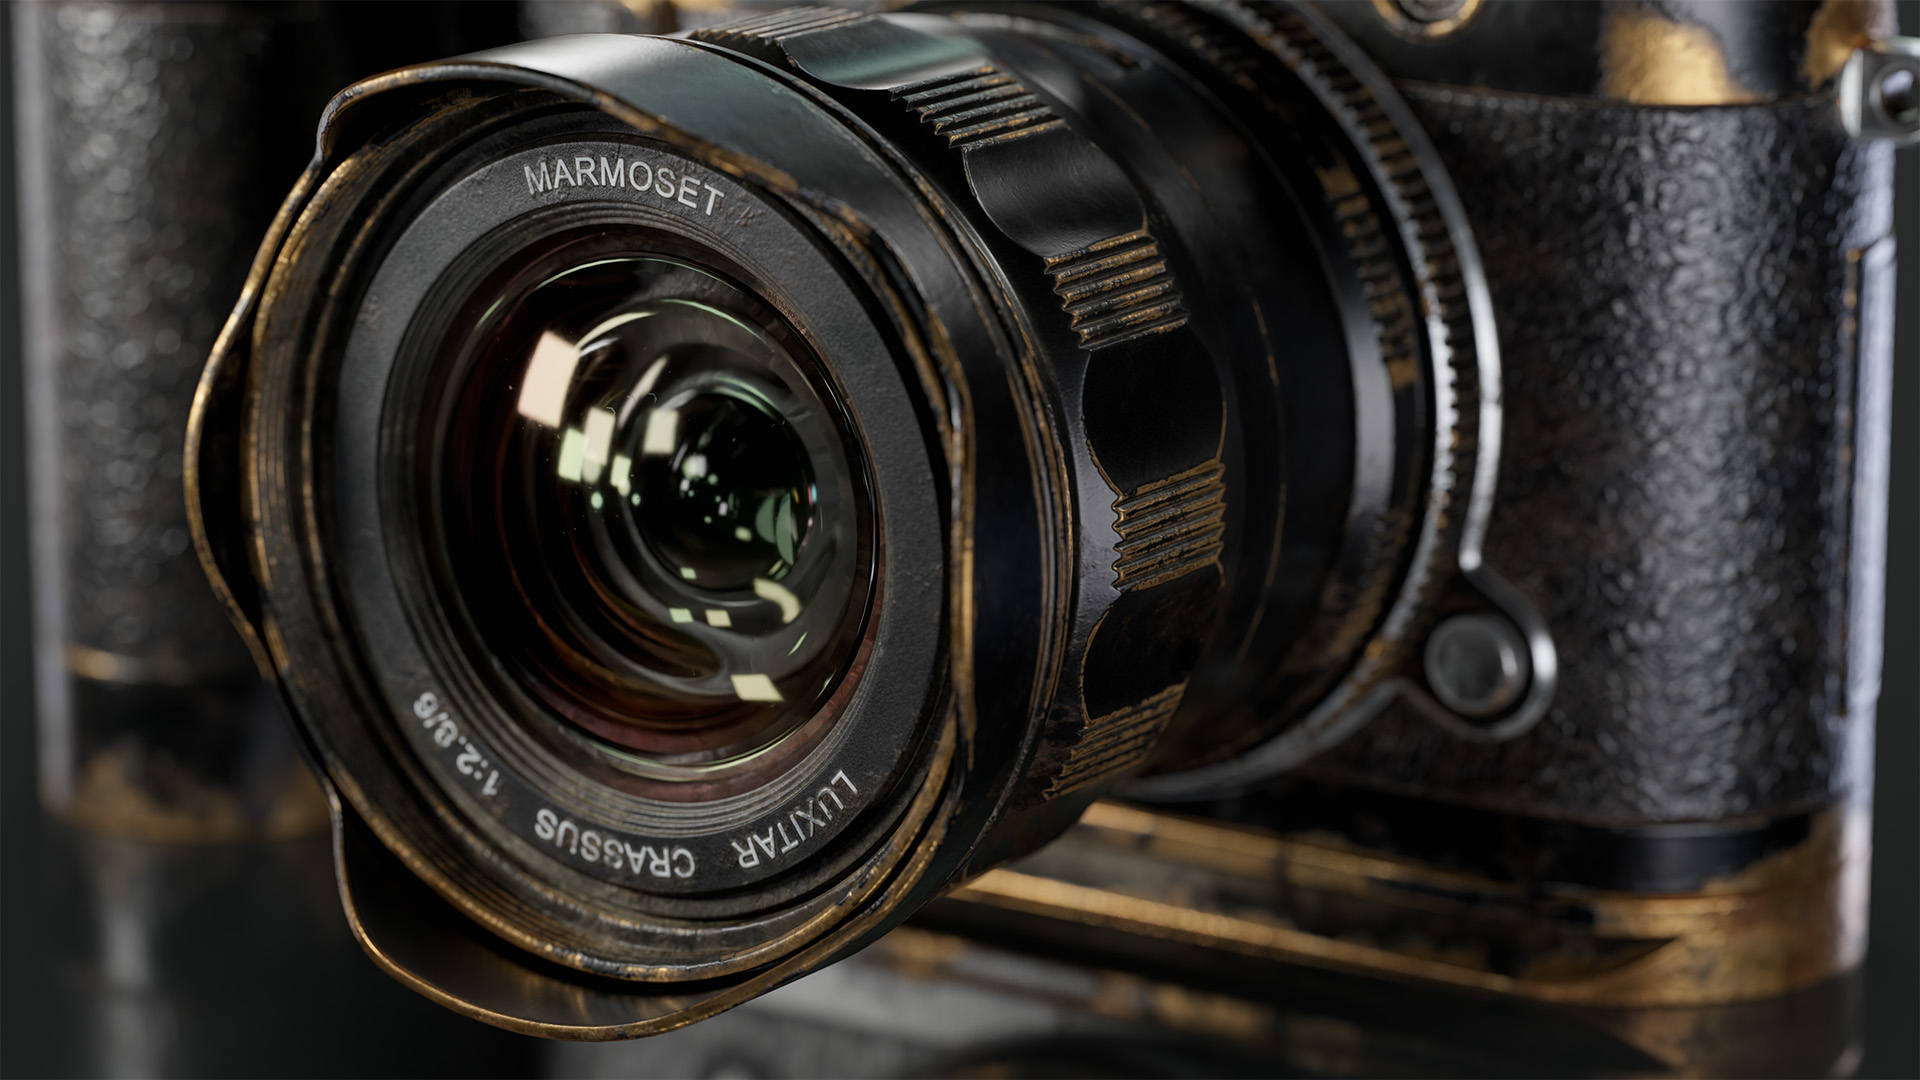
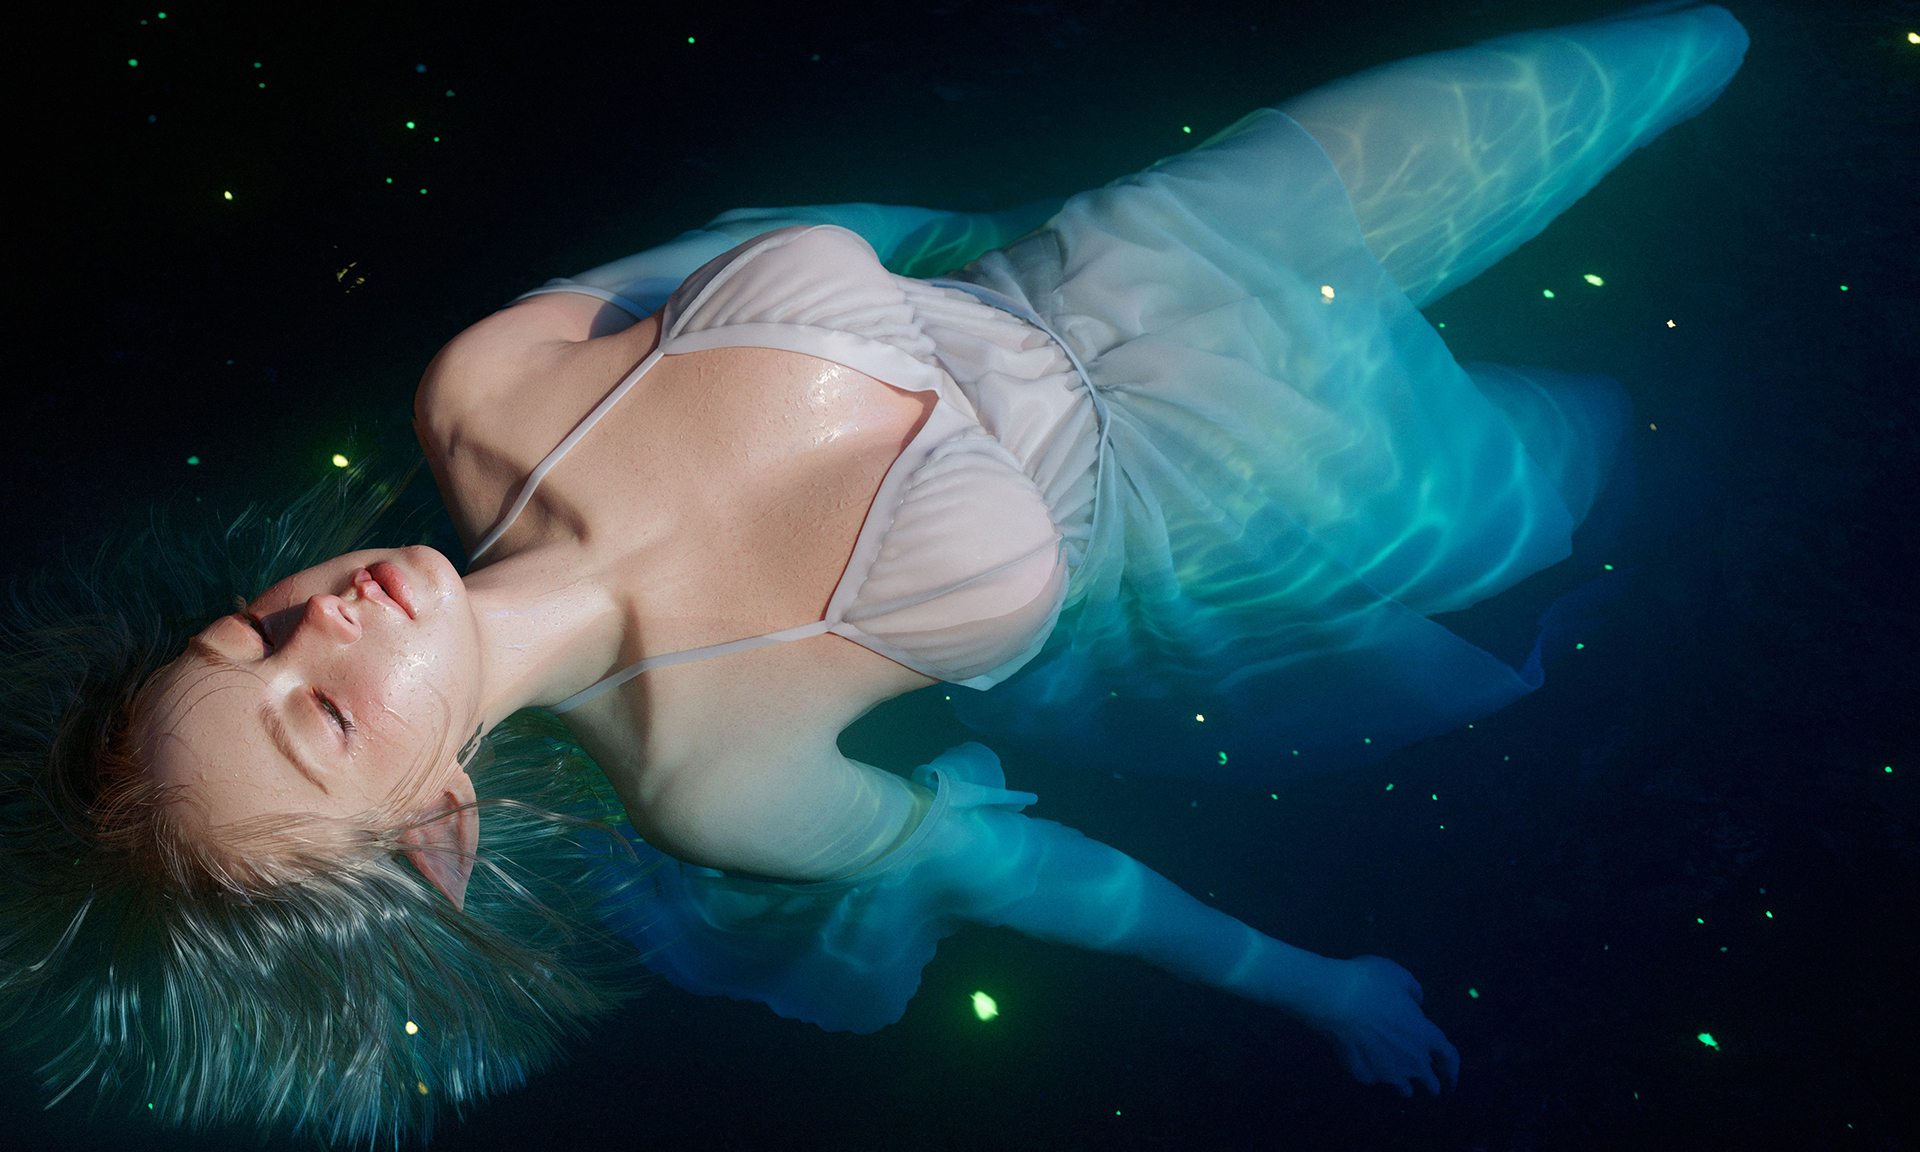
Artwork by Volodymyr Silkin, Animation & Rigging by Vitaly Prisyazhny, Additional Work by Joe Wilson
Visual Context Is Everything
A great presentation is key to making your 3D art stand out, and adding a contextually appropriate environment helps to ground your assets and communicate their purpose. Building an entire 3D landscape is an option, but it is time-consuming. Instead, a more straightforward approach can deliver an equally commanding effect in a fraction of the time.
For example, Volodymyr and Vitaly’s scene below demonstrates excellent modeling, texturing, and animating skills, but placing it in a suitable environment creates a greater sense of belonging and cohesion. The entire “environment” consists of a ground plane, a dome, and a background texture, yet the story feels expansive.
Creating a Background Object
Begin by creating a half-sphere or a domed mesh for your background. The spherical shape will fake a parallax effect and suggest depth. The background object can be scaled in the viewport to adjust the relationship or distance between the subject and the background as well.
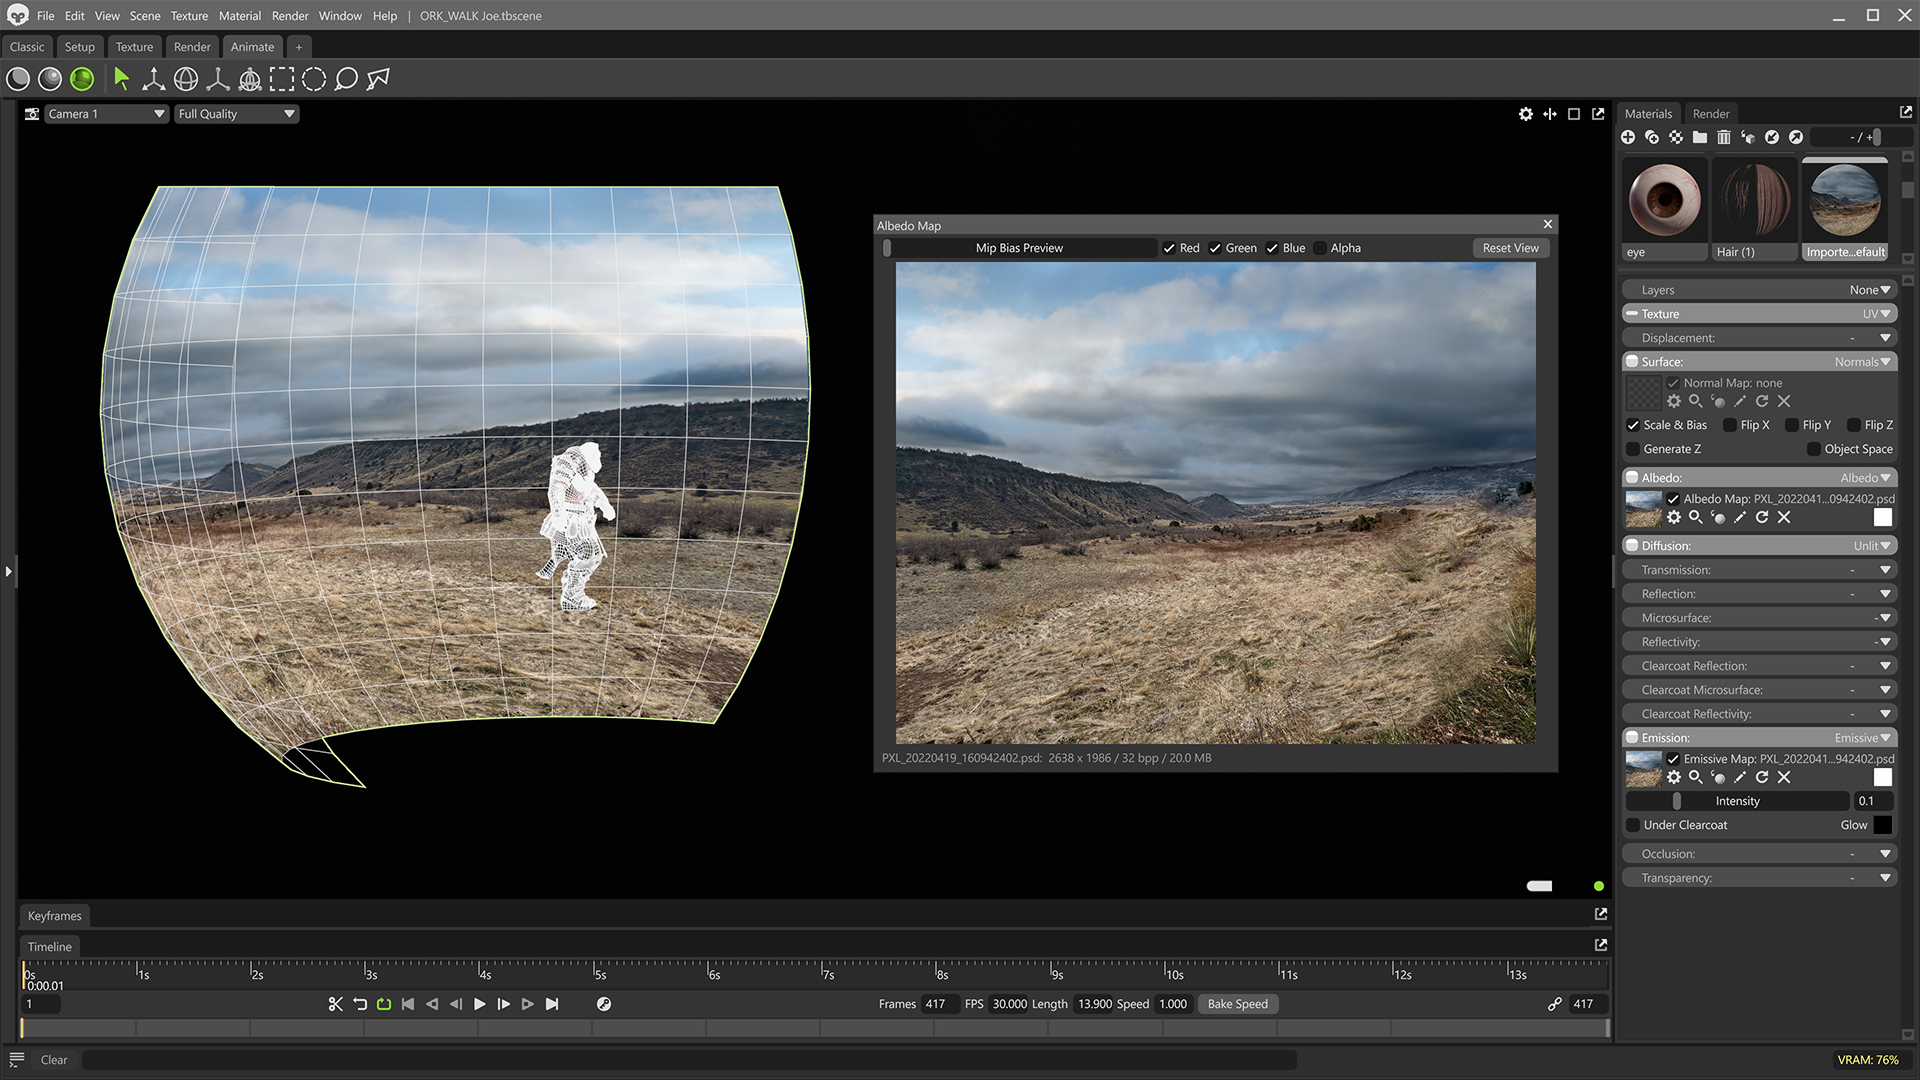
To make the background blend into the shot, we need to make sure it’s not affected by the lighting in the scene. To do this, go to the Materials window, set Albedo to Unlit, and disable the various reflection modules.
Adding a Ground Plane
To really ground the character in the scene, we need to add a plane that blends into the background. Next, we’ll use Toolbag’s Texture Projects to create a textured plane that matches the background with an alpha fade.
You can load a material from the Library; try picking something that matches the theme of your background. You can build a more complex ground material by combining preset materials, procedural effects, and masks. Texture Projects are great for this, and can help keep you working as much as possible inside Toolbag. Just make sure that your layers are set to UV projection and stick to whole numbers for UV tiling so we don’t introduce seams when we animate the UV tiling.
Adding Motion
Creating a tiling material effect will make it appear like the ground moves as the character’s loop cycle plays. This will help sell the illusion of movement without having to move the character through the world. To do this, we can create keyframes for the material’s UV Offset value.
Material Layering in Toolbag allows you to create and animate multi-material effects. I used it to get the transparent effect here, which gave me the flexibility to animate the UVs for the ground but keep the alpha mask in place.
Learn how to work with Material Layers in Toolbag
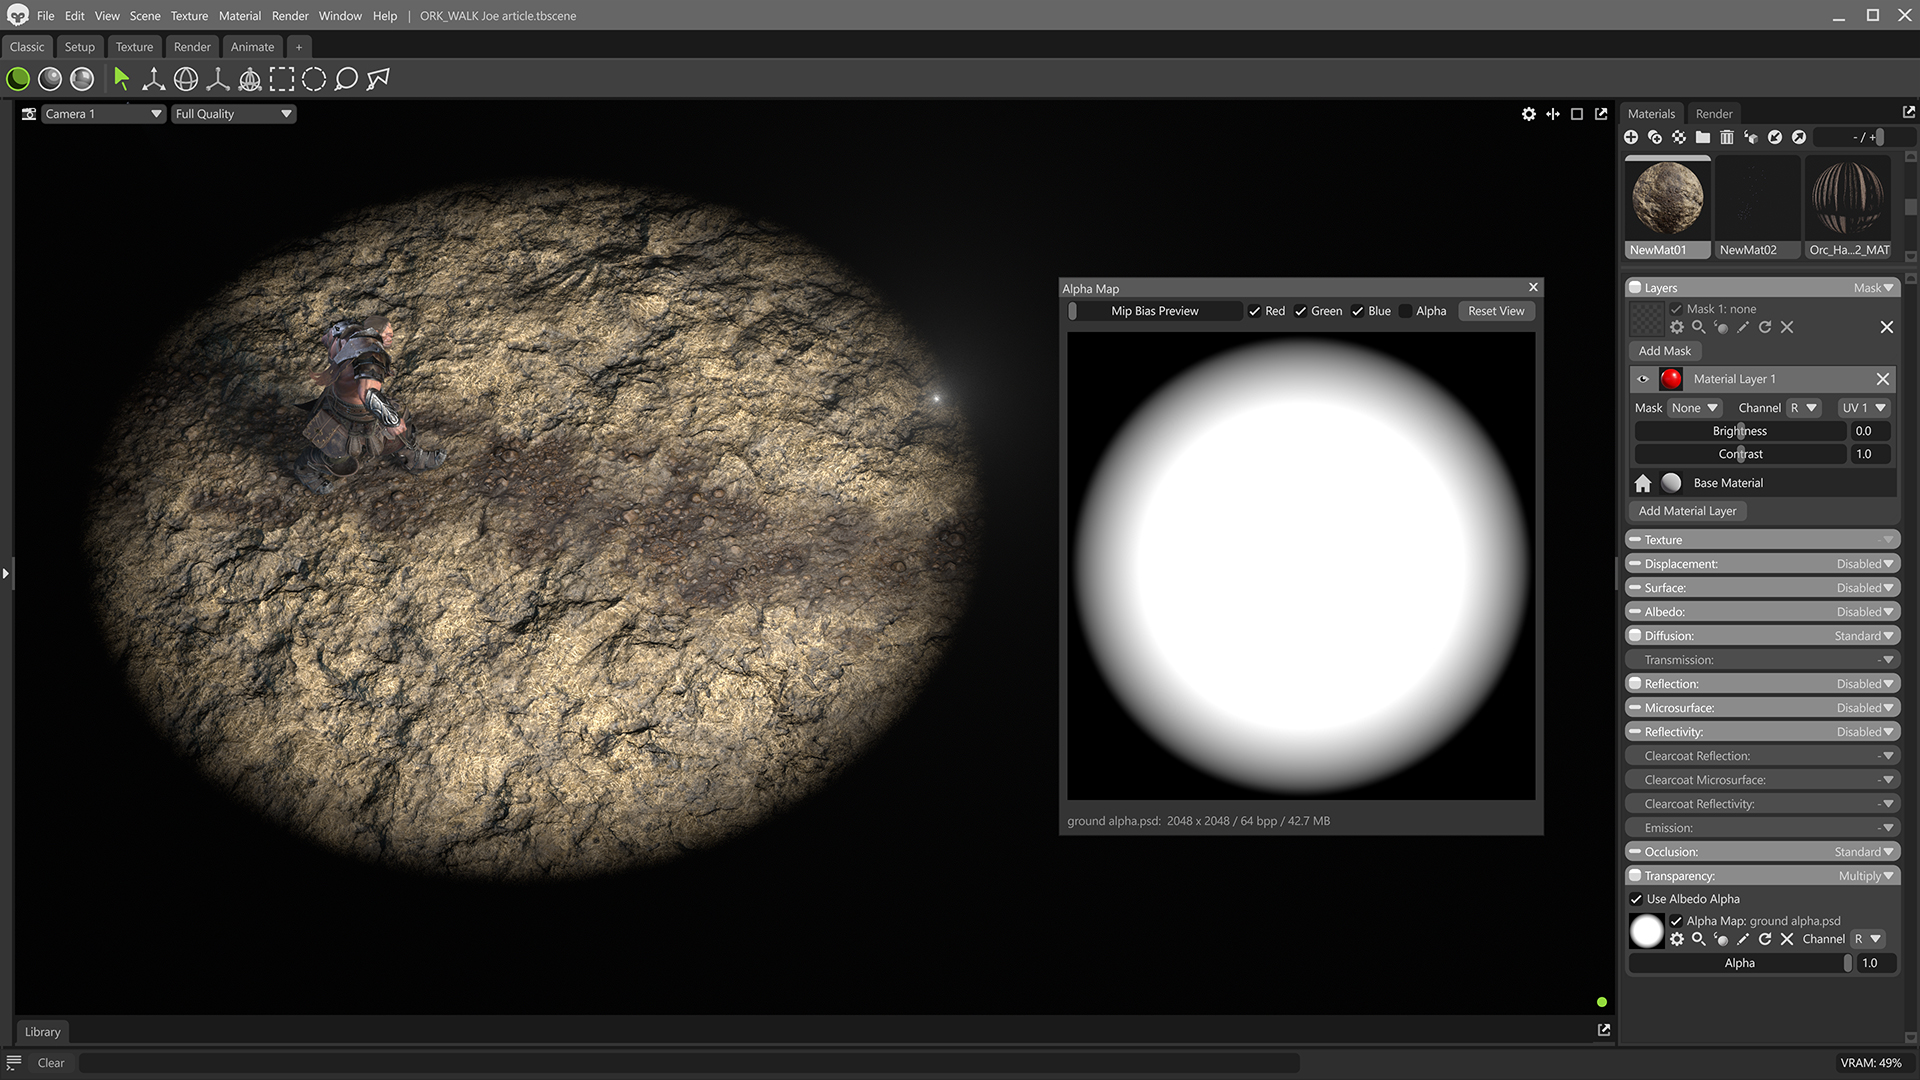
This can be created by going to the Materials window, setting the Layers panel to Mask to enable the layer. We only want to control transparency from this layer, so we can disable the other shading models. Then all you need to do is load a gradient image into the Transparency slot.
And here’s what the final effect looks like.
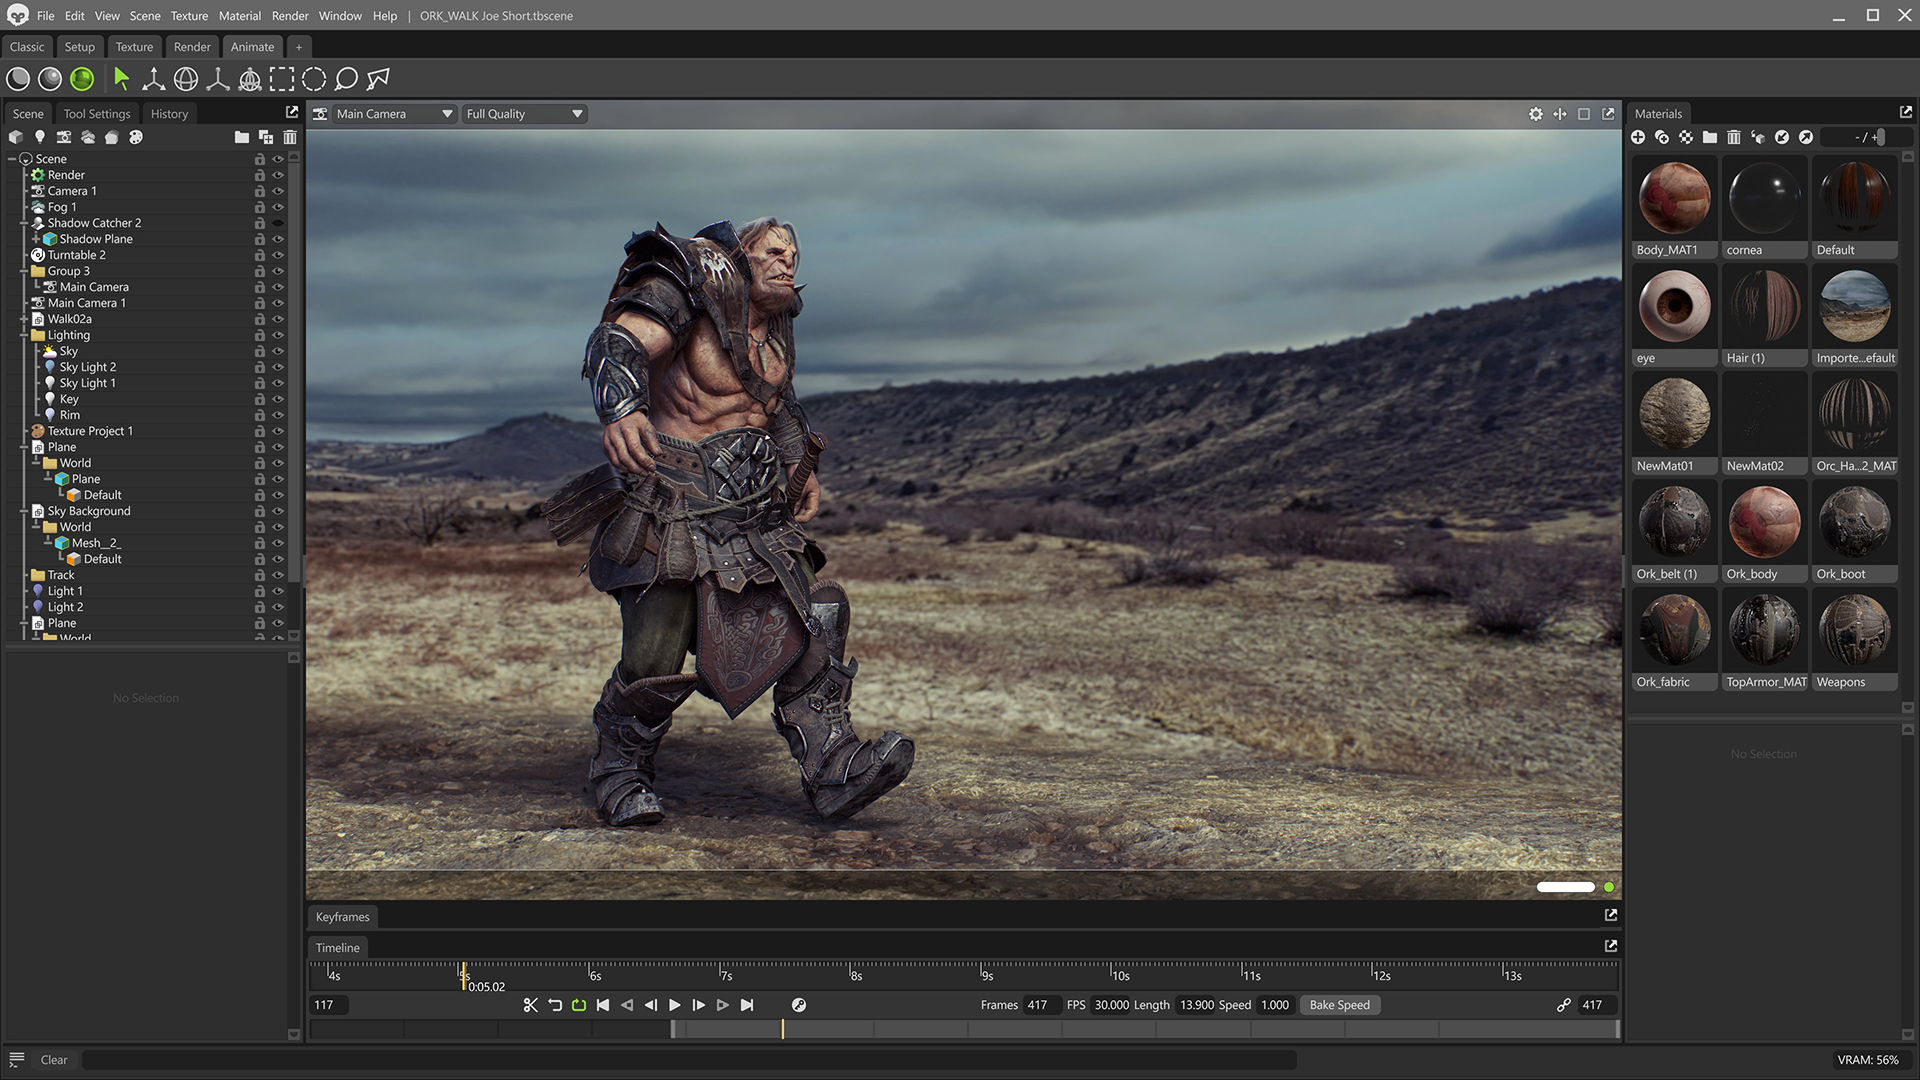
You can achieve similar results with sky presets; however, creating a background mesh provides more control over the composition. You can move and scale it in ways that are not possible with skies, which are always at an infinite distance.
Thanks for reading! Start a free, 30-day trial for Toolbag today to craft compelling 3D artwork. For more Toolbag tutorials and quick guides, check out our Resources.


